

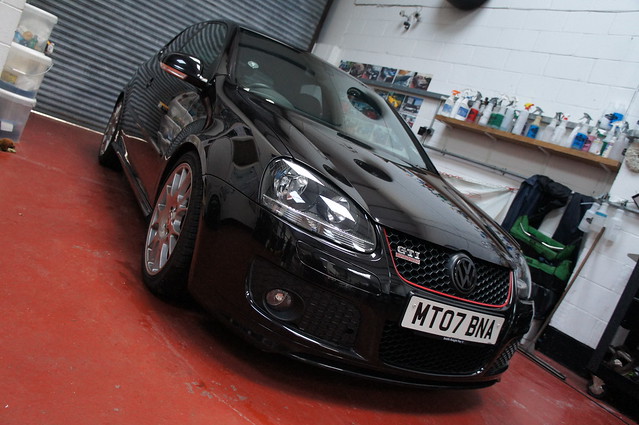
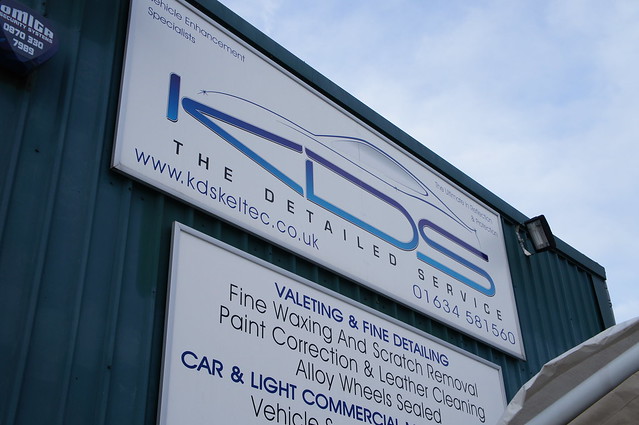
Ive just been lucky enough to spend three days down at KDS Keltec with Kelly and his team, learning how to wet sand with the main aim of removing orange peel. Uniquely, this training was concluded on my very own car a Golf GTI Edition 30 with the aim of removing as much of the orange peel in my clearcoat as possible.
This thread shares my thoughts and experiences on the time spent with Kelly, and gives an overview from the perspective of a trainee on KDSs course.
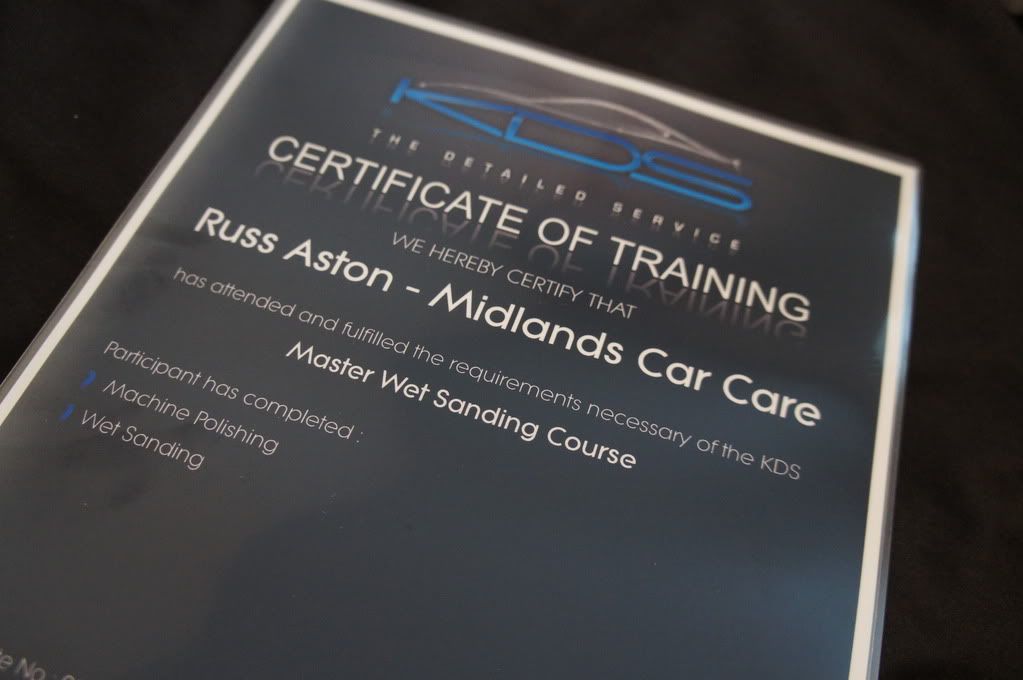
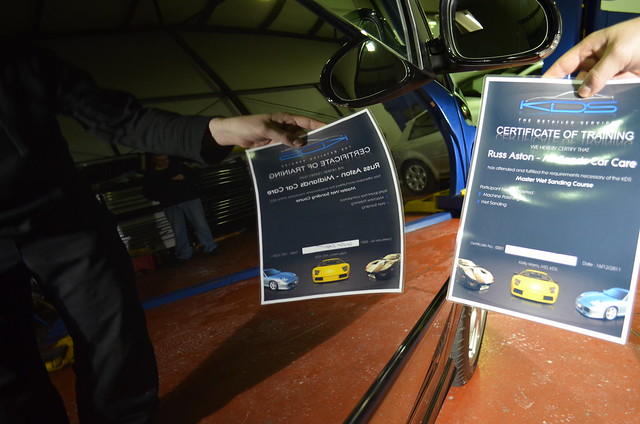
I am also very fortunate to be the first - I have Certificate 0001!!
Day One :
Its not very often I get out of bed at 5am, but I needed to be at KDS for 9am for my wet sanding training, so like an excited child on Christmas morning, I was up bright and early and set on my way. Id forgotten just how bad the M1 and M25 were and unfortunately arrived 15 minutes late!
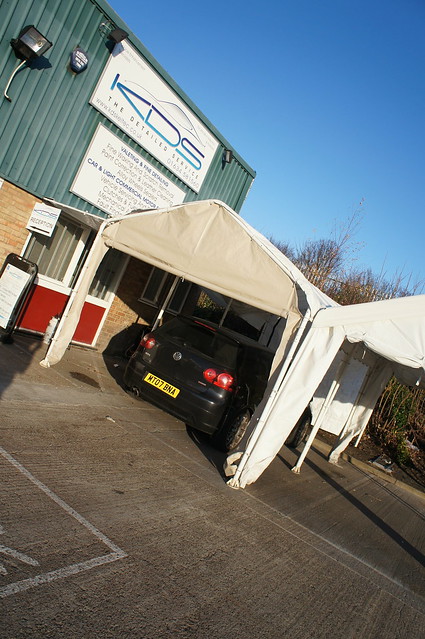
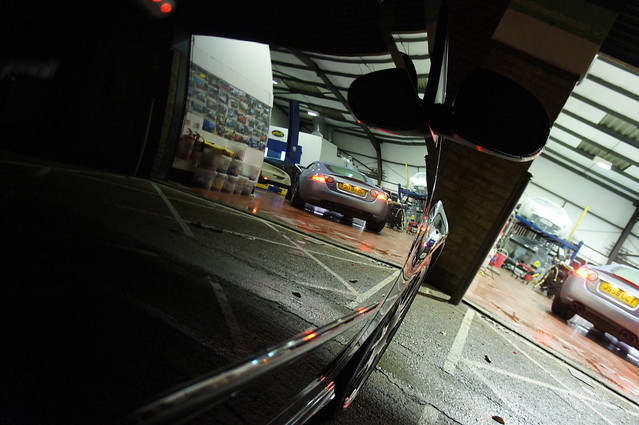
Upon arrival at KDSs unit in Gillingham, Kent:
DSC01420 by RussZS, on Flickr
DSC01421 by RussZS, on Flickr
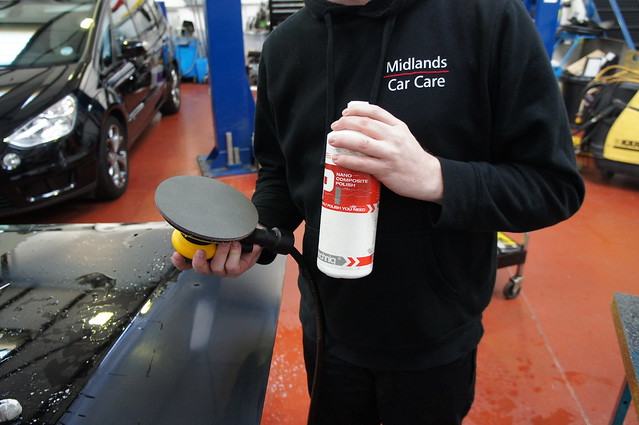
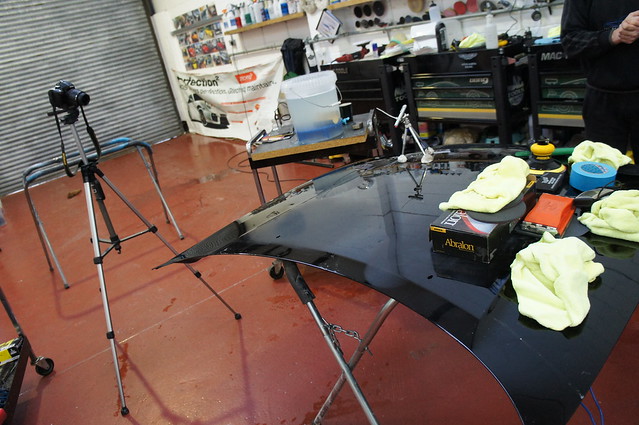
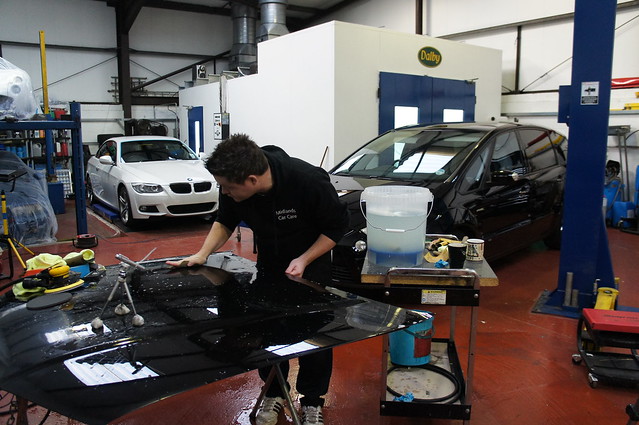
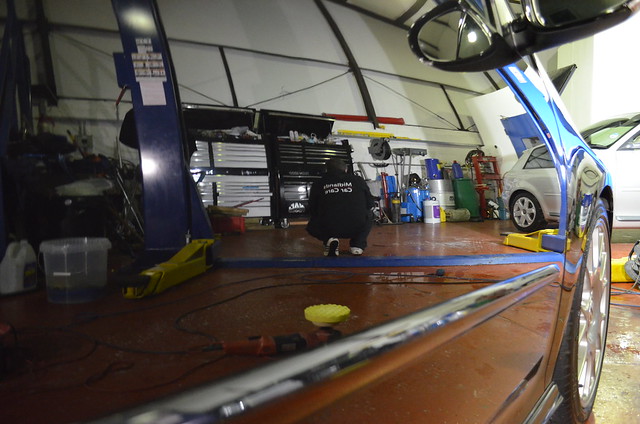
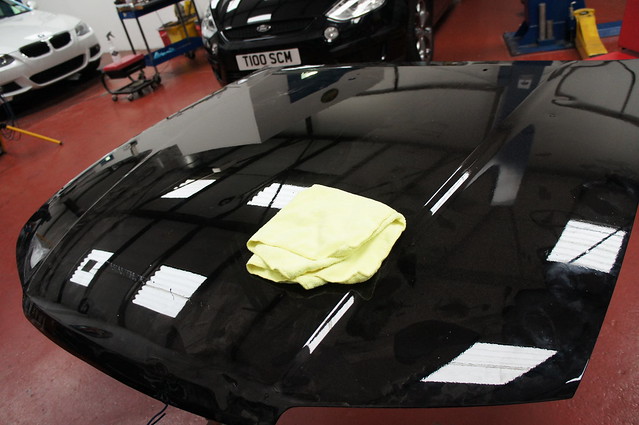
With introductions out of the way (Kelly has a team of 4 including himself), Kelly began to prepare a bonnet which would be the test panel for the first days worth of tuition:
DSC01422 by RussZS, on Flickr
The aim of the first day was to cover the following areas:
- Use of a Laser Pointer to create a fixed point to assess clearcoat removal rates
- How to use a PDG effectively, including how to calibrate one correctly
- The differences between using a DA Sander, working by bare hand and using a block
- Risks around scorelines, pigtailing and dirt/grit
- Using compounds and polishes to remove sanding marks and restoring the gloss to the paint
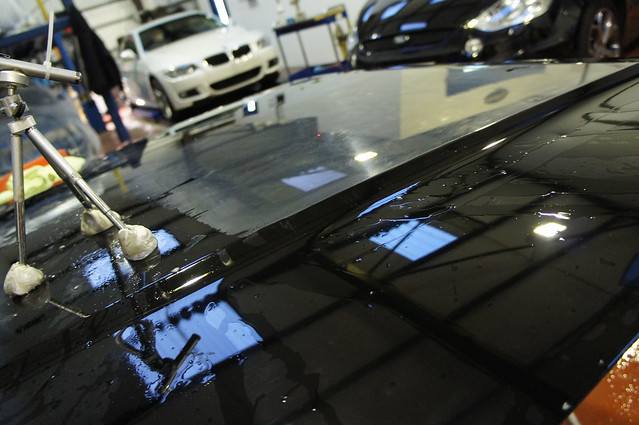
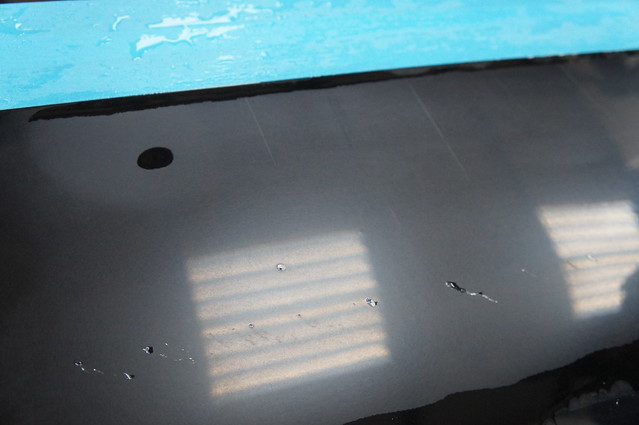
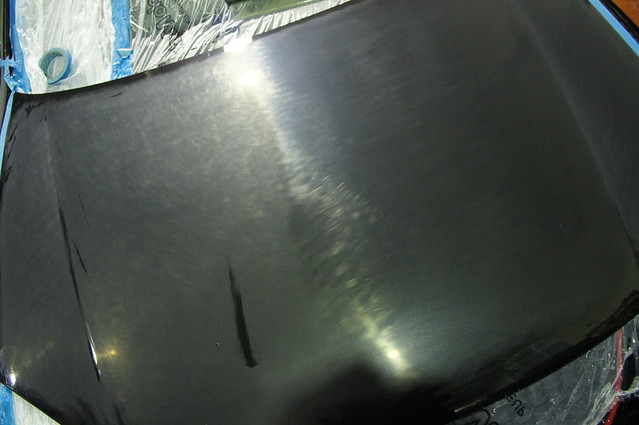
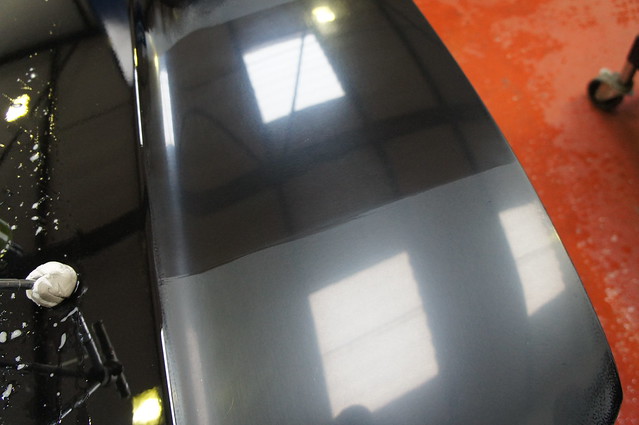
The test panel itself was absolutely ideal covered in dents, RDSs and crucially orange peel:
DSC01430 by RussZS, on Flickr
DSC01428 by RussZS, on Flickr
DSC01432 by RussZS, on Flickr
Its almost as bad as a new BMW!!
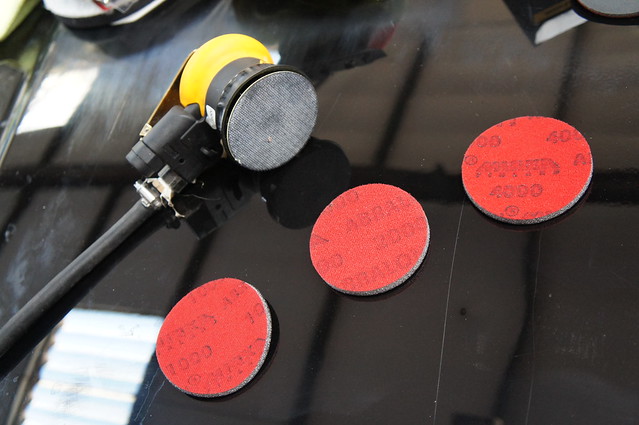
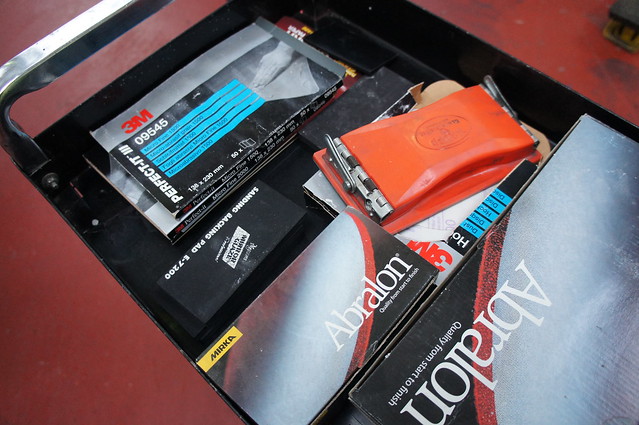
Here are some pics of the tools we used during the first day:
DSC01435 by RussZS, on Flickr
DSC01436 by RussZS, on Flickr
So we have:
- PosiTector 6000
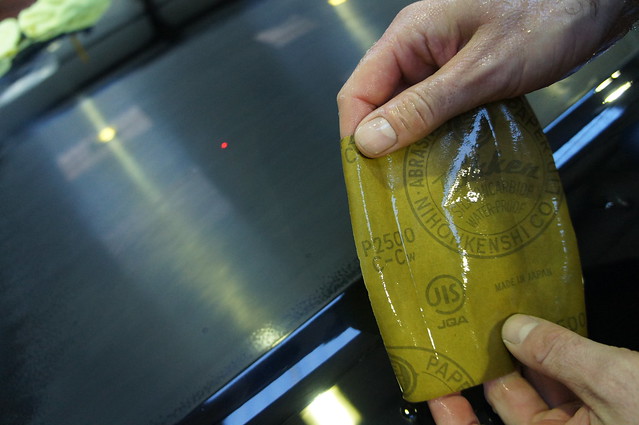
- Mirka DA Sanders and Abralon Discs
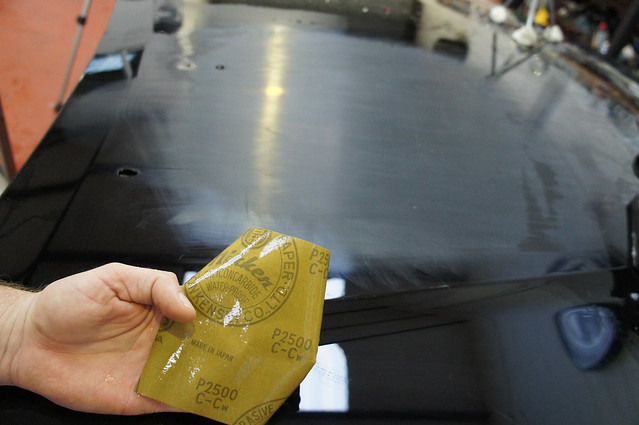
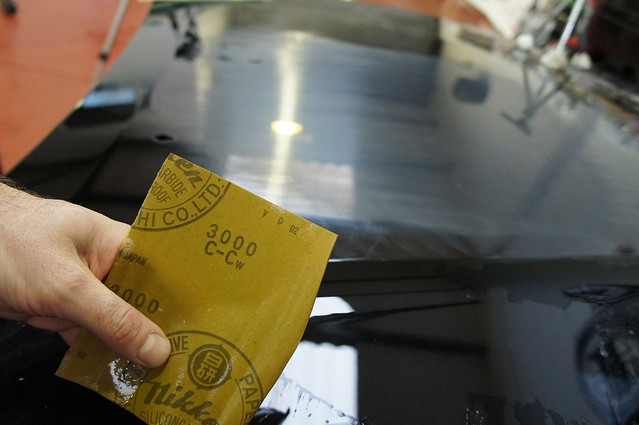
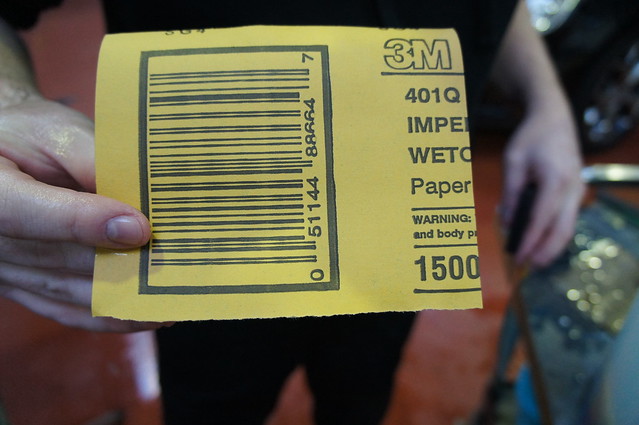
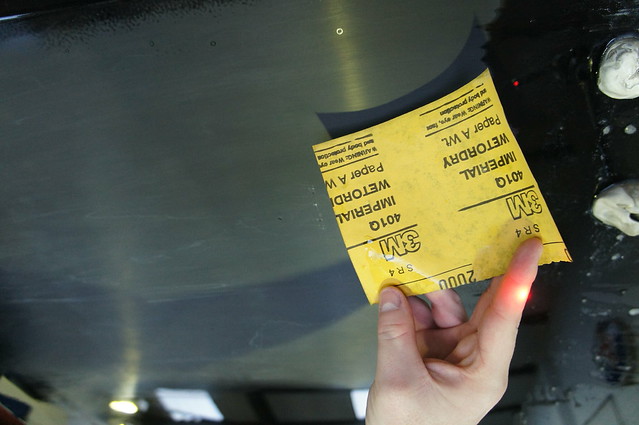
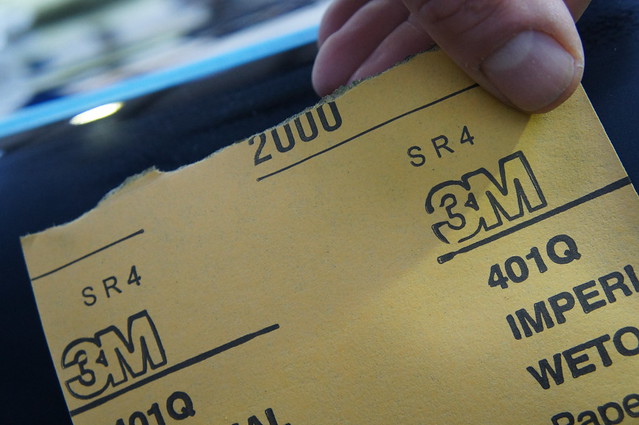
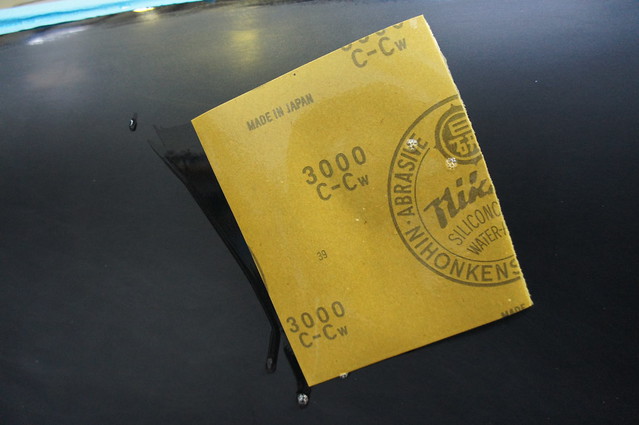
- 3M 1200, 1500 and 2000 grade sand paper
- Meguiars 2500, 3000 and 4000 grade sand paper
- Sanding Blocks
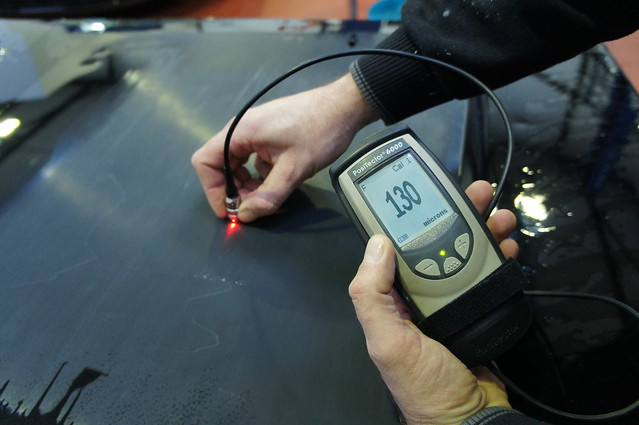
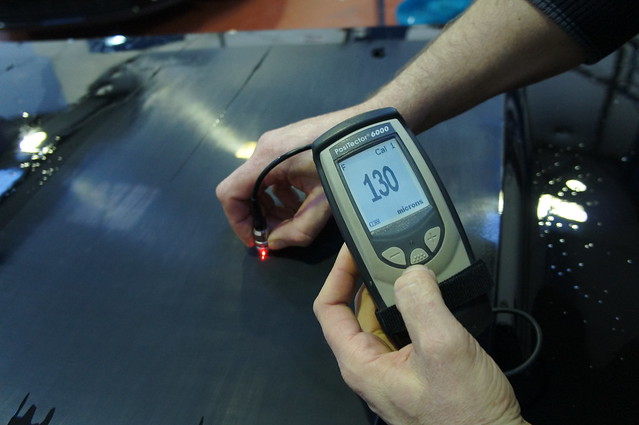
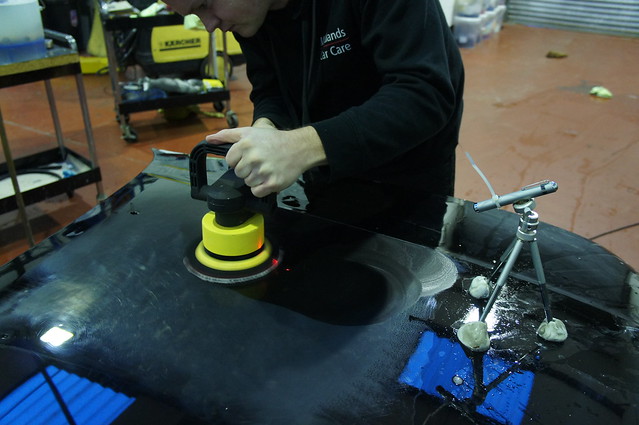
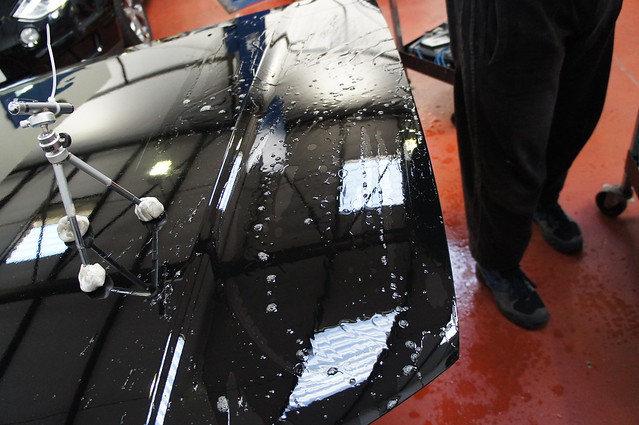
We set up the laser pointer on a tripod, secured by clay, to create a fixed point to allow us to as accurately as possible assess the removal rate of whatever we were doing.
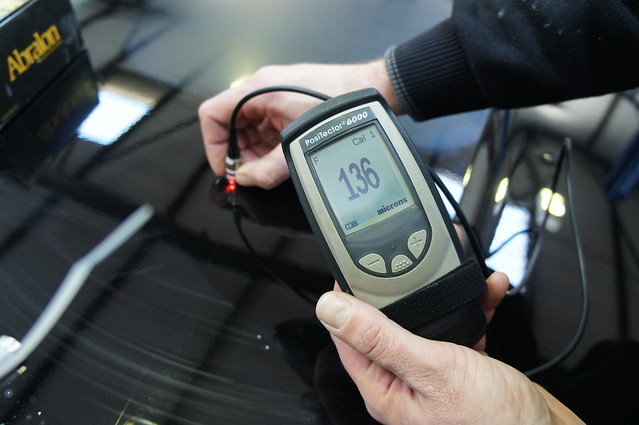
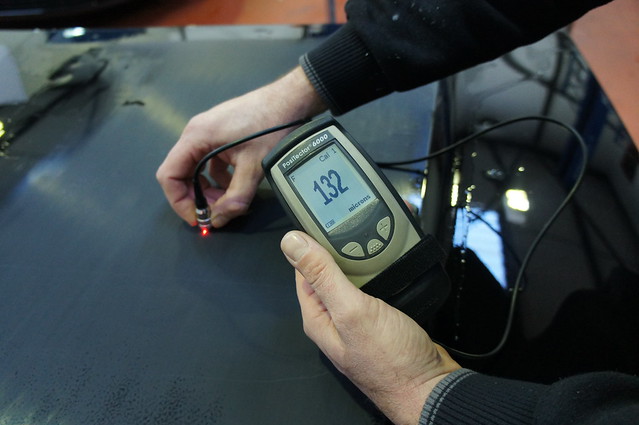
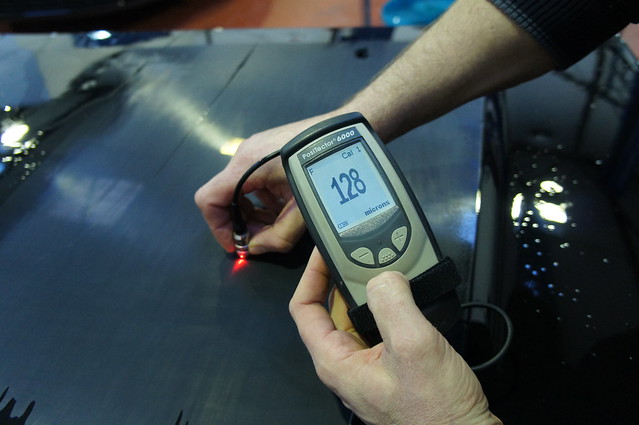
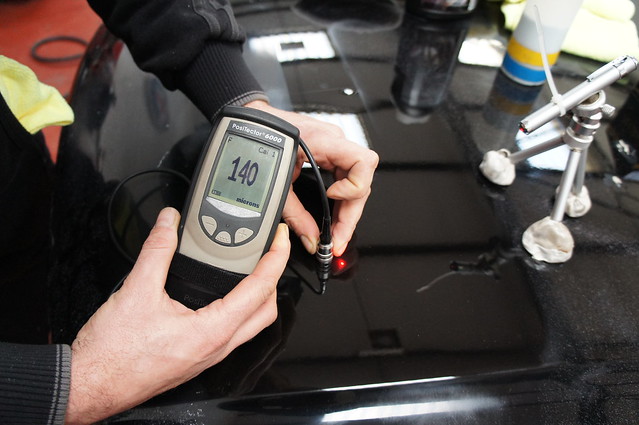
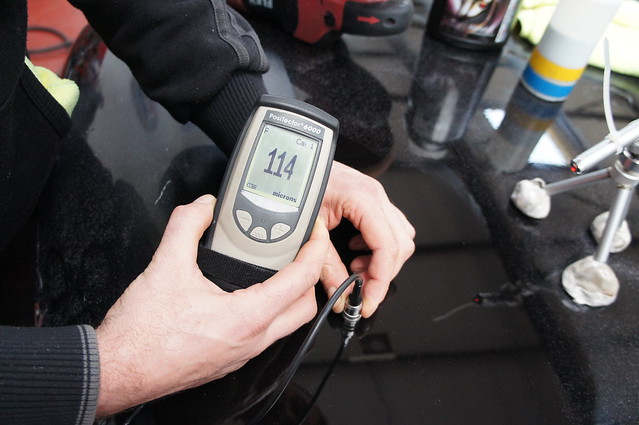
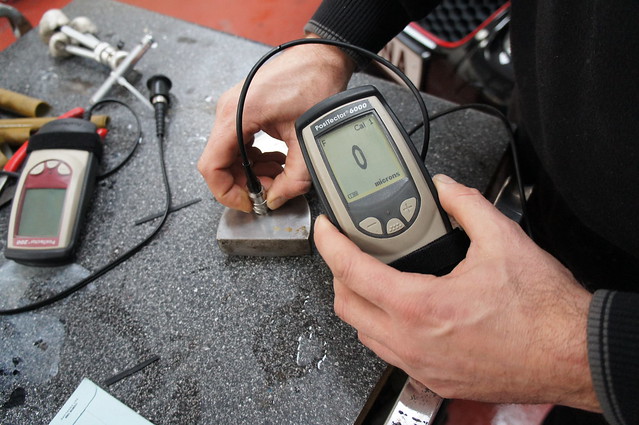
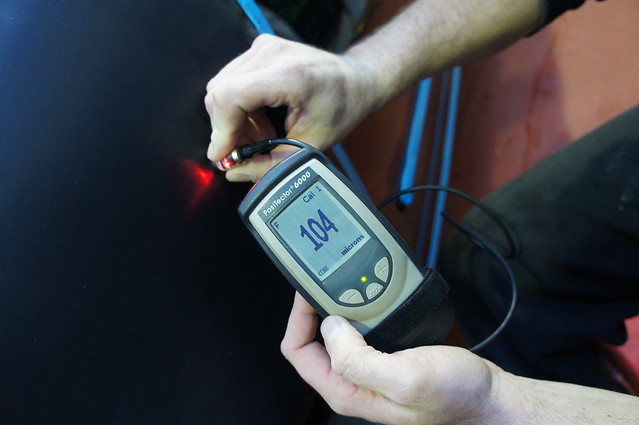
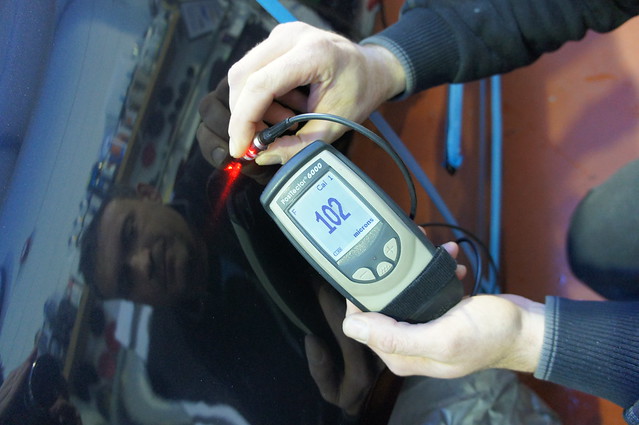
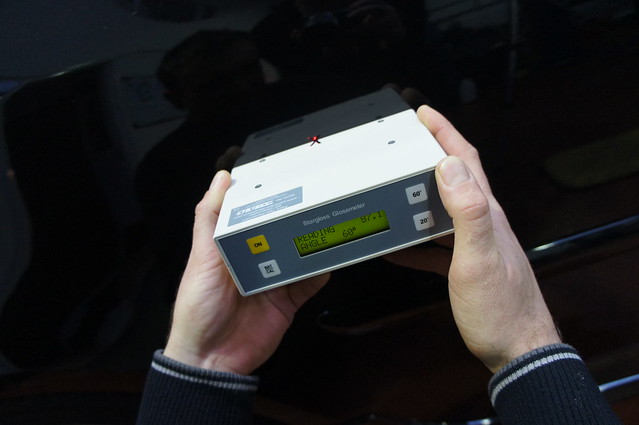
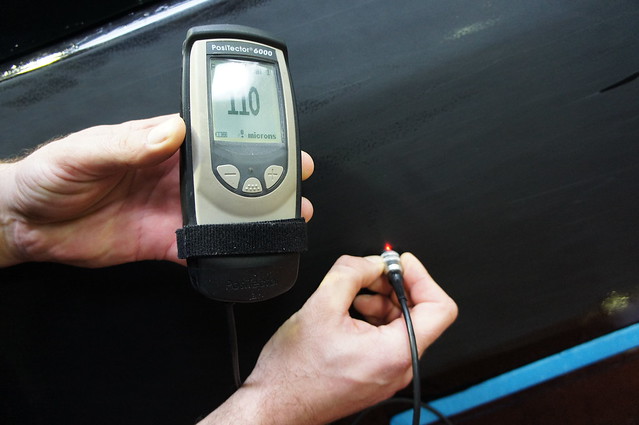
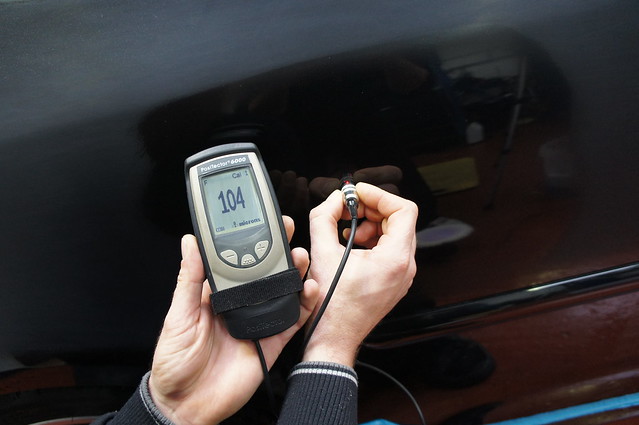
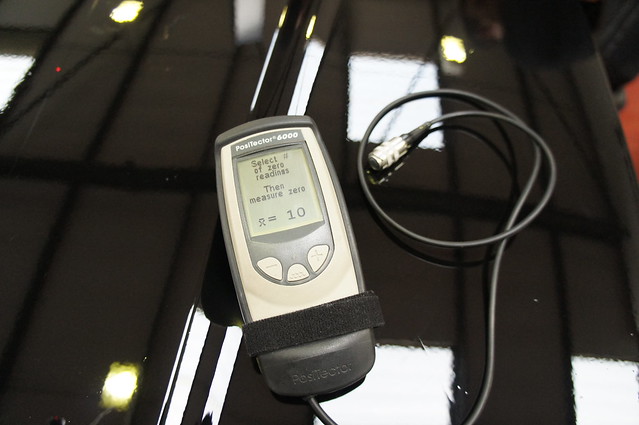
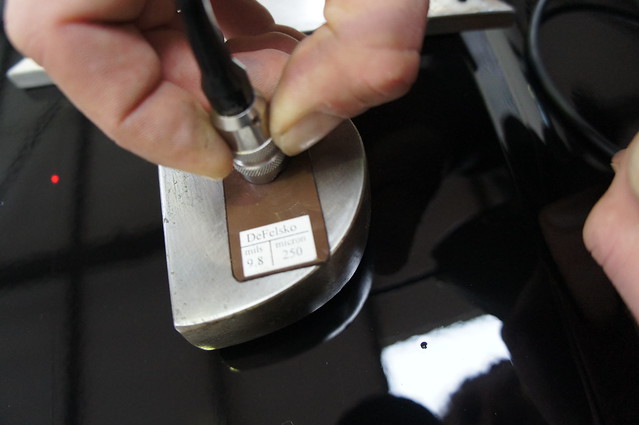
Next Kelly showed me how to correctly calibrate the PosiTector 6000:
DSC01448 by RussZS, on Flickr
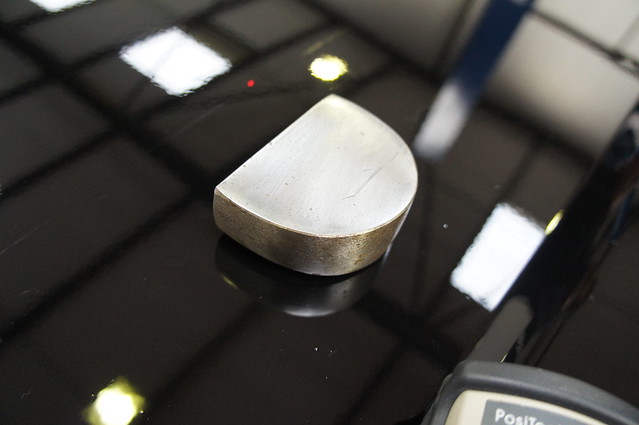
A bare metal block was used to create a reference point:
DSC01453 by RussZS, on Flickr
DSC01454 by RussZS, on Flickr
DSC01455 by RussZS, on Flickr
DSC01463 by RussZS, on Flickr
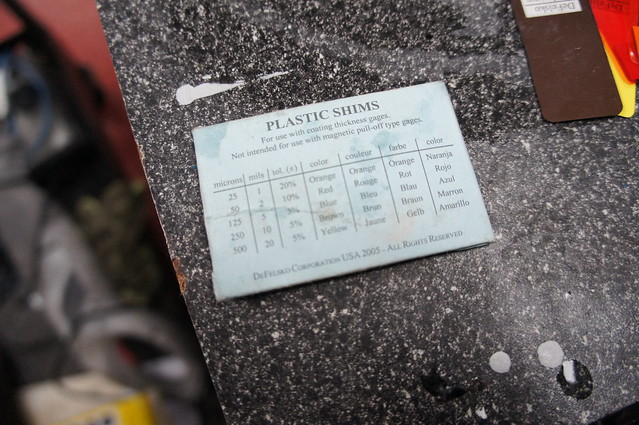
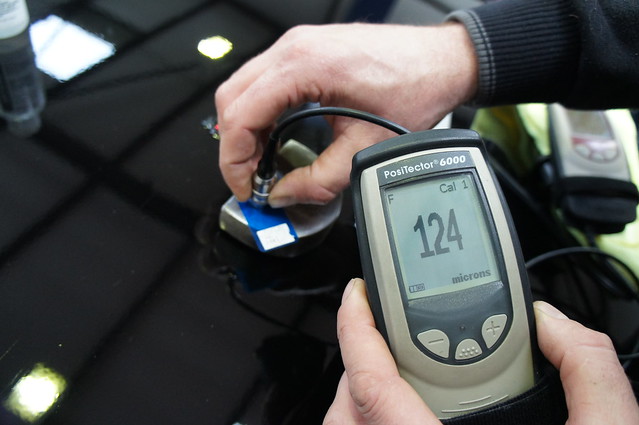
Next we tested with a shim:
DSC01467 by RussZS, on Flickr
DSC01468 by RussZS, on Flickr
Thats pretty close
Now on a 125 shim:
DSC01484 by RussZS, on Flickr
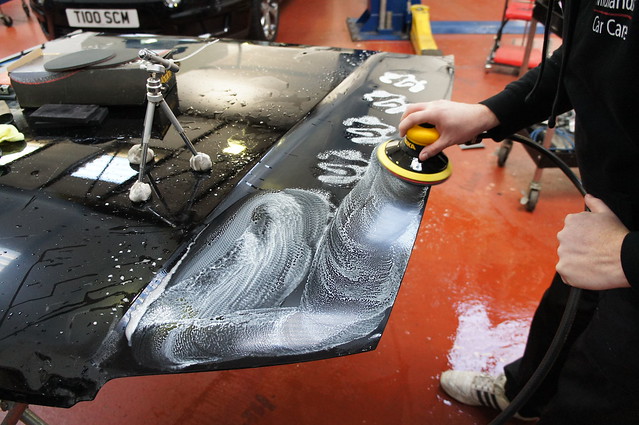
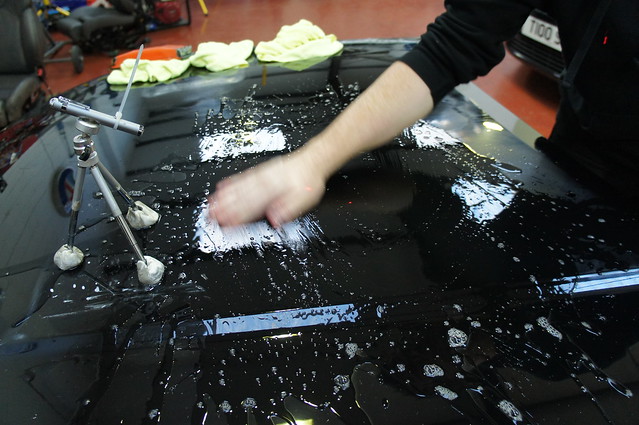
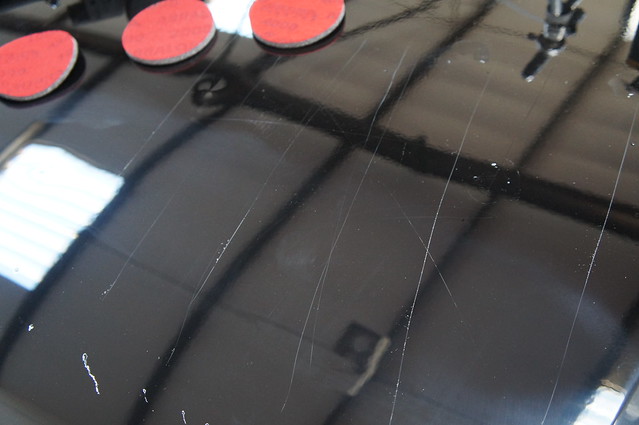
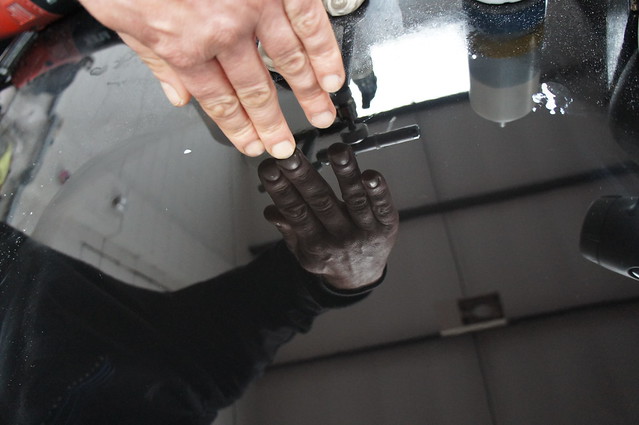
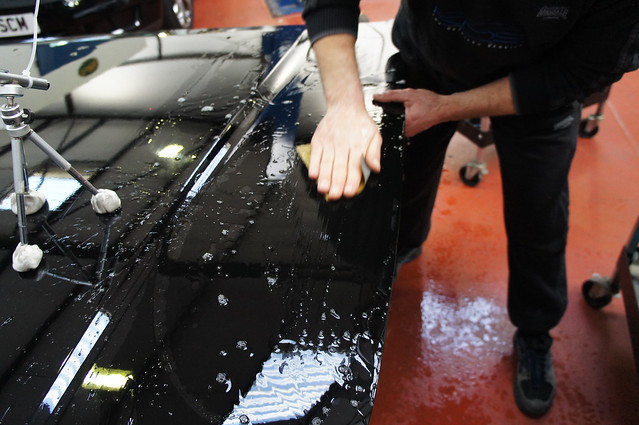
With the P6000 appropriately calibrated, Kelly moved on to begin the wet sanding demonstration. The key thing I have learnt about wet sanding is how important cleanliness is. If you catch a single dirt particle between the paper and the panel, the consequences can be severe. We began by flooding the panel, to remove any traces of dirt or dust:
DSC01499 by RussZS, on Flickr
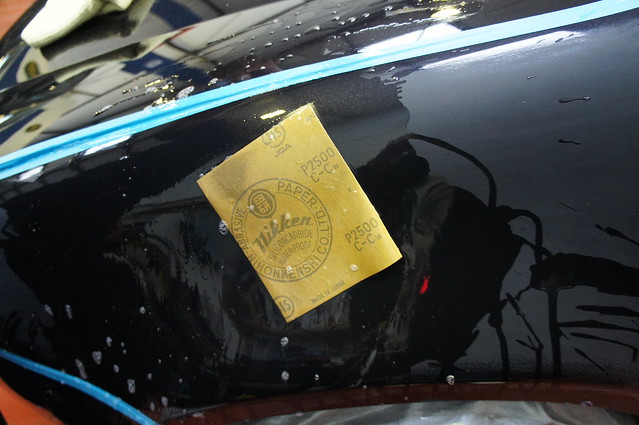
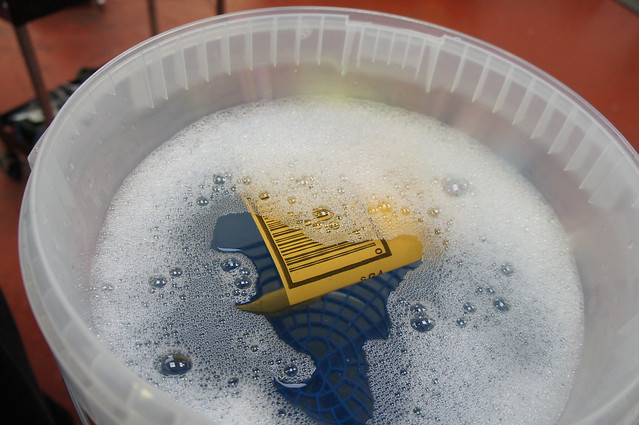
We began with 1500 grit. The paper was put into a bucket with warm water and hand wash (to help with lubricity):
DSC01502 by RussZS, on Flickr
Kelly began wet sanding by hand with 3M 1500
DSC01500 by RussZS, on Flickr
DSC01504 by RussZS, on Flickr
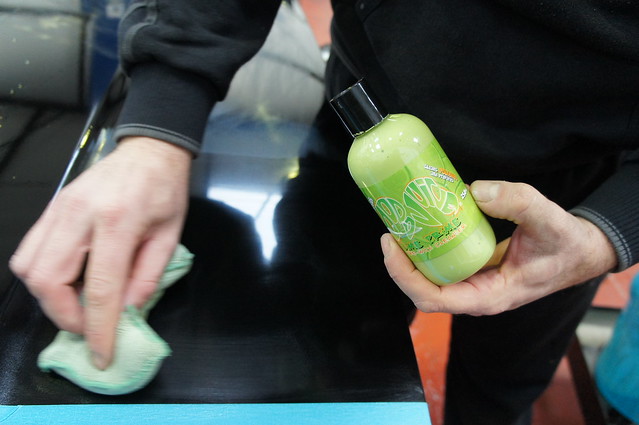
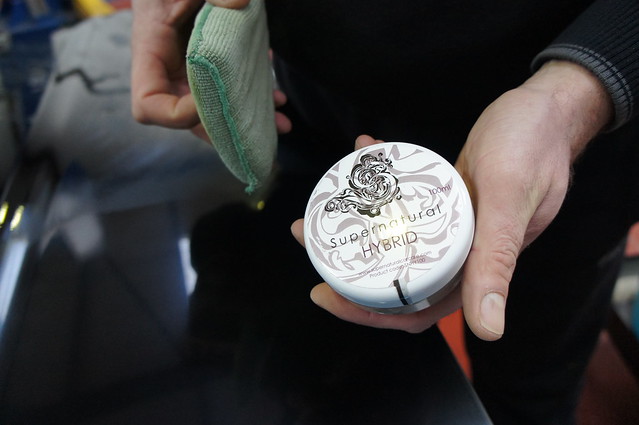
To deomstrate just how fine the scratches from 1500 are, Kelly went over a test section with Lime Prime and Super Natural Hybrid:
DSC01514 by RussZS, on Flickr
DSC01516 by RussZS, on Flickr
DSC01519 by RussZS, on Flickr
Impressive stuff!! However, up close
DSC01522 by RussZS, on Flickr
It just goes to show how deceiving some photos could be
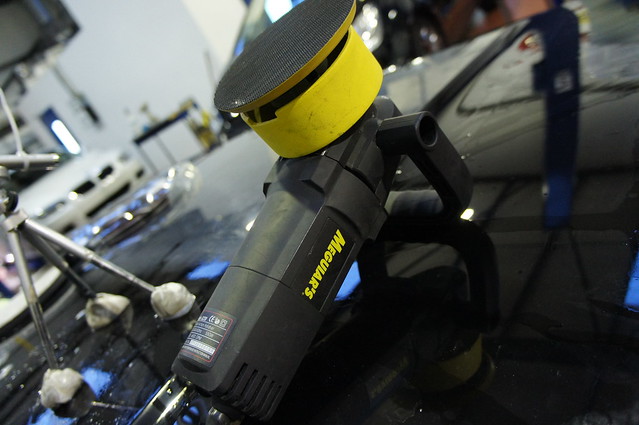
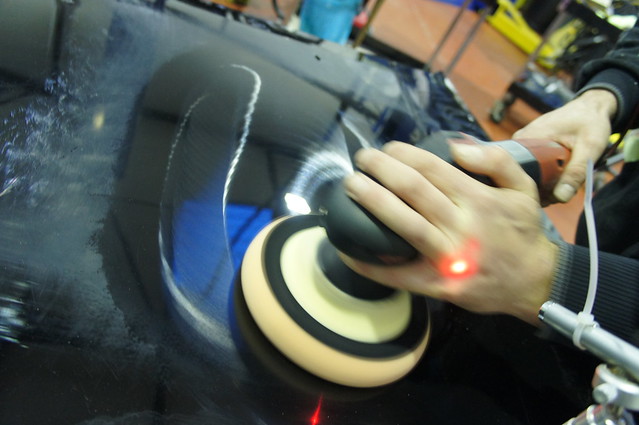
Next Kelly showed me how to use a Mirka DA Sander with 2000 grade disc:
DSC01528 by RussZS, on Flickr
DSC01535 by RussZS, on Flickr
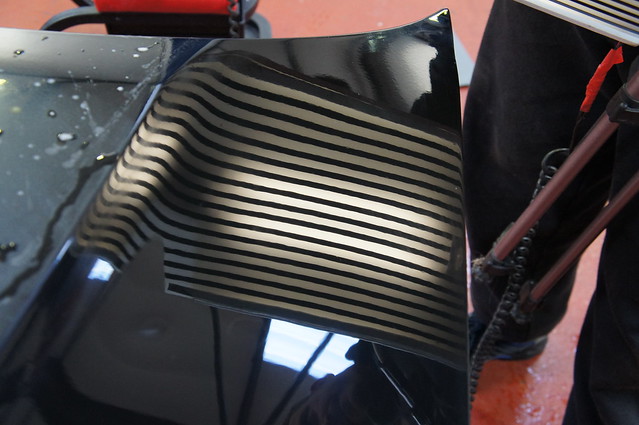
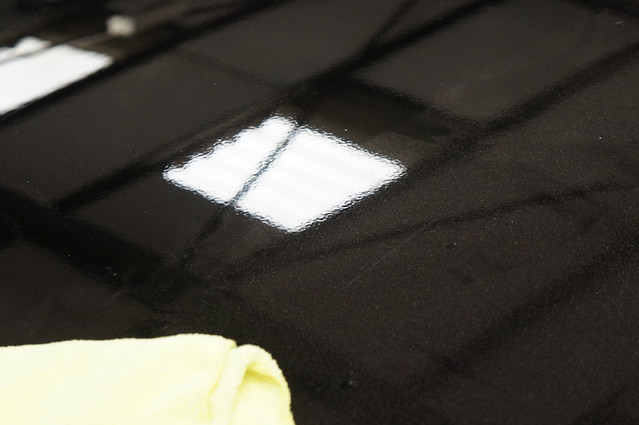
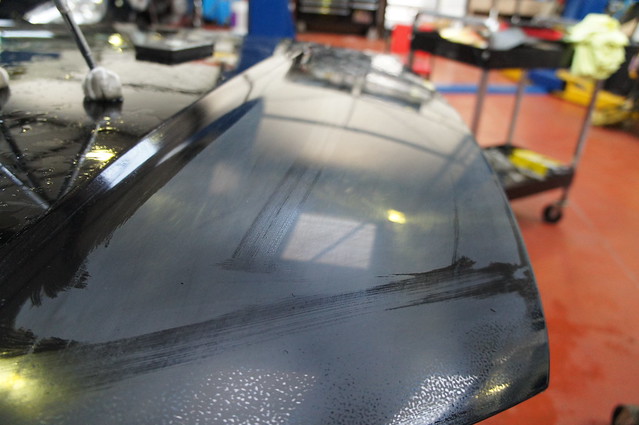
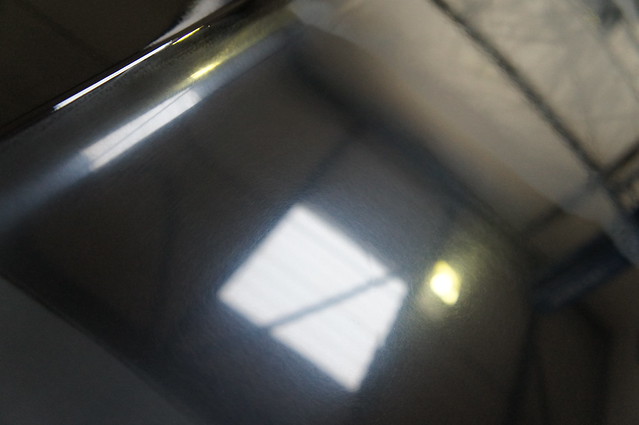
Now from certain angles, it would appear that the orange peel has been fully removed. Ive seen a couple of threads where this process has been used, and from certain angles it looks perfectly flat:
DSC01533 by RussZS, on Flickr
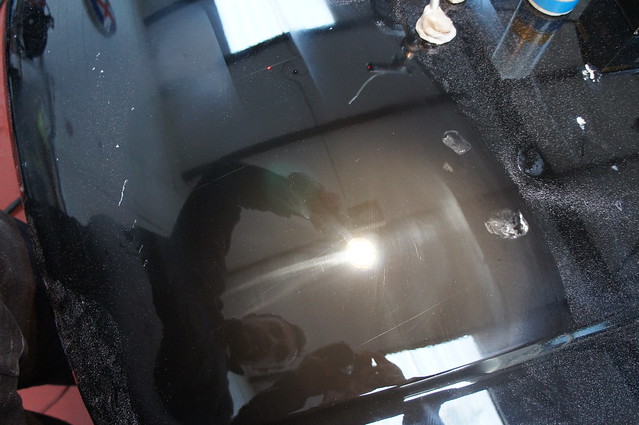
However up close, at the right angle we can see the peel is still very much there!!
DSC01530 by RussZS, on Flickr
I then had my first go! 4000 Grit Abralon Pad on the Mirka, to refine the finish of the 2000:
DSC01542 by RussZS, on Flickr
Results 1 to 15 of 16
-
12-19-2011, 05:20 PM #1


- Join Date
- Dec 2011
- Posts
- 23
- Post Thanks / Like

Kelly@KDS Keltec and Midlands Car Care Wet Sand Tuition Detail - Edition 30 Golf GTI
-
12-19-2011, 05:21 PM #2
- Join Date
- Dec 2011
- Posts
- 23
- Post Thanks / Like
Re: Kelly@KDS Keltec and Midlands Car Care Wet Sand Tuition Detail - Edition 30 Golf GTI
DSC01541 by RussZS, on Flickr
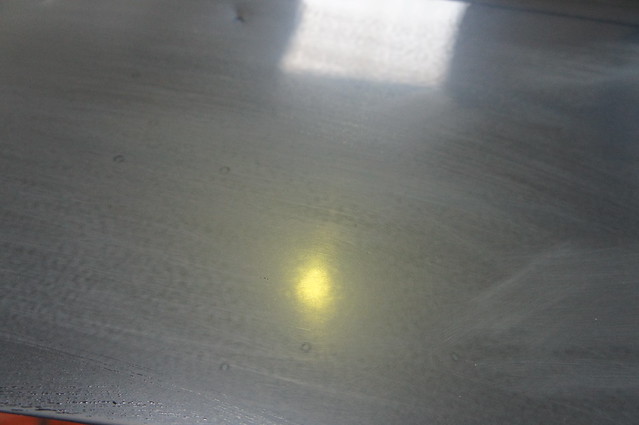
I was keen to try the 2000 myself to see if orange peel could be removed on a different part of the test panel:
DSC01548 by RussZS, on Flickr
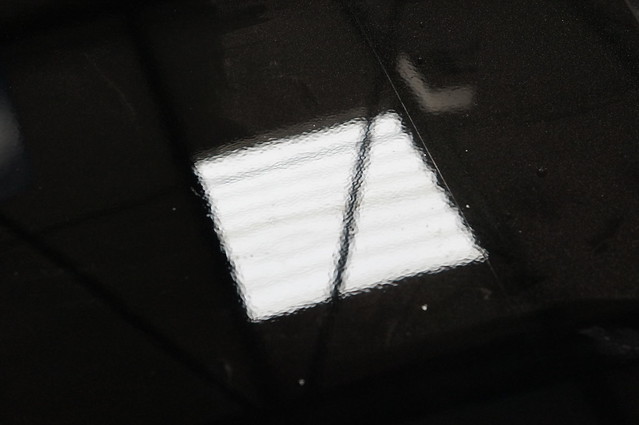
However again, from certain angles it looks great – very flat:

DSC01551 by RussZS, on Flickr
However, catch the lighting correctly and we can see the peel is still present:
DSC01552 by RussZS, on Flickr
Meanwhile Kelly just off refining the other part of the test panel so that it was all at 4000 grit level:
DSC01560 by RussZS, on Flickr
For fun, we tried P1 via a 4000 Grit Pad…
DSC01562 by RussZS, on Flickr
DSC01565 by RussZS, on Flickr
DSC01569 by RussZS, on Flickr
Not bad!!
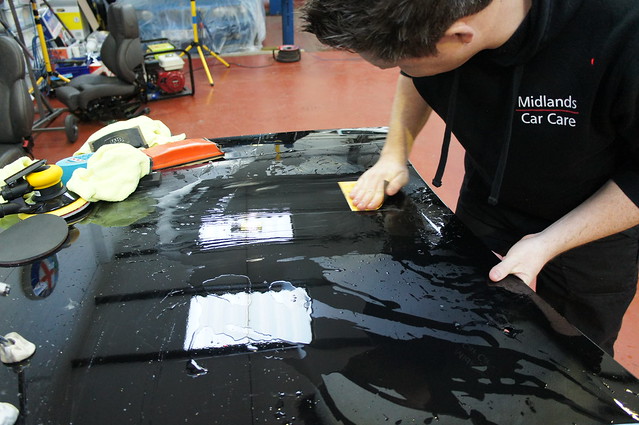
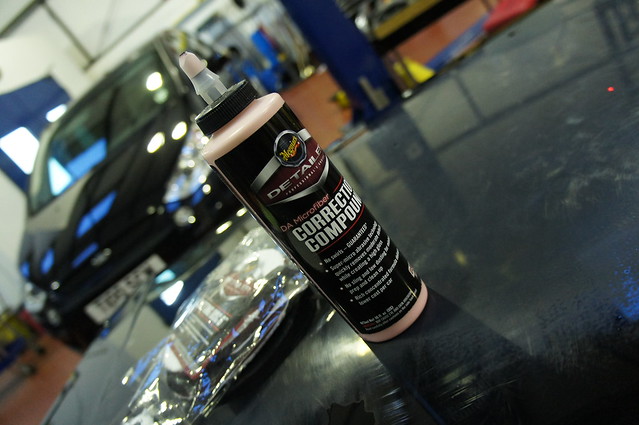
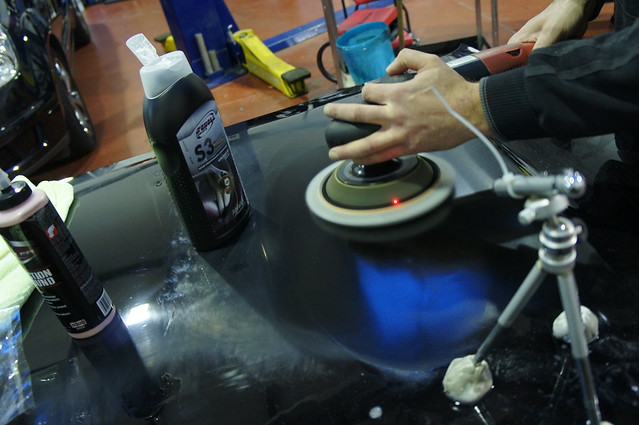
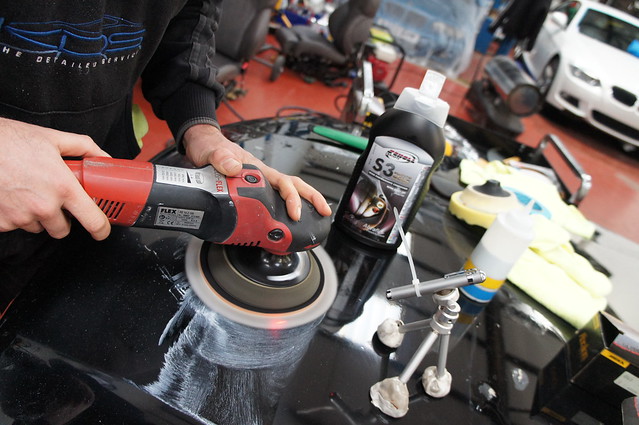
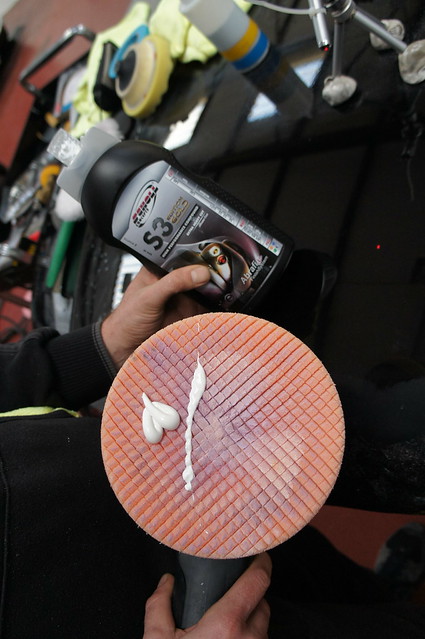
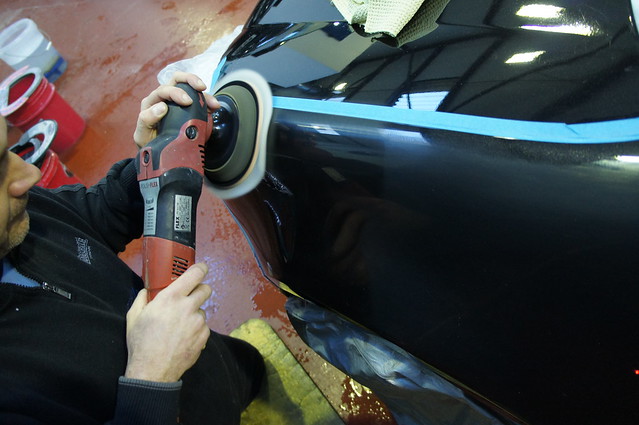
However, clearly not perfect… so next Kelly polished the panel up with Scholl S3 and a Scholl Wool Pad via Flex Rotary:

DSC01573 by RussZS, on Flickr

DSC01576 by RussZS, on Flickr
So the top half of his section of the panel was all done by machine (2000 then 4000 as I’ve seen on here many times) and the bottom part was all done by hand 1500, 2000, 2500, 3000 and 4000 (done properly IMO!).
Using a PDR light, we can see the bottom half of the panel (done by hand)
DSC01584 by RussZS, on Flickr
(Note the dent)
Now the top half, done by machine:
DSC01586 by RussZS, on Flickr
Now we can see that the orange peel has been flattened to an extent, but has not been removed entirely. From my perspective, it was clear to see that sanding by machine was not only very quick but also very easy to do – easier than correcting paint with a rotary certainly! Whilst it did flatten a little, it was beginning to become clear that to remove orange peel correctly and fully, then it needed to be done by hand.
Further pics of the panel:
Top Half (machine)

DSC01590 by RussZS, on Flickr
Low Half (hand)
DSC01593 by RussZS, on Flickr
Then it was my turn….!!!
So, before I started, we took a paint reading:
DSC01597 by RussZS, on Flickr
I started, like Kelly did, with 1500 grit:

DSC01601 by RussZS, on Flickr
DSC01600 by RussZS, on Flickr
DSC01599 by RussZS, on Flickr
Very scary stuff at first! It needed another pass to completely flatten the remaining peel:
DSC01603 by RussZS, on Flickr
DSC01605 by RussZS, on Flickr
Much better… much more even coverage and crucially, the peel is all but removed:
DSC01606 by RussZS, on Flickr
2000 grade was next, then 2500:
DSC01608 by RussZS, on Flickr

DSC01609 by RussZS, on Flickr
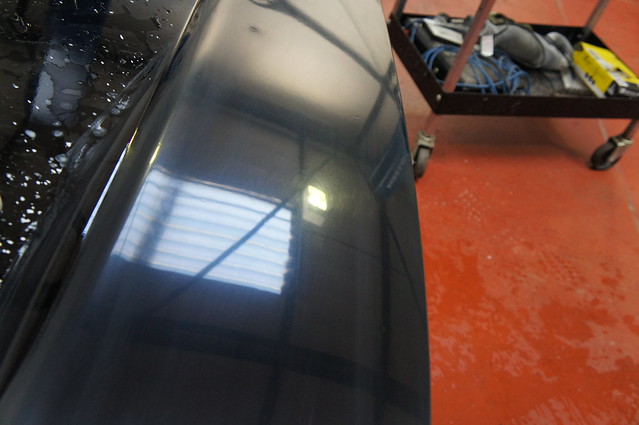
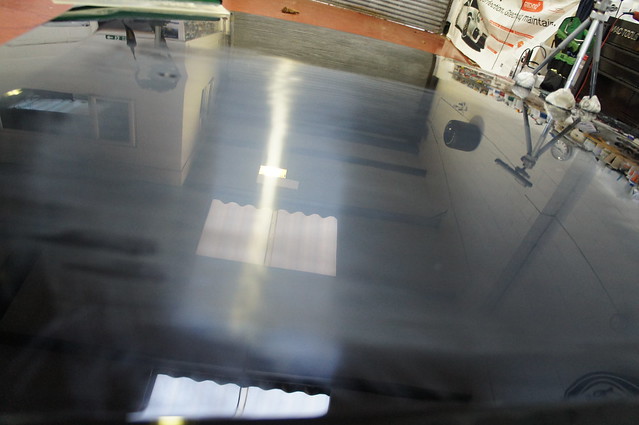
You can see the gloss starting to return to the paint at this stage, it becomes far more reflective.
DSC01611 by RussZS, on Flickr
We finished with 3000:
DSC01613 by RussZS, on Flickr
DSC01612 by RussZS, on Flickr
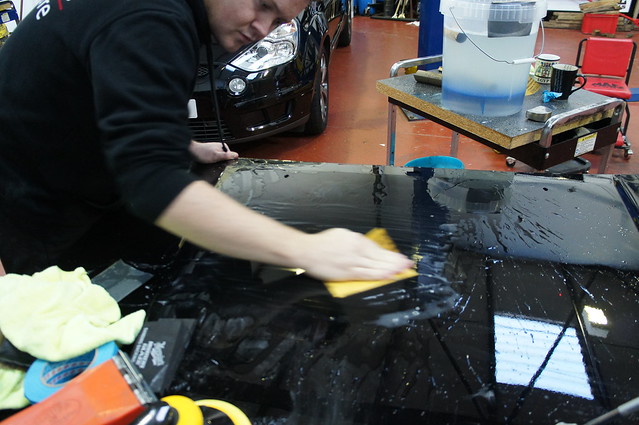
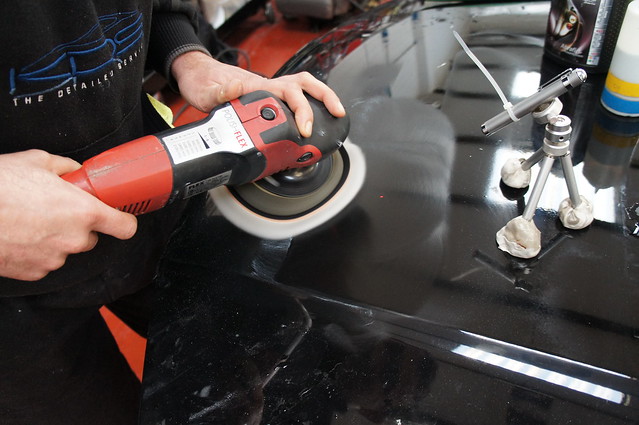
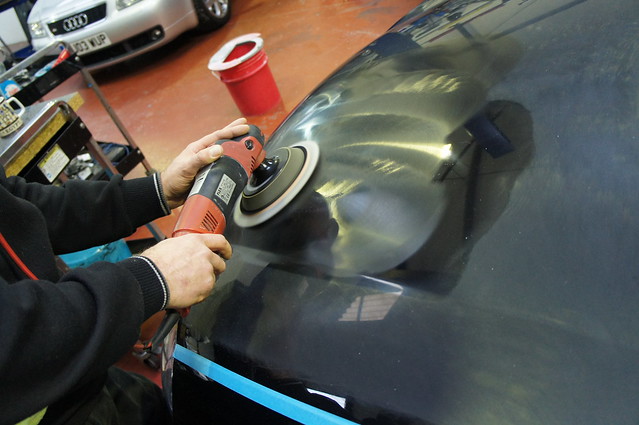
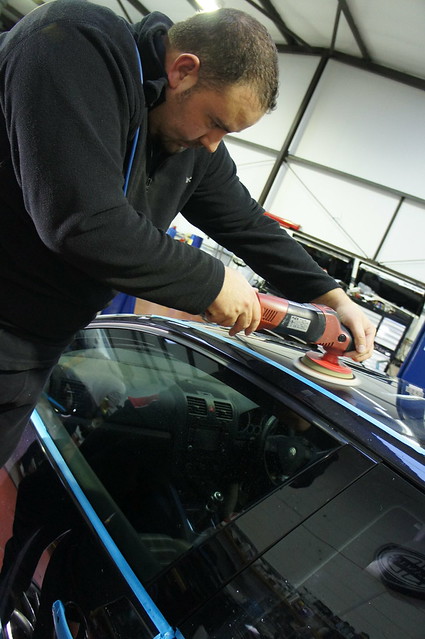
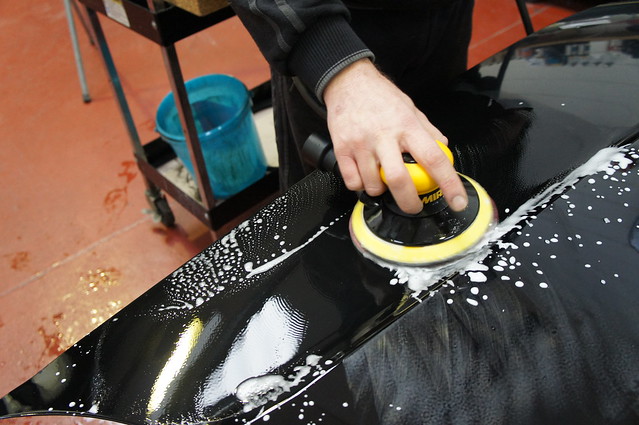
Next I used the Flex/S3/Wool combination to remove the sanding marks:
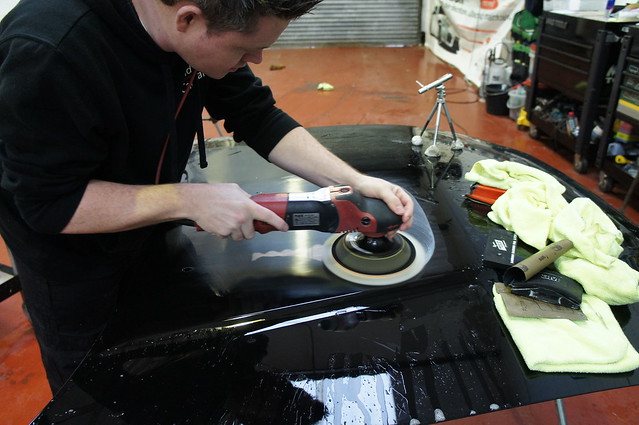
DSC01614 by RussZS, on Flickr
-
12-19-2011, 05:22 PM #3
- Join Date
- Dec 2011
- Posts
- 23
- Post Thanks / Like
Re: Kelly@KDS Keltec and Midlands Car Care Wet Sand Tuition Detail - Edition 30 Golf GTI
DSC01617 by RussZS, on Flickr
That was my first practice run, so now we would repeat the process but on the fixed point where the laser pointer is:
First the panel was flooded:
DSC01621 by RussZS, on Flickr
DSC01622 by RussZS, on Flickr
DSC01623 by RussZS, on Flickr

DSC01626 by RussZS, on Flickr
This is after 2 passes with 1500

DSC01634 by RussZS, on Flickr
DSC01638 by RussZS, on Flickr
2000 next:
DSC01639 by RussZS, on Flickr
DSC01643 by RussZS, on Flickr
DSC01645 by RussZS, on Flickr
Then on to 2500:
DSC01646 by RussZS, on Flickr
DSC01647 by RussZS, on Flickr
DSC01651 by RussZS, on Flickr
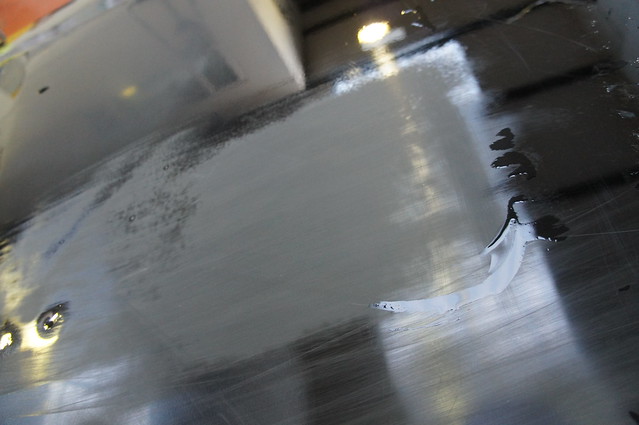
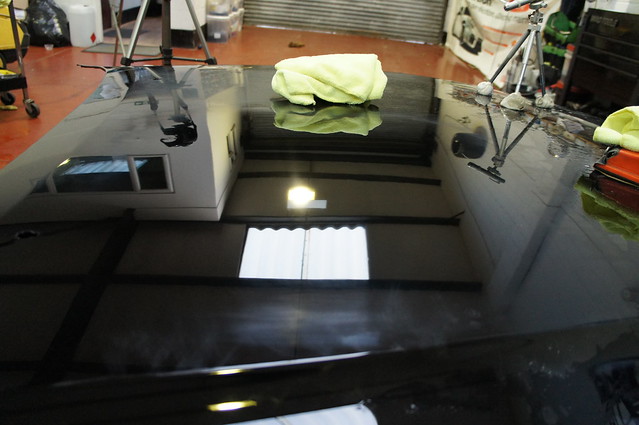
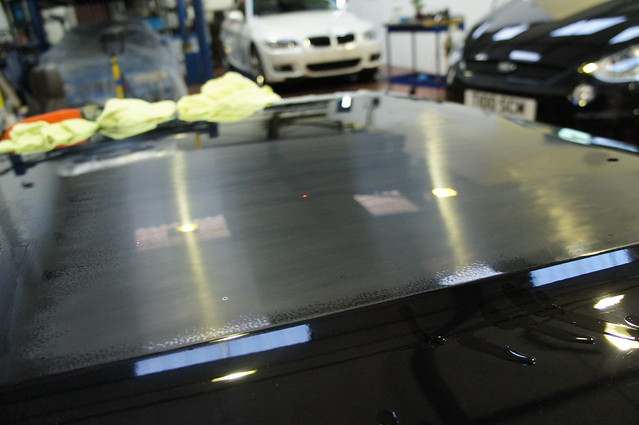
After 3000 we can really see the gloss starting to return, you also begin to get an appreciation of the final finish you are going to achieve:
DSC01656 by RussZS, on Flickr
DSC01652 by RussZS, on Flickr
So, to summarise, at this stage I had hit the panel with 1500 twice, 2000, 2500 and 3000. We have seen the clearcoat reduce from 134-136 range, down to 128, to a maximum removal of about 6-8 microns. However, we must remember that this paint is rather quite soft, as the next test so aptly demonstrates.
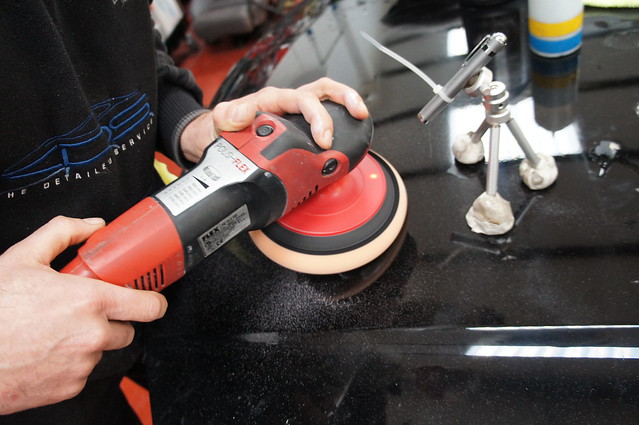
Now it was time to remove the sanding marks, which were very fine, with a machine polisher. To try something different, I suggested we tested this with the Megs MF system (cutting disc and D300) and a Megs G220 DA:
DSC01657 by RussZS, on Flickr
DSC01658 by RussZS, on Flickr

DSC01660 by RussZS, on Flickr
DSC01661 by RussZS, on Flickr
I was expecting this, after all of this wet sanding, to remove about 2 microns or so, however we were both very surprised by this…

DSC01662 by RussZS, on Flickr
So we’d taken off 6-8 from all of that wet sanding, then the same again use the Megs MF system!! I was very surprised by the rate of removal. I worked the panel for 2-3 passes… as recommended.
Next, to test how much we would have removed had we used a Rotary, Wool, S3 and the right technique:
DSC01665 by RussZS, on Flickr
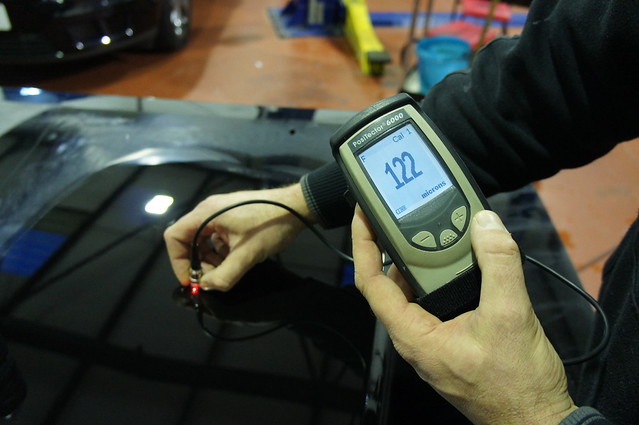
This took it down to 122:
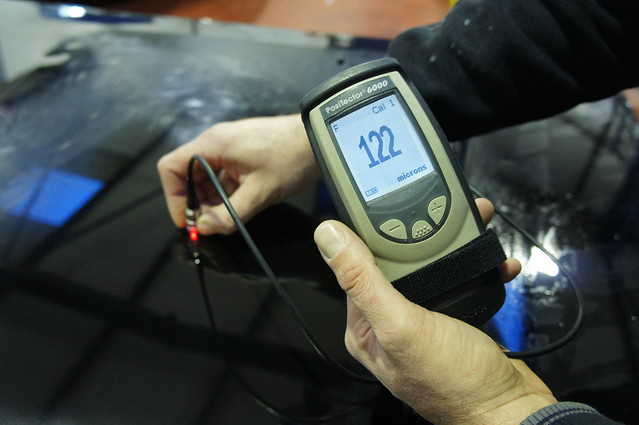
DSC01664 by RussZS, on Flickr
Next Kelly refined with Scholl Orange Spider Pad and S17+:
DSC01669 by RussZS, on Flickr
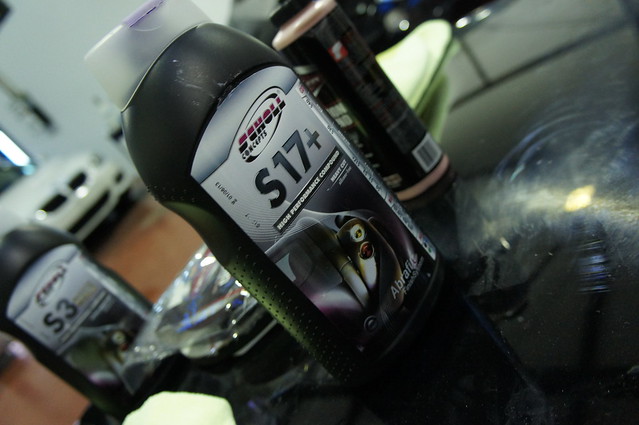
DSC01668 by RussZS, on Flickr
Then a further set with 3M Yellow Pad and a mix of 3M UltraFina and Extra Fine Compound, to leave:
DSC01672 by RussZS, on Flickr
DSC01673 by RussZS, on Flickr
Final reading of:
DSC01676 by RussZS, on Flickr
-
12-19-2011, 05:24 PM #4
- Join Date
- Dec 2011
- Posts
- 23
- Post Thanks / Like
Re: Kelly@KDS Keltec and Midlands Car Care Wet Sand Tuition Detail - Edition 30 Golf GTI
This was the end of Day One. I was staggered by the difference in the clarity of the panel, especially given that I’d done it largely myself! The removal rate of the Megs MF system was a bit of an eye opener for me too – I’ve only tended to use it on harder cars, removing around 3 microns. I’m going to do some further testing on softer paints to see if what we saw here is consistent. The effectiveness of wool surprised me too, and also how very little is actually being removed by the wet sanding process (especially when compared to the MF system). That was a long, but rewarding 12 hours…
Day Two:
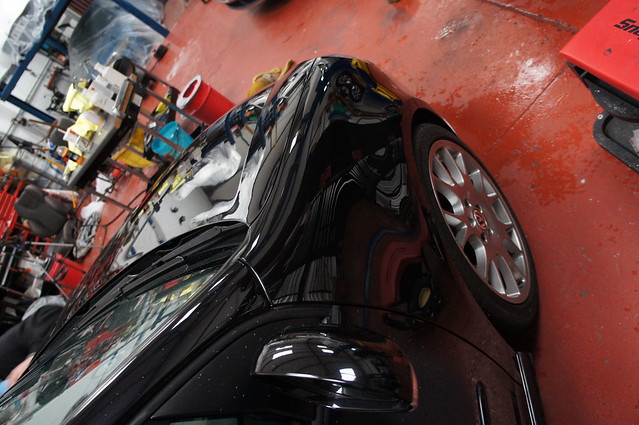
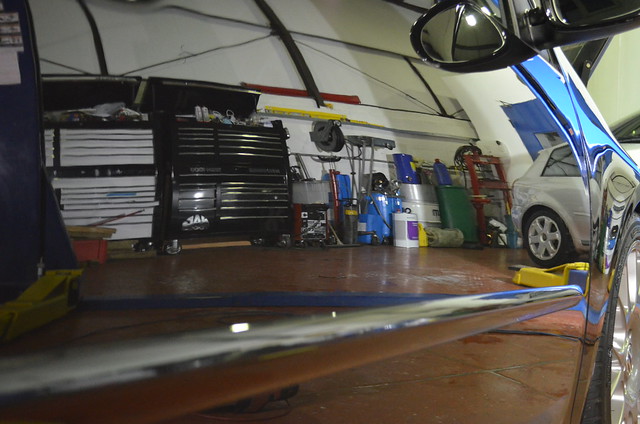
Today we would be starting on my Golf! I was feeling quietly confident after doing a good job on the test panel – but as I’d soon discover, it’s a lot trickier working on a car with curved panels, when compared to a nice flat bonnet!
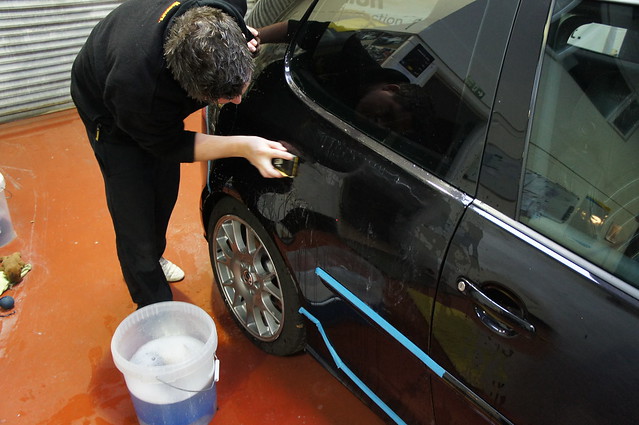
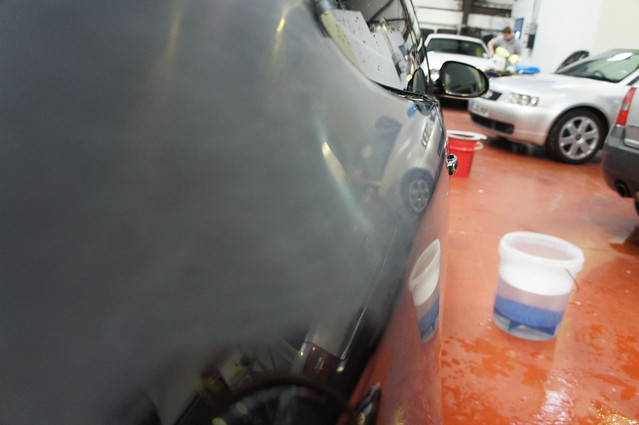
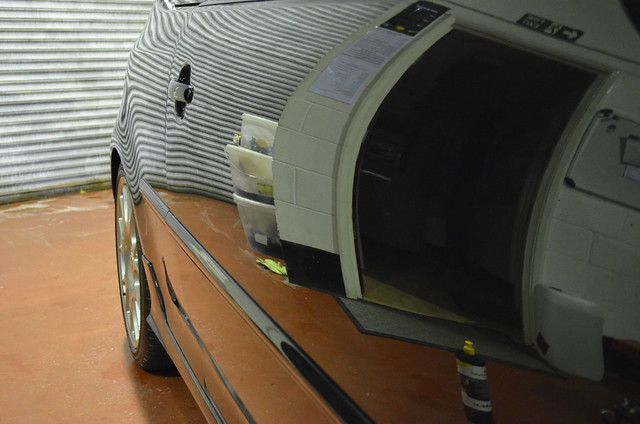
My car was shockingly filthy, so would obviously need a thorough cleaning before progressing. Paul, one of Kelly’s team very kindly cleaned the Golf for me, whilst Kelly let me have a play with the smaller Mirka sander and looking at RDS removal.
Letting Paul clean my car was a very odd experience for me as I’d not let anyone near my car for the past 5 years. However, as he was one of Kelly’s guys, I’m sure it’d be cared for in the highest possible way!

DSC01677 by RussZS, on Flickr

DSC01678 by RussZS, on Flickr
DSC01679 by RussZS, on Flickr
What a shocking state – hardly the best rolling advertisement for me!!
DSC01686 by RussZS, on Flickr
Back inside, Kelly was busy with his blade creating a load of RDS’s for me to remove!

DSC01689 by RussZS, on Flickr
I’ve seen lots of threads where a Mirka and Sanding discs are used to remove an RDS, so Kelly was keen for me to have a go at this to see how effective this process would be:
DSC01694 by RussZS, on Flickr
DSC01695 by RussZS, on Flickr
2000 disc:
DSC01698 by RussZS, on Flickr
It soon became very evident that wet sanding by machine, due to the firmness of the discs used, was levelling the paint (as expected) and therefore was not very effective at rounding any scratches off. The other point here is that you would be flattening the orange peel to an extent too, so this could look very odd on a very ‘peely’ surface.
On the taped off area, Kelly showed me how effective a rotary is at rounding RDS’s:

DSC01722 by RussZS, on Flickr
DSC01724 by RussZS, on Flickr
Really edging the pad to get the rouding to be as effective as possible:
DSC01725 by RussZS, on Flickr
DSC01729 by RussZS, on Flickr
The scratches were beginning to disappear, but so was the clearcoat!!
DSC01742 by RussZS, on Flickr
Still they were not quite gone, so more cutting with the Orange SP and S3:
DSC01743 by RussZS, on Flickr
He was REALLY working the panel too:
DSC01746 by RussZS, on Flickr
DSC01750 by RussZS, on Flickr
DSC01749 by RussZS, on Flickr
What became clear at this point was that sanding wasn’t removing nearly as much clearcoat as I perhaps perceived, and that a lot of us have removed far more removing an RDS (clearly these were very severe examples though!)
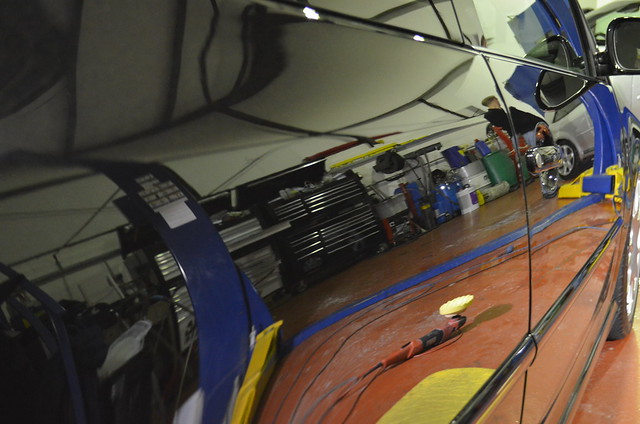
We took a couple more pics of the panel and then turned our attention to the Golf:
DSC01796 by RussZS, on Flickr
Please note that’s a bare panel, no CG Kore :p
DSC01797 by RussZS, on Flickr
DSC01800 by RussZS, on Flickr
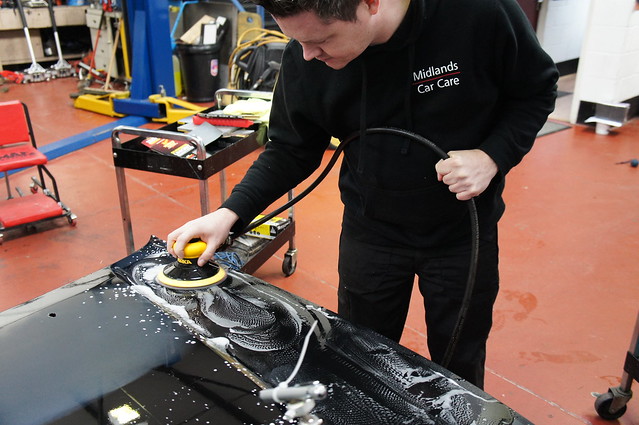
Now it was time for this:

DSC01801 by RussZS, on Flickr
DSC01802 by RussZS, on Flickr
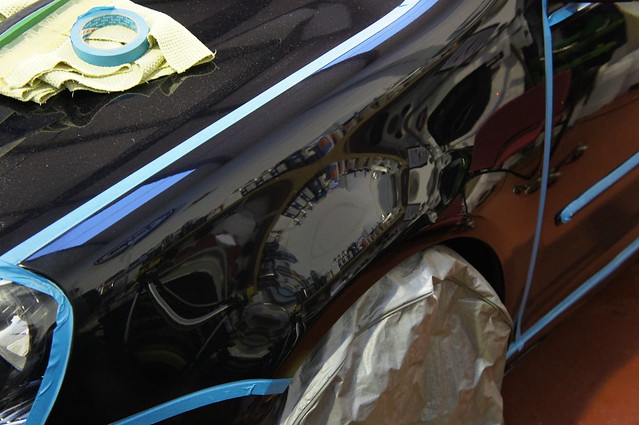
It looks well from a distance, but up close…

DSC01806 by RussZS, on Flickr
DSC01808 by RussZS, on Flickr
DSC01810 by RussZS, on Flickr
DSC01811 by RussZS, on Flickr

DSC01814 by RussZS, on Flickr
DSC01813 by RussZS, on Flickr
-
12-19-2011, 05:25 PM #5
- Join Date
- Dec 2011
- Posts
- 23
- Post Thanks / Like
Re: Kelly@KDS Keltec and Midlands Car Care Wet Sand Tuition Detail - Edition 30 Golf GTI
DSC01817 by RussZS, on Flickr
DSC01818 by RussZS, on Flickr

DSC01820 by RussZS, on Flickr
DSC01819 by RussZS, on Flickr
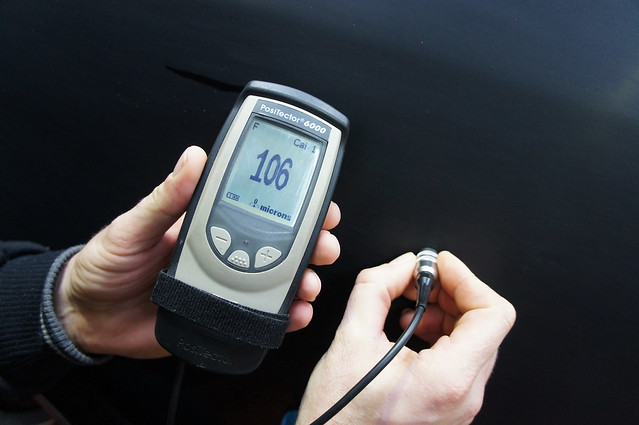
Again, we calibrated the PosiTector 6000:

DSC01824 by RussZS, on Flickr
It was out by a fair bit..so it was calibrated:
DSC01825 by RussZS, on Flickr
Test on the blue Shim (should be 125)
DSC01829 by RussZS, on Flickr
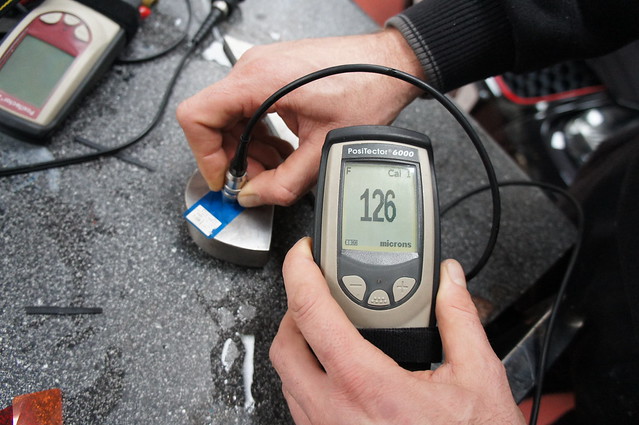
DSC01831 by RussZS, on Flickr
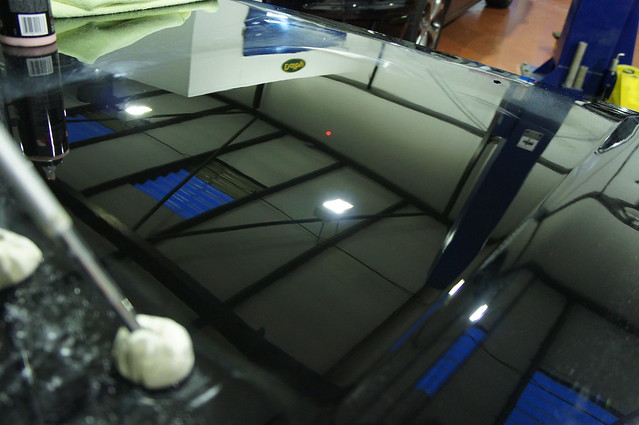
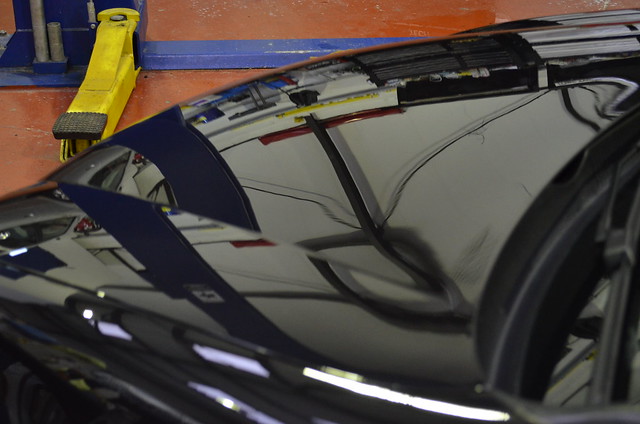
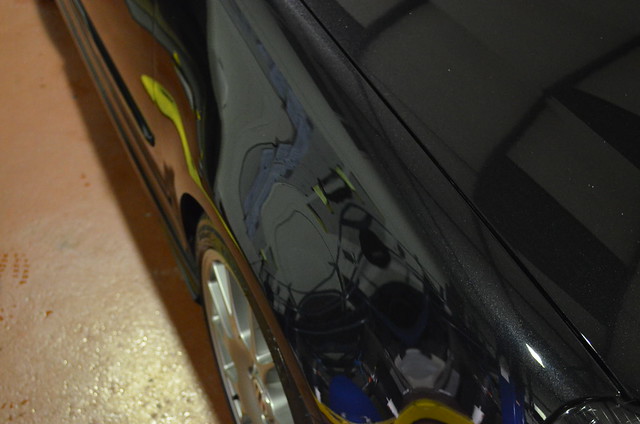
A few more pics of my peel using a PDR light:
DSC01841 by RussZS, on Flickr
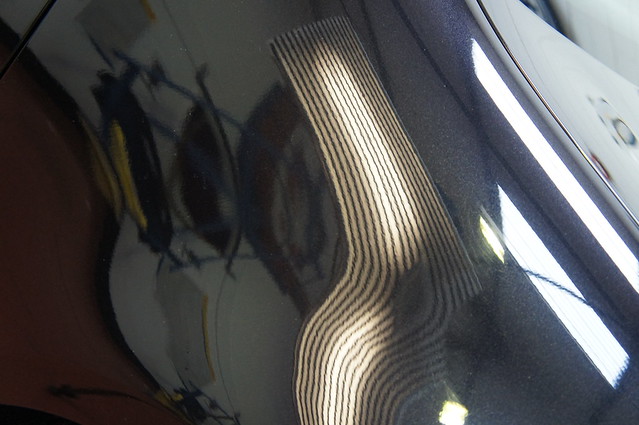
DSC01842 by RussZS, on Flickr

DSC01845 by RussZS, on Flickr
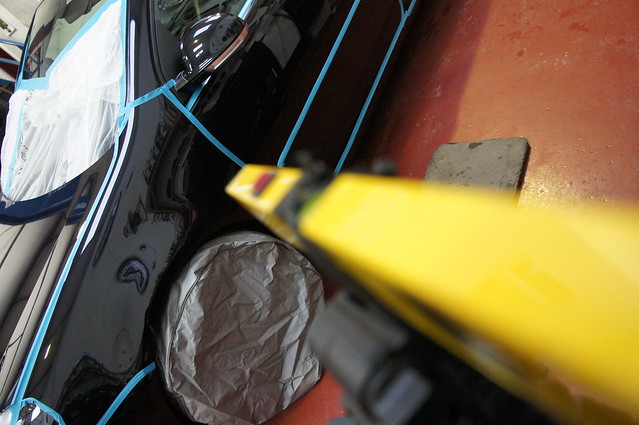
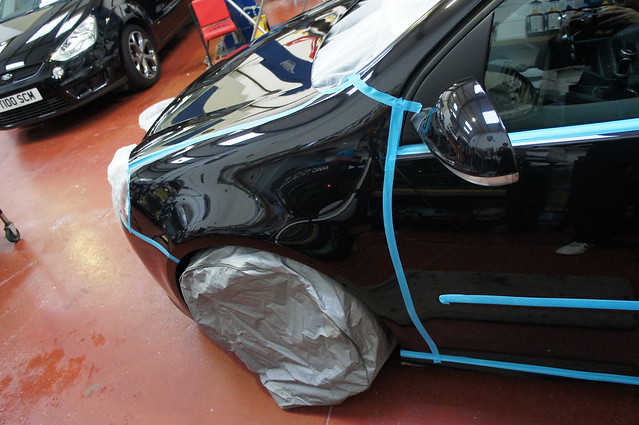
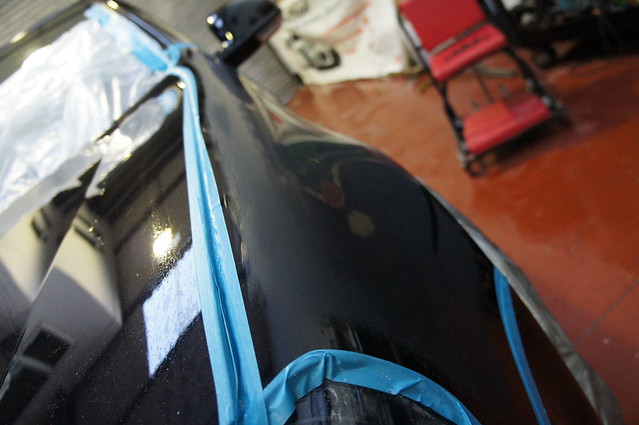
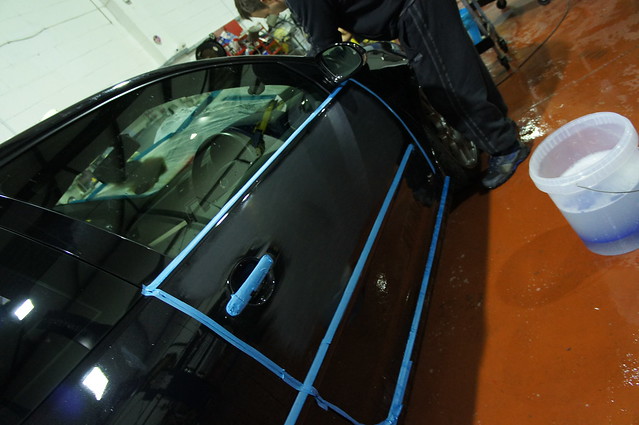
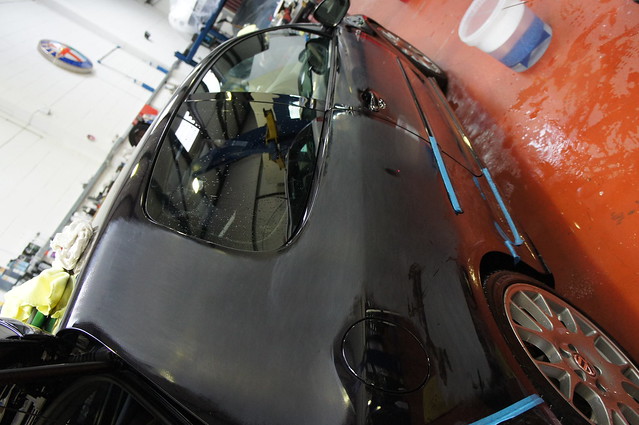
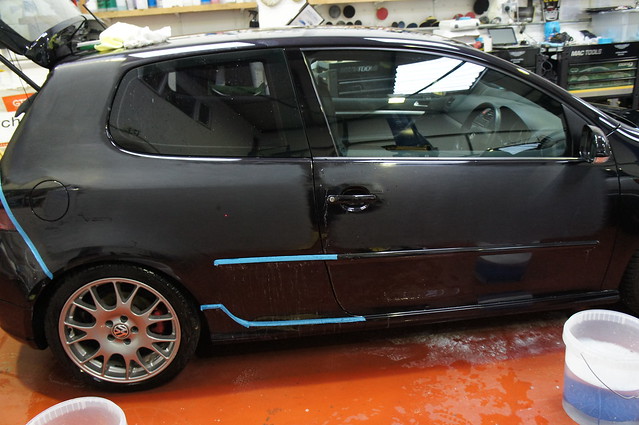
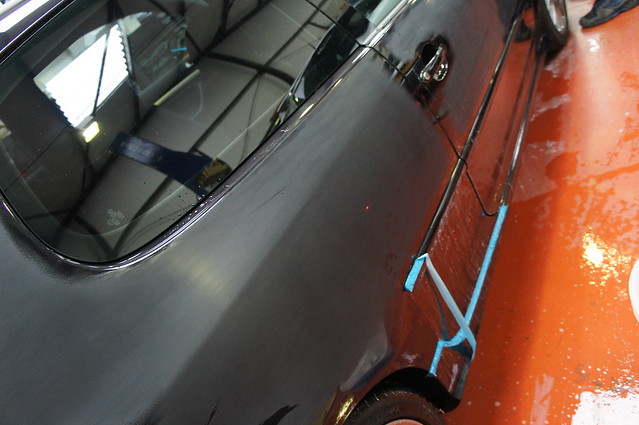
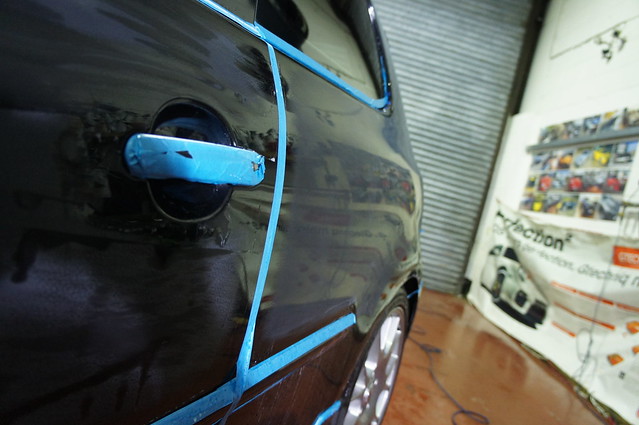
We also taped up all panel gaps and put a protective sheet over my engine bay. I’d not considered this previously, but it was to stop the water, which would contain clearcoat, from drying and hardening in my panel gaps!
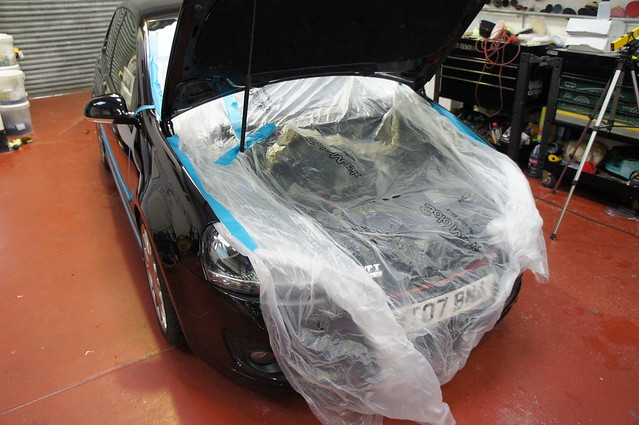
DSC01846 by RussZS, on Flickr
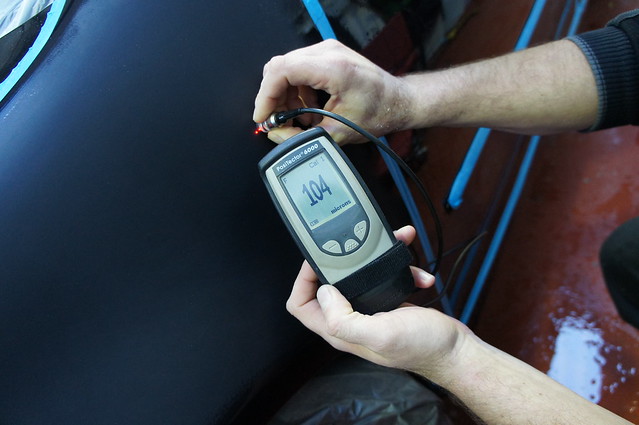
The worryingly low reading, which was our starting point!!
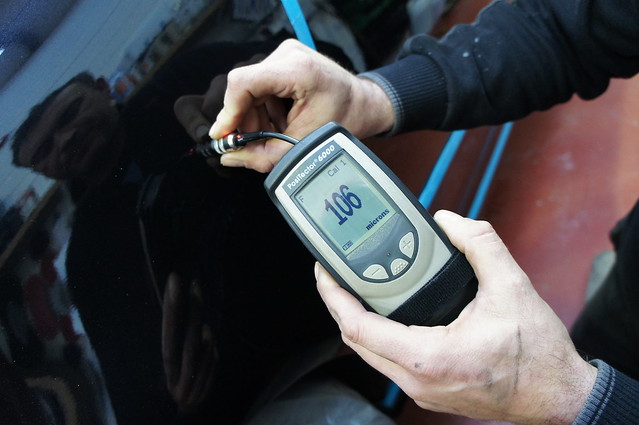
DSC01850 by RussZS, on Flickr
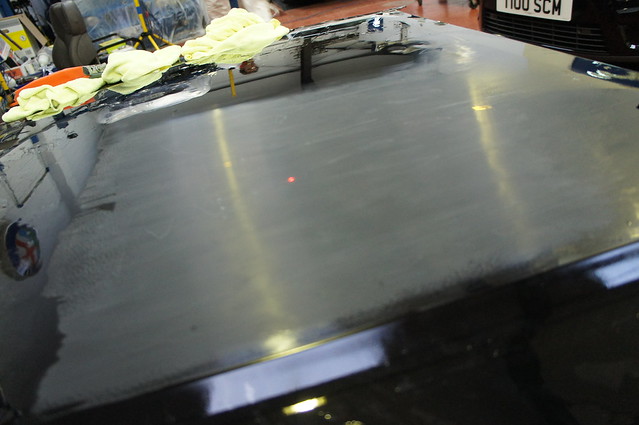
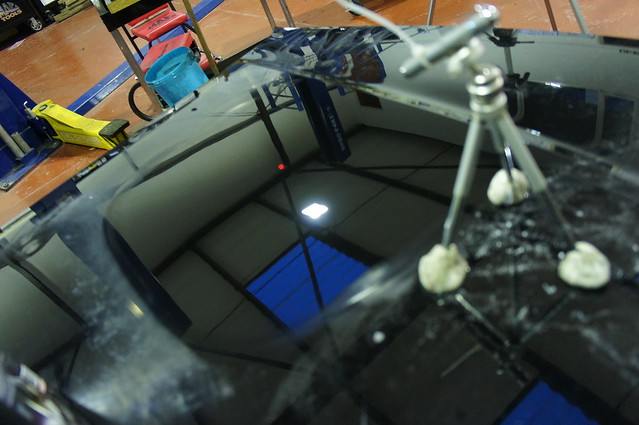
Laser Pointer setup again to measure removal rates:
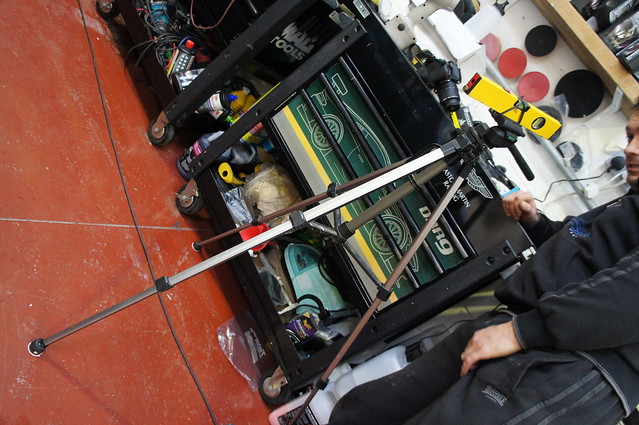
DSC01852 by RussZS, on Flickr
DSC01853 by RussZS, on Flickr
Wheel protected too:
DSC01856 by RussZS, on Flickr
Being the kind Gent that I am, I let Kelly do the first panel
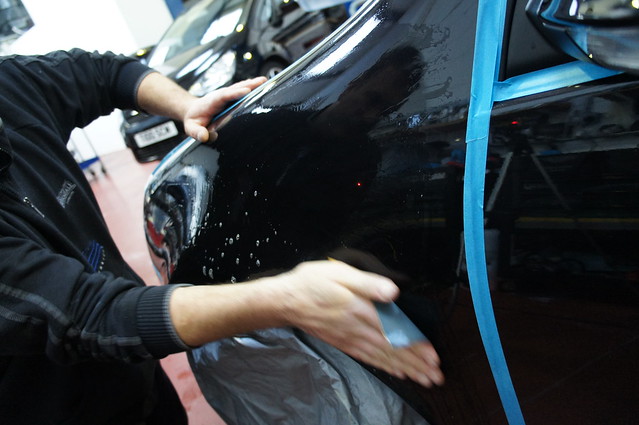
DSC01862 by RussZS, on Flickr
DSC01863 by RussZS, on Flickr
After 1500:

DSC01871 by RussZS, on Flickr
Still 106!!!
2000 next:
DSC01883 by RussZS, on Flickr
-
12-19-2011, 05:26 PM #6
- Join Date
- Dec 2011
- Posts
- 23
- Post Thanks / Like
Re: Kelly@KDS Keltec and Midlands Car Care Wet Sand Tuition Detail - Edition 30 Golf GTI

DSC01886 by RussZS, on Flickr

DSC01892 by RussZS, on Flickr
2500…
DSC01893 by RussZS, on Flickr
DSC01894 by RussZS, on Flickr
DSC01895 by RussZS, on Flickr
3000:
DSC01899 by RussZS, on Flickr

DSC01900 by RussZS, on Flickr
DSC01904 by RussZS, on Flickr
Scholl S3 and Wool next, to remove the 3000 marks:
DSC01909 by RussZS, on Flickr

DSC01910 by RussZS, on Flickr
DSC01913 by RussZS, on Flickr
DSC01919 by RussZS, on Flickr
Refined next with 3M Yellow system:
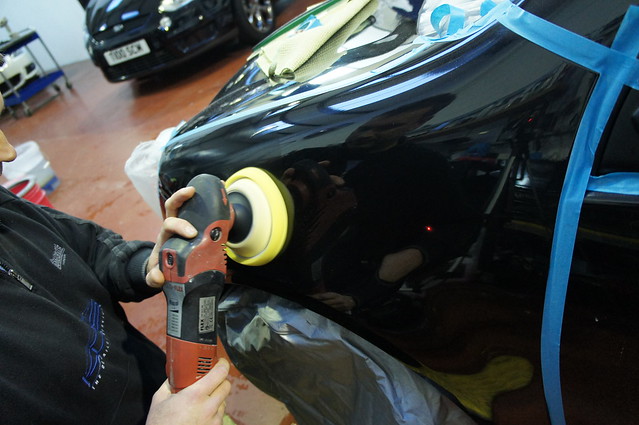
DSC01920 by RussZS, on Flickr

DSC01923 by RussZS, on Flickr
Wow… now I’m getting excited (and scared that it’s my turn soon!!)
DSC01930 by RussZS, on Flickr
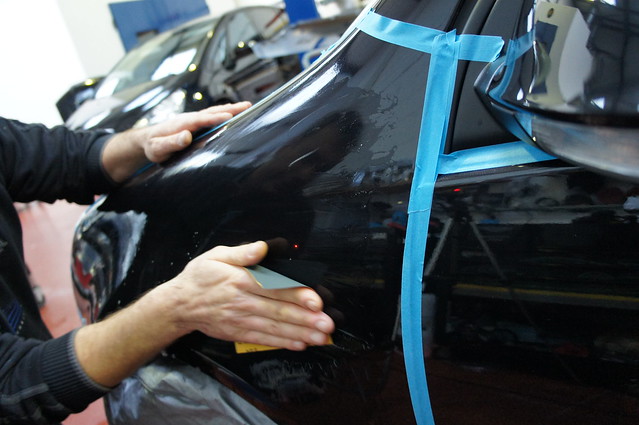
I started on the opposing wing, with 1500:

DSC01935 by RussZS, on Flickr
Whilst Kelly did the bonnet:

DSC01940 by RussZS, on Flickr
I worked through the grades – 1500, 2000, 2500 then 3000, then it was polished up with S3:
DSC01942 by RussZS, on Flickr
The drivers door was next, same process, but we wouldn’t be polishing this time – just sanding around the car now, down to 3000, then polishing at the end:

DSC01949 by RussZS, on Flickr
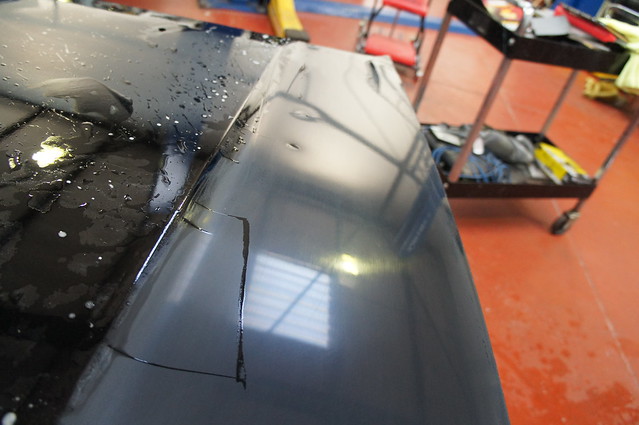
This is a great pic showing the difference in finish between 2500 (on the left) and 3000
DSC01951 by RussZS, on Flickr
That was near the end of Day Two…
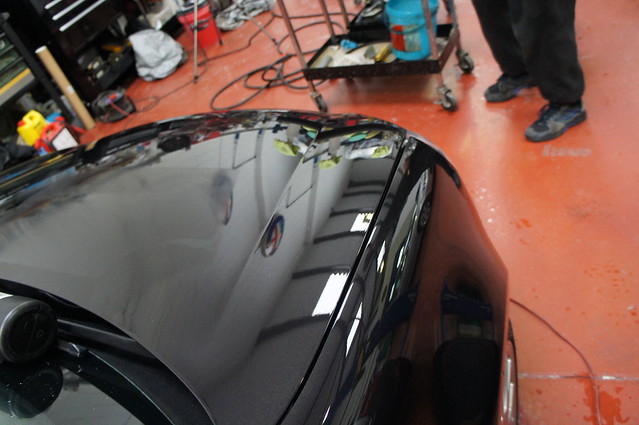
DSC01956 by RussZS, on Flickr
Day Three:
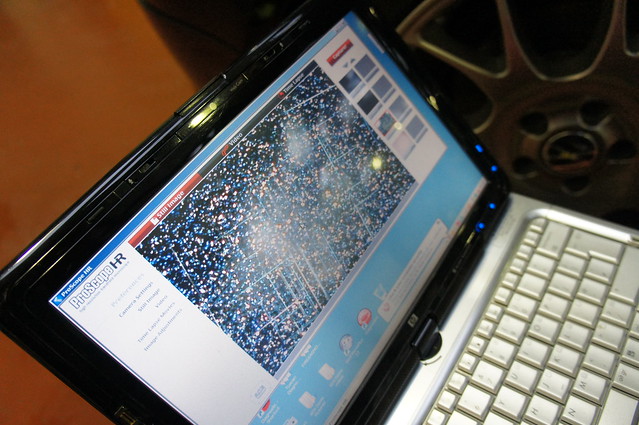
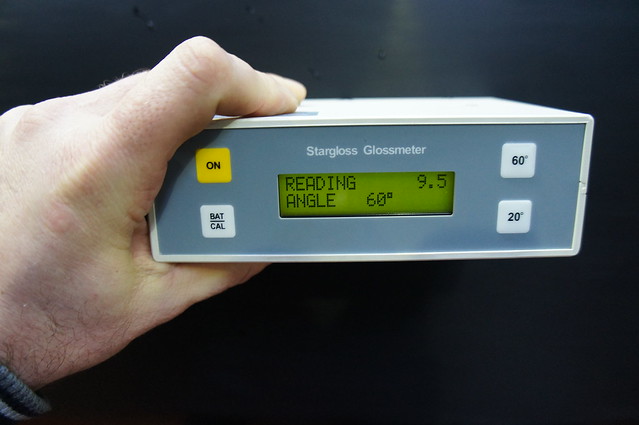
Day three was toy day!! I’d asked Kelly about the microscopes I’d seen being used, and the Gloss Meter etc, and they all came out to play!!
We wanted to measure the difference in gloss levels between the sanding stages and show the increase at the end from the work we’d done.
So to begin:
DSC01968 by RussZS, on Flickr
After 1500!!

DSC01969 by RussZS, on Flickr
This also came out!!

DSC01972 by RussZS, on Flickr
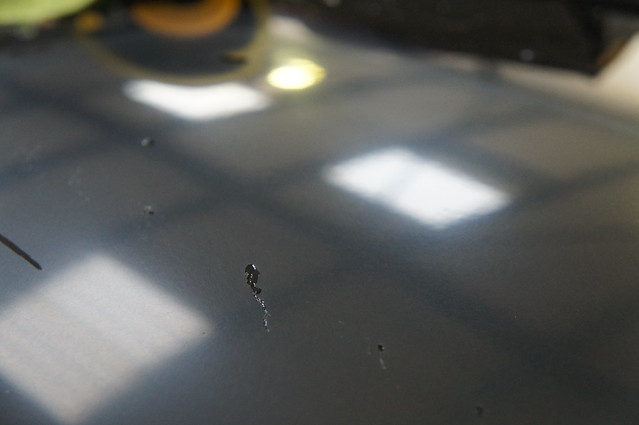
It was scary to see how many ligt scratches I had in my paint!! (this area was before sanding!!)
DSC01973 by RussZS, on Flickr
This pic shows was sanding marks look like:

DSC01979 by RussZS, on Flickr
Much, much finer!
Kelly continued to work on the bonnet, leaving me to wet sand on my own, unsupervised!!
DSC01985 by RussZS, on Flickr
-
12-19-2011, 05:27 PM #7
- Join Date
- Dec 2011
- Posts
- 23
- Post Thanks / Like
Re: Kelly@KDS Keltec and Midlands Car Care Wet Sand Tuition Detail - Edition 30 Golf GTI
DSC01988 by RussZS, on Flickr
After 2000:
DSC01992 by RussZS, on Flickr
DSC01995 by RussZS, on Flickr

DSC01997 by RussZS, on Flickr
Oh dear…
DSC02000 by RussZS, on Flickr
DSC02003 by RussZS, on Flickr
However from the right angle, its not quite so scary:
DSC02001 by RussZS, on Flickr
Working through the grades:

DSC02009 by RussZS, on Flickr

DSC02012 by RussZS, on Flickr
DSC02018 by RussZS, on Flickr
DSC02025 by RussZS, on Flickr
DSC02035 by RussZS, on Flickr
The bonnet was coming along nicely too!
DSC02039 by RussZS, on Flickr
I continued around the car using 1500, 2000, 2500 and 3000:
DSC02051 by RussZS, on Flickr
I was getting excited from seeing the potential on a few panels!!
DSC02054 by RussZS, on Flickr

DSC02055 by RussZS, on Flickr
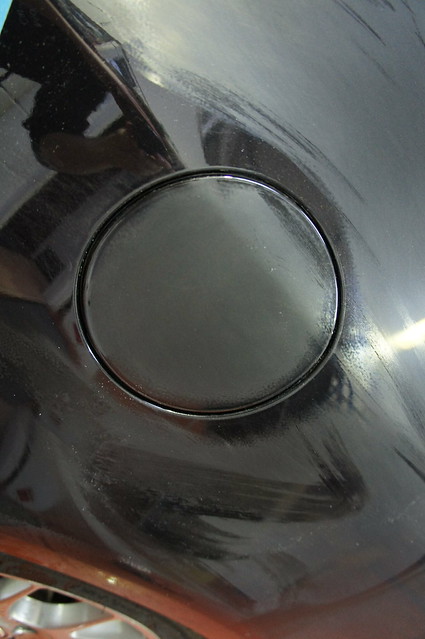
Kelly kindly did the petrol cap for me!
DSC02058 by RussZS, on Flickr
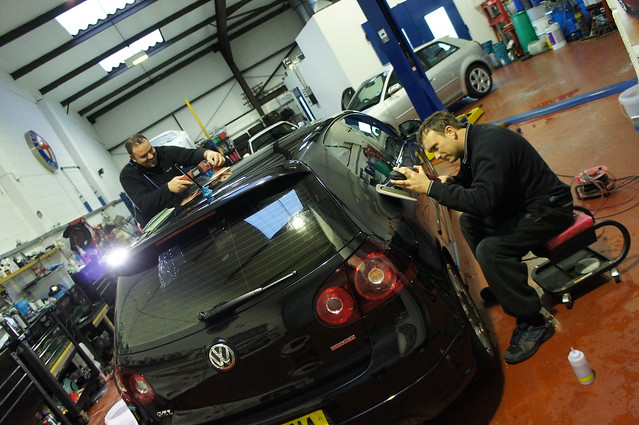
Roy from Pro Valeting also very kindly popped down to lend a hand with the machine polishing!!!
DSC02059 by RussZS, on Flickr
It’s not bad when two of the countries’ finest detailers are working on your car for you!!!
DSC02060 by RussZS, on Flickr
DSC02063 by RussZS, on Flickr
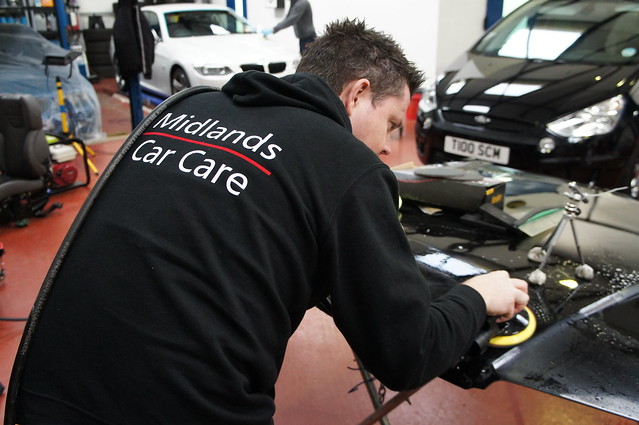
Roy and Kelly very kindly followed me around the car removing the sanding marks. I corrected the door myself and Kelly refined it.
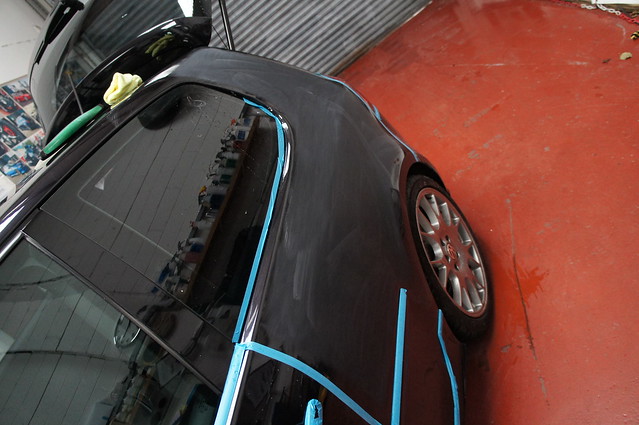
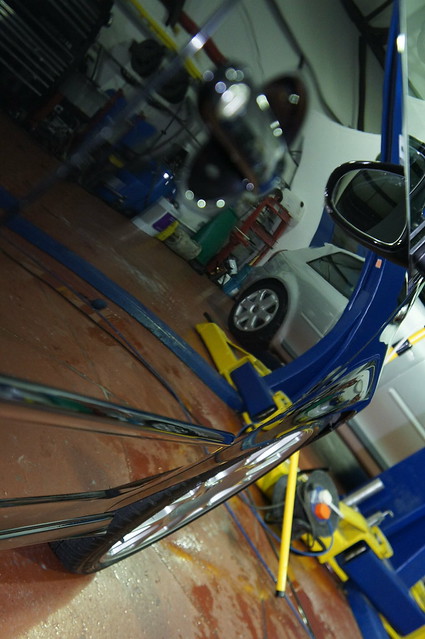
Now please consider that due to time constraints, we were unable to complete the entire car, so we only did the top half, of the sides, the entire wings and the bonnet. However, I now know somebody in the Midlands who can finish this off!
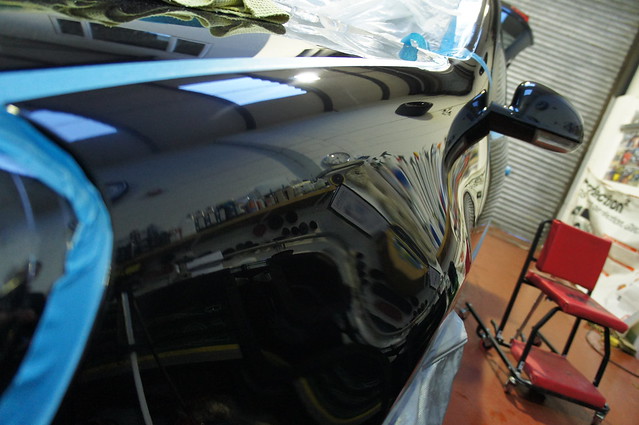
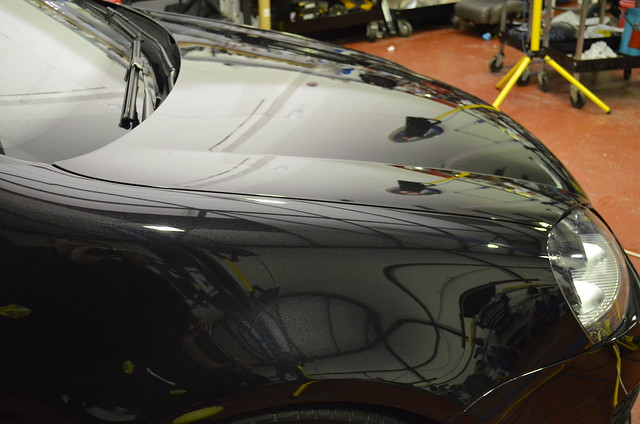
For speed, we finished with Carlack 68 NSC (available from CYC) and GTechniq C2, which wasspritzed on.
Here are a couple of finished shots. Kelly has a lot more on his camera, which give a better representation of the amazing finish we managed to achieve here between us.
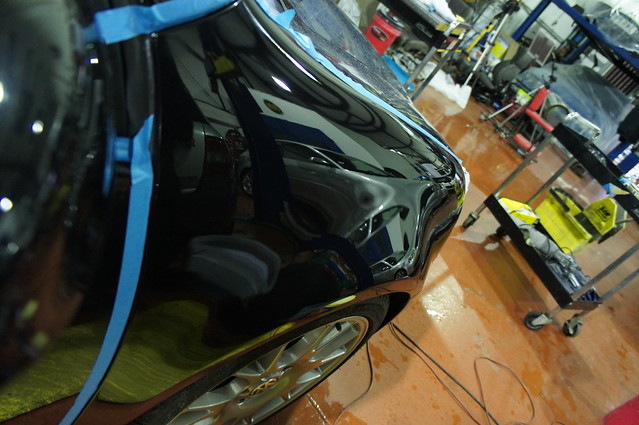
DSC02066 by RussZS, on Flickr
DSC02067 by RussZS, on Flickr
DSC02075 by RussZS, on Flickr
DSC02080 by RussZS, on Flickr
DSC02082 by RussZS, on Flickr
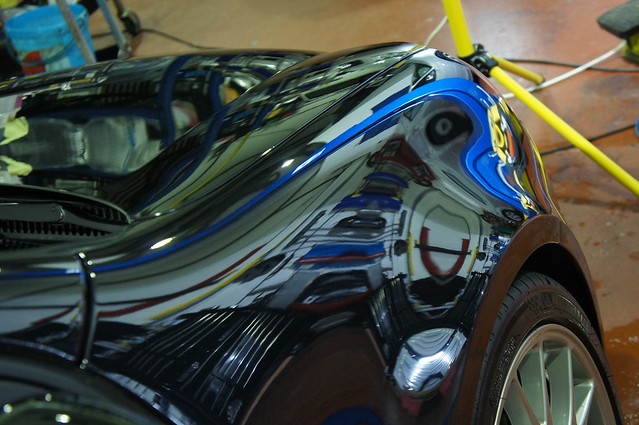
DSC02081 by RussZS, on Flickr
DSC02083 by RussZS, on Flickr
-
12-19-2011, 05:28 PM #8
- Join Date
- Dec 2011
- Posts
- 23
- Post Thanks / Like
Re: Kelly@KDS Keltec and Midlands Car Care Wet Sand Tuition Detail - Edition 30 Golf GTI
DSC_0054 by RussZS, on Flickr
DSC_0015 by RussZS, on Flickr
DSC_0017 by RussZS, on Flickr
DSC_0012 by RussZS, on Flickr

DSC_0018 by RussZS, on Flickr
DSC_0001 by RussZS, on Flickr
DSC_0006 by RussZS, on Flickr

DSC_0007 by RussZS, on Flickr
DSC_0002 by RussZS, on Flickr
DSC_0019 by RussZS, on Flickr
DSC_0014 by RussZS, on Flickr
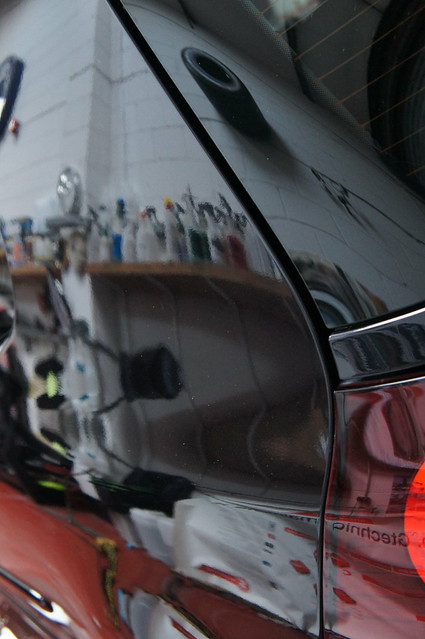
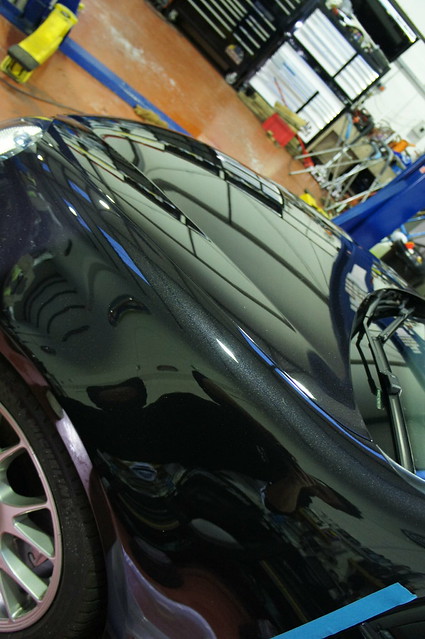
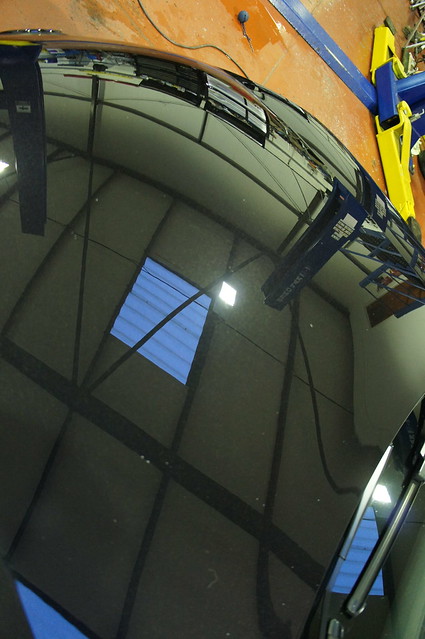
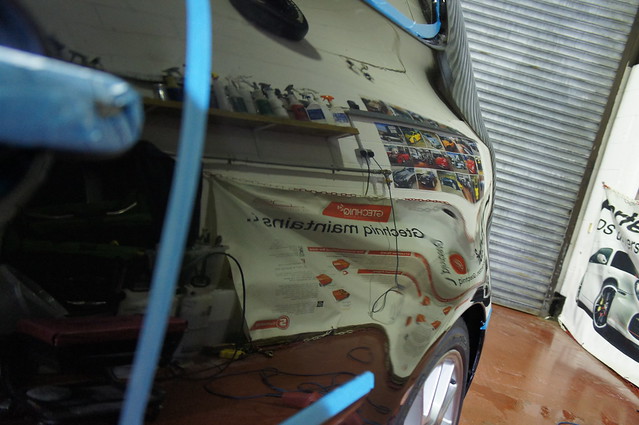
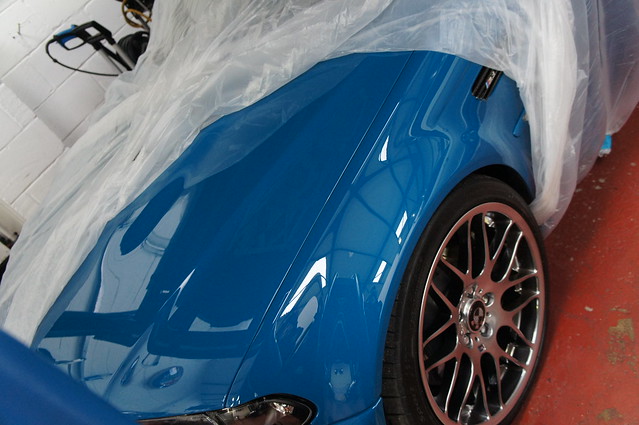
What an amazing three days. I’d like to express my deepest and sincerest thanks to Kelly and his team (Paul, Cons and Tracey) for their wonderful hospitality and time. They are a great bunch. I also have been astounded by Kelly’s detailing skills and knowledge of paint and all things detailing. He really is up there with the very best. I’ve never seen anyone handle a rotary with such skill and fluidity. I consider myself to be very good, but he has shown I can still learn more in terms of correcting more effectively in a shorter space of time – I’m going back for a bit more tuition next year. I’ve seen a lot of people polish, but nobody quite like this, and I need to learn in this way too.
My car looks incredible, and it’s so very rewarding knowing that I have done a lot of it myself. I could have never got it to look this good with a rotary alone. Swirl removal and jewelling can only take a finish so far. The increase in reflectivity and clarity you get from removing the orange peel is nothing short of breathtaking and I’d recommend it to anyone. I think the key point to remember is that on my car, we were removing as little as 6-8 microns to achieve this finish. The Megs MF system took off just as many just removing the 4000 grit marks, and we took off 15-20 removing an RDS – these are things detailers are doing every day all over the world. Wet sanding isn’t nearly as scary as it looks. Clearly it won’t be for everybody and won’t be suitable for every car, but we should remember that we are only removing the ‘high points’ in the clearcoat and making it perfectly flat. Very little of the ‘base’ is actually removed at all.
I’d also like to say thank you to Roy – without Roy we would have struggled to finish it in time, and I’d still have a very swirly roof. Thanks as ever Roy, a true Gent.
If you managed to read it all – then thank you. I know I will have missed some key points and would be happy to answer any questions where I can. Kelly will also be doing a thread from his own perspective (and with more more professional photos lol!)
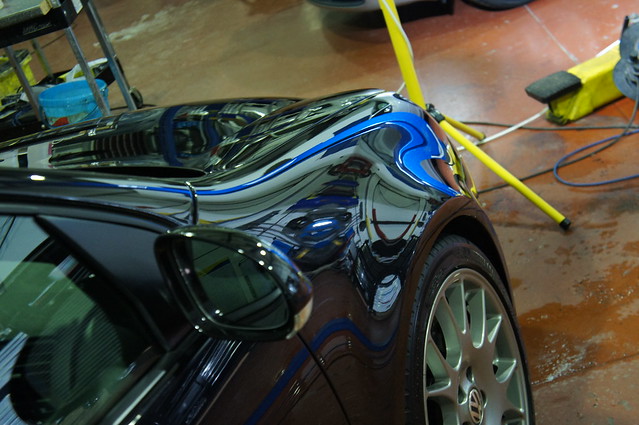
This is the money shot for me!
DSC02098 by RussZS, on Flickr
Oh and of course, not forgetting:
A few more pics from Kelly`s set:

DSC_0006 by RussZS, on Flickr

DSC_0005 by RussZS, on Flickr
and how cool is this one????
DSC_0010 by RussZS, on Flickr

DSC_0009 by RussZS, on Flickr
Oh and you HAVE to see Kelly`s M3 in the flesh..
I`ve seen a HD Video of it in the Sun and it`s INCREDIBLE!!
Here are a few pics to get an idea....
Wheels by Lepsons:
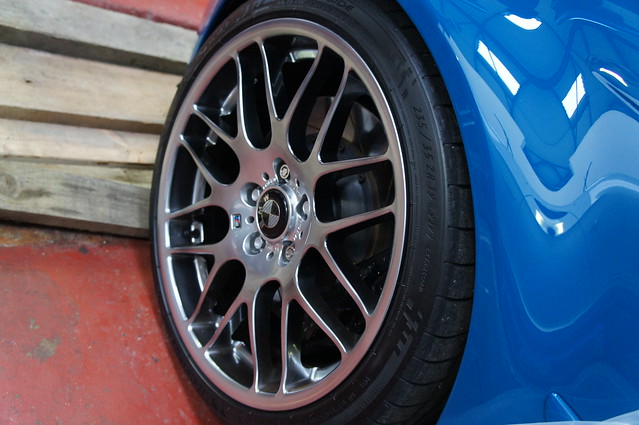
DSC01527 by RussZS, on Flickr
DSC01525 by RussZS, on Flickr

DSC01524 by RussZS, on Flickr
Russ
-
12-19-2011, 11:49 PM #9

- Join Date
- Aug 2011
- Posts
- 234
- Post Thanks / Like
Re: Kelly@KDS Keltec and Midlands Car Care Wet Sand Tuition Detail - Edition 30 Golf GTI
very nice write up, the flake really pops out in the paint now, looks much better without the orange peel...
-
12-20-2011, 11:49 AM #10is dazed & confused

- Join Date
- Dec 2008
- Location
- NE Ohio
- Posts
- 805
- Post Thanks / Like
Re: Kelly@KDS Keltec and Midlands Car Care Wet Sand Tuition Detail - Edition 30 Golf GTI
Thanks for the detailed writeup, very informative! I`ve seen Kelley`s work on Detailing World, always impressive with incredible results.

TL
-
12-20-2011, 01:58 PM #11Just a regular guy


- Join Date
- Feb 2009
- Location
- Oviedo/Stuart Florida
- Posts
- 15,278
- Post Thanks / Like
Re: Kelly@KDS Keltec and Midlands Car Care Wet Sand Tuition Detail - Edition 30 Golf GTI
That was a PHENOMENAL WRITE-UP!!! WOW!!!
It was great to read that. I was not familiar with the detailer you used for training (I haven`t been following the UK scene in quite some time) but it is clear that he knows what he is doing!
Thank you for sharing that here, I literally spent and 20 minutes reading every word.
-
12-20-2011, 03:46 PM #12Rasky's Auto Detailing

- Join Date
- Mar 2009
- Location
- Eden Prairie, MN
- Posts
- 5,011
- Post Thanks / Like
Re: Kelly@KDS Keltec and Midlands Car Care Wet Sand Tuition Detail - Edition 30 Golf GTI
This is by far one of the best wet sanding threads I`ve seen! Thank you for sharing! I`ve seen lots of Kelly`s work on DW and he definitely has mad skills.
-
12-20-2011, 04:08 PM #13Just a regular guy
- Join Date
- Feb 2009
- Location
- Oviedo/Stuart Florida
- Posts
- 15,278
- Post Thanks / Like
Re: Kelly@KDS Keltec and Midlands Car Care Wet Sand Tuition Detail - Edition 30 Golf GTI
Agreed, I`m inspired Originally Posted by RaskyR1

-
12-21-2011, 03:05 AM #14

- Join Date
- Jul 2011
- Posts
- 653
- Post Thanks / Like
Re: Kelly@KDS Keltec and Midlands Car Care Wet Sand Tuition Detail - Edition 30 Golf GTI
As posted on DW...
Originally Posted by stangalang
A great thread... your excitement and enthusiasm comes through in the writing. Originally Posted by RussZS

I have an opinion on this topic, which I hope you don`t mind if I share. A caveat- I don`t know a whole lot about these meters.
Let`s do a theoretical 3-step sanding of a painted panel. For simplicity sake, let`s assume the clear paint on this panel is a very thick 10 millimeters.
For our first cut, lets assume that the abrasive grains attached to our sanding sheet can potentially cut grooves into the paint 3mm deep. Let`s also assume that the sanding sheet is pushed across the surface only once, and that a maximum cut is indeed achieved (3mm).
Although we`ve cut 3mm-deep grooves into the paint, the areas between the grooves are left unaffected. We shall refer to the unaffected portion of paint as peaks, which are as tall as the paint originally was prior to sanding. If we were to take a reading of the sanded area, would it still register as being 10mm thick (the same as it was prior to sanding), or would it register 7mm? After all, the meter (the ultrasonic transducer, actually) would still sit upon the uppermost portion of the paint surface. Or... perhaps the meter would take an average the peak height and the groove depth, and give a reading of 8.5mm? In the case of this meter, it was mentioned that the meter delivers its readings in even numbers. I simply do not know how the meter works in this regard.
Moving on...
The goal of the second sanding step is to eliminate the peaks between the grooves without cutting further into the paint. To do this, we`ll use a sanding sheet that can potentially cut grooves into the paint 2mm deep. Once again, we shall push the sandpaper across the surface only once, and achieve a perfect cut of 2mm. However, this time we decide to cut across the peaks left behind by the first sanding step. This way, we`re certain to eliminate at least some of every peak.
Done with the second step. At this point, we have not cut into the paint more than 3mm. Our paint surface now features grooves that are 3mm deep, and 2mm deep.
For our third cut, we`ll use a sanding sheet that can potentially cut grooves into the paint 1mm deep. To maximize our cut of the varied peaks, we`ll shift our direction of sanding once again, in hopes of affecting the original peaks as well as the secondary peaks. As expected in this theoretical sanding session, we achieve a perfect cut of 1mm deep. Any guess as to whether any portion of the paint`s surface has been left unaffected by our 3-step sanding process? I suspect that there likely is.
On to the buffing!
Our machine, pad, and compound should make short work of eliminating the remaining peaks, and it does. Since the surface is now relatively level, a thickness reading should be accurate and consistent across the paint surface. So, even though we may not have removed all that much paint, it could certainly seem that way if we rely upon only readings. Of course when we sand, we do not typically push the sandpaper across a given area only once.
We repeatedly scrub an area over and over, to ensure a thorough cut. In addition, if only one or two sanding steps are accomplished prior to polishing, the readings may be shocking if we compare thickness readings prior to and after the polishing session.
As for the variances in thickness even when using a laser pointer...
It`s likely that your meter was simply picking up variances in paint thickness due to paint swell and shrinkage. It would certainly be possible that the meter accurately measured gains in thickness; heat, pressure, and solvents can definitely affect paint thickness in a hurry.
I hope I didn`t make this too confusing. Again... a great job on the write-up. Lots of talent in the UK.
-
12-21-2011, 04:07 AM #15
- Join Date
- Dec 2011
- Posts
- 23
- Post Thanks / Like
Re: Kelly@KDS Keltec and Midlands Car Care Wet Sand Tuition Detail - Edition 30 Golf GTI
Thanks all, for the very kind words!
Kevin that makes absolute sense to me and I know its very hard to measure exactly how much is being removed. The readings on my car were all over the place. We used the PosiTector 200a quite a lot too, but I didn`t cover that in my write up - Kelly is doing a further thread with his perspective in terms of training.
I`m only part time and have only just launched my company, but I already have a few BMW`s lined up to keep my momentum going.
For any of you that haven`t seen Kelly`s other threads, it`s certainly worth having a browse. He`s done some stunning work on a number of cars. Notably a black Ford GT, grey E92 BMW M3 and a fair few others.
He`s also got a full wet sand of a Veyron coming up, which should be an amazing thread.
Thanks again all - very kind words indeed.
Thanks,
Russ.


 Reply With Quote
Thread Information
Users Browsing this Thread
There are currently 1 users browsing this thread. (0 members and 1 guests)
Similar Threads
-
Kelly@KDS Keltec and Midlands Car Care Wet Sand Tuition Detail - Edition 30 Golf GTI
By RussZS in forum Click & Brag -The Detailers ShowcaseReplies: 13Last Post: 05-03-2012, 06:50 PM -
Golf edition 30 Black , continual correction
By JJ_ in forum Click & Brag -The Detailers ShowcaseReplies: 3Last Post: 12-01-2011, 06:31 PM -
Golf Gti Edition 30 BLACK
By JJ_ in forum Click & Brag -The Detailers ShowcaseReplies: 7Last Post: 04-16-2010, 12:52 PM -
VW Golf - Restoring the Gloss - Tuition Detail
By imported_Dave KG in forum Click & Brag -The Detailers ShowcaseReplies: 4Last Post: 06-29-2009, 06:17 PM -
VW Golf GTi - Tuition Detail - RDS Correction
By imported_Dave KG in forum Click & Brag -The Detailers ShowcaseReplies: 19Last Post: 06-05-2009, 08:42 PM
Bookmarks