

This is a detail I originally posted in 2009 (It`s an older one) that a different forum had over 20,000 views and 140 responses. I figured as I move my body of work over here that this is worth preserving.
As previously defined several months ago in La Bella Firma by Bella Macchina(http://www.autopia.org/forum/pro-det...ics-video.html) s, the La Bella Firma is the most exclusive, most thorough, and most comprehensive detail offered by Bella Macchina: The Art of Detailing. La Bella Firma roughly translates into Our Beautiful Signature. To be signed as Bella Macchina (Italian for beautiful car) to me represents more then the experience, talent, science, and sweat involved into perfecting of ever square inch of the car, it means art.
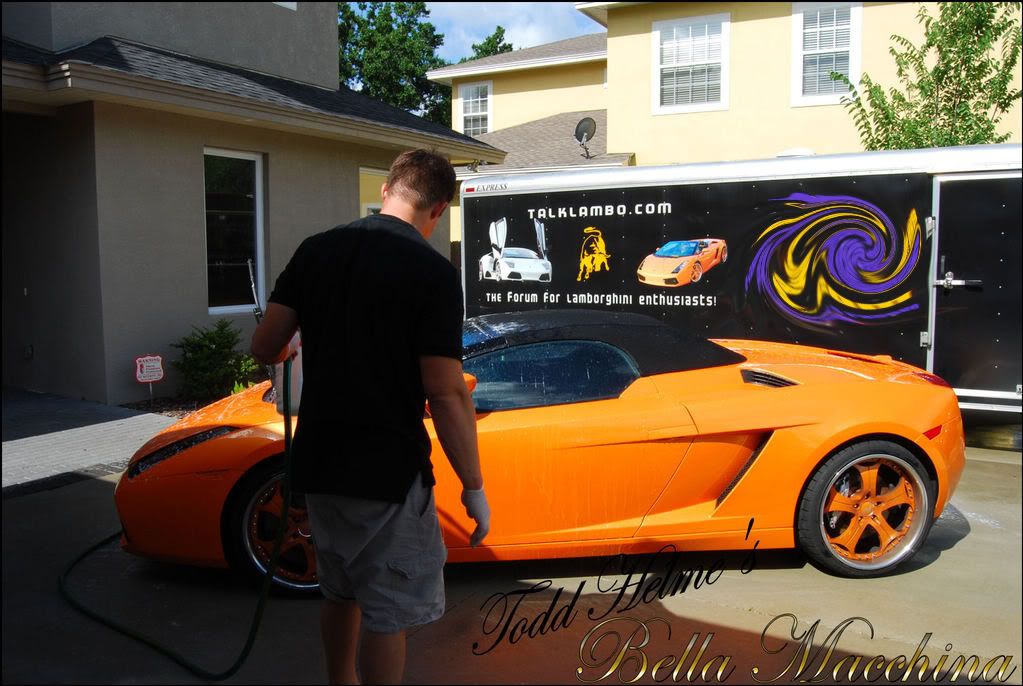
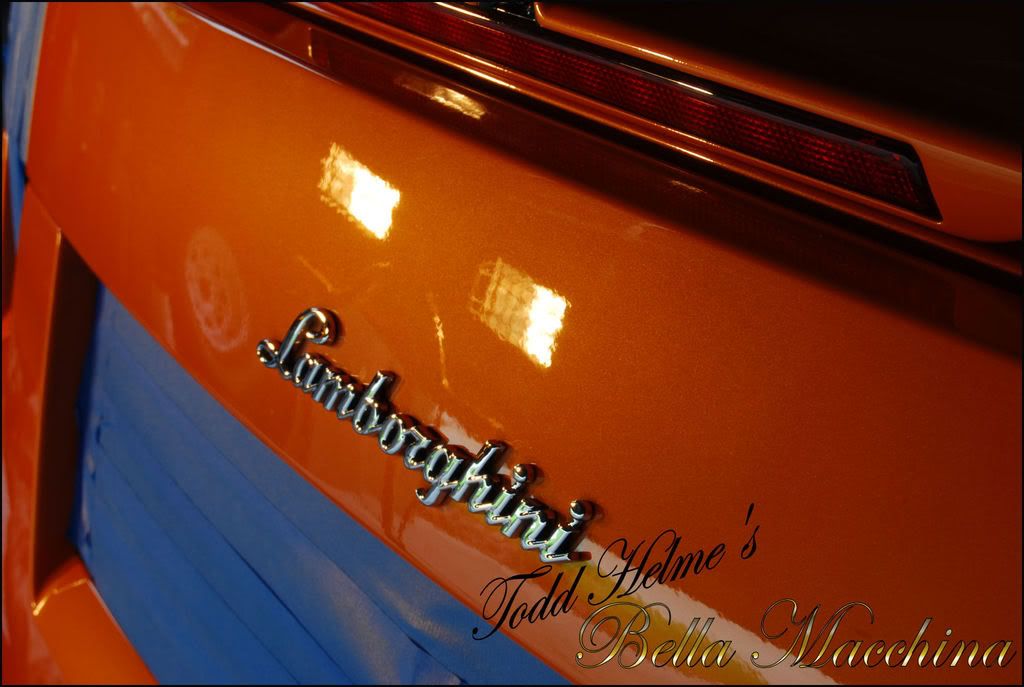
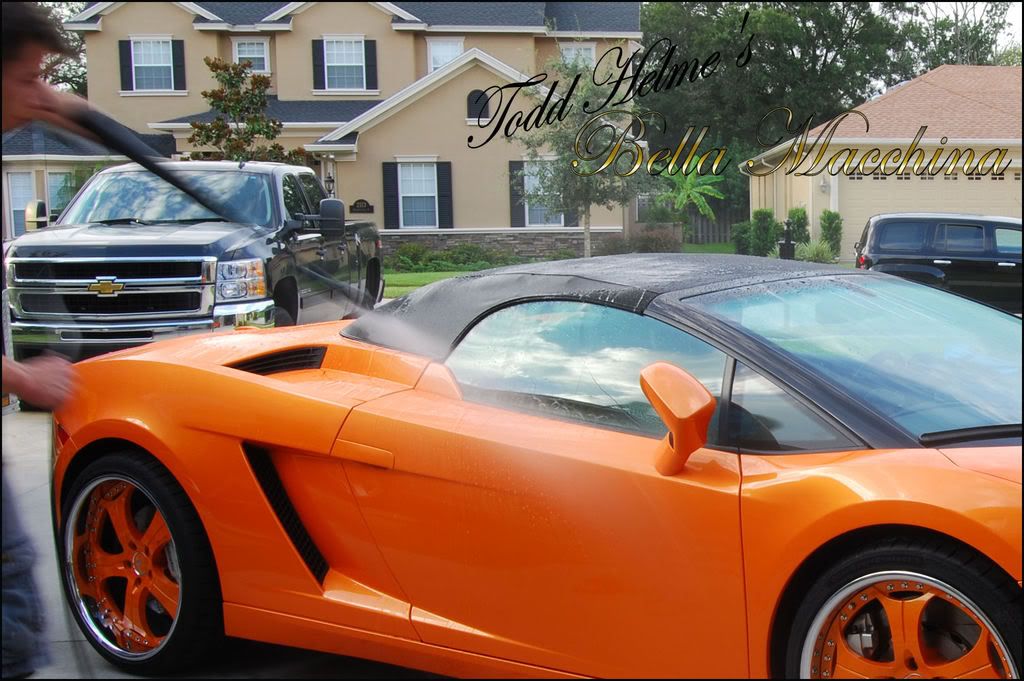
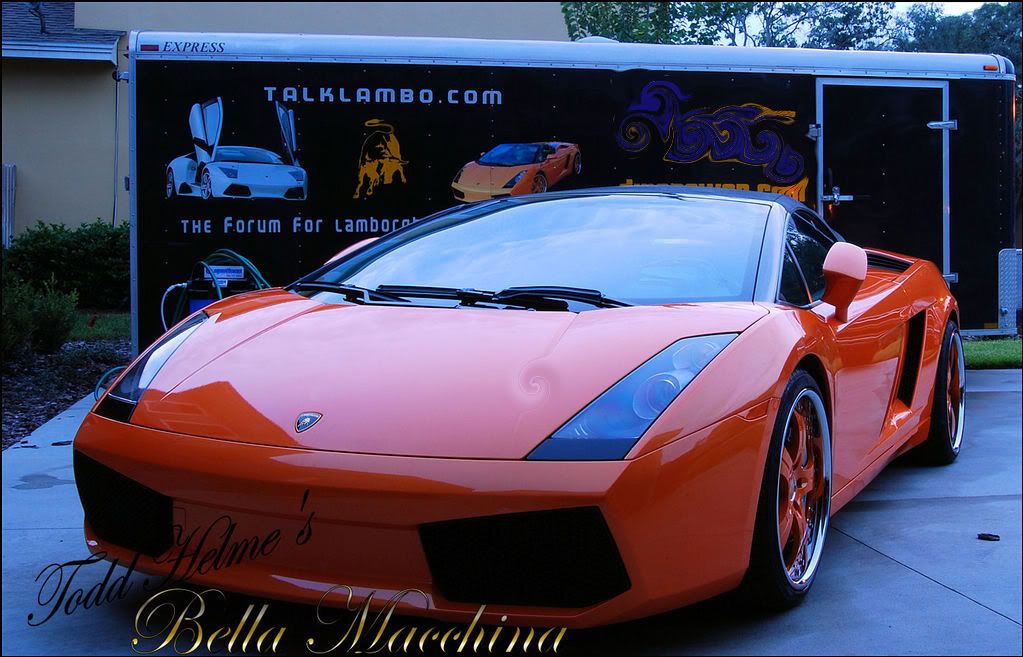
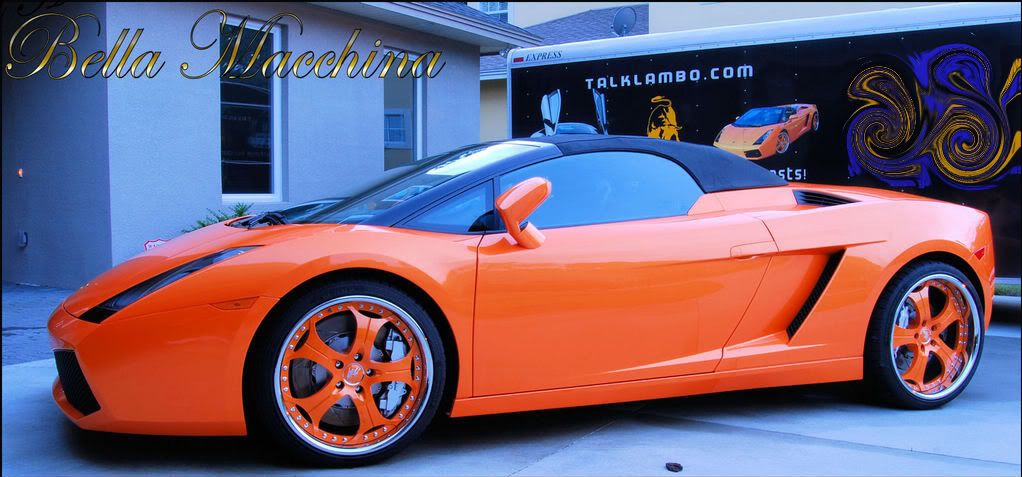
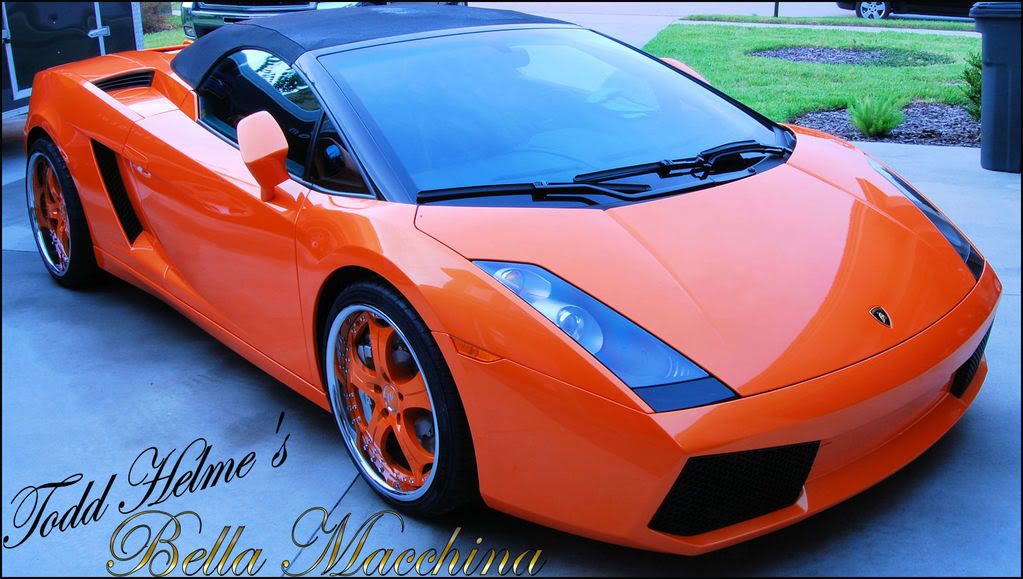
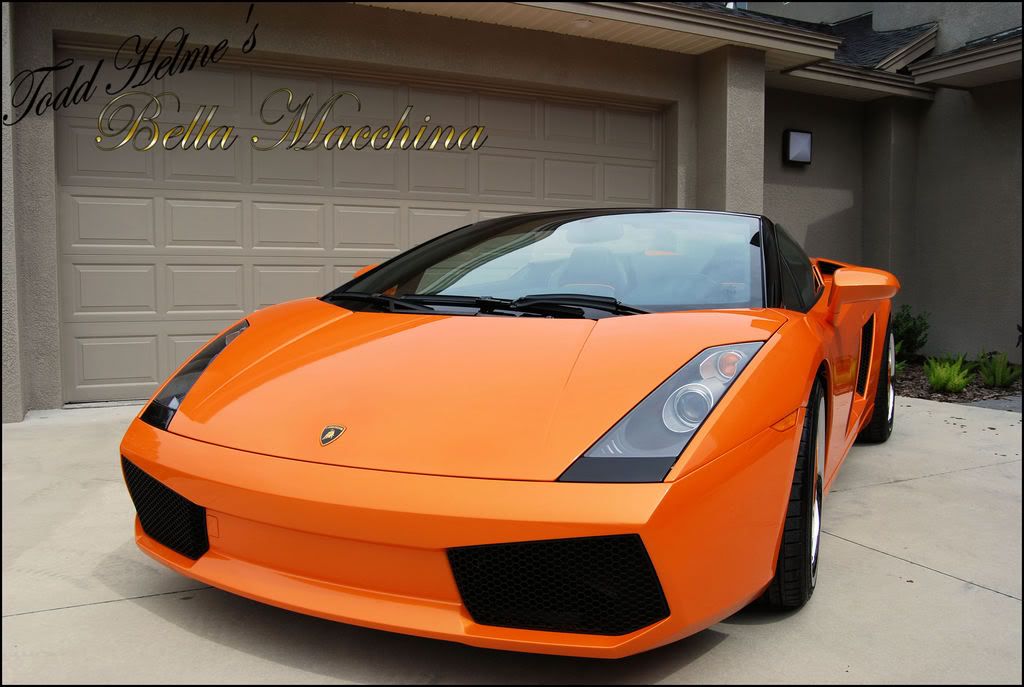
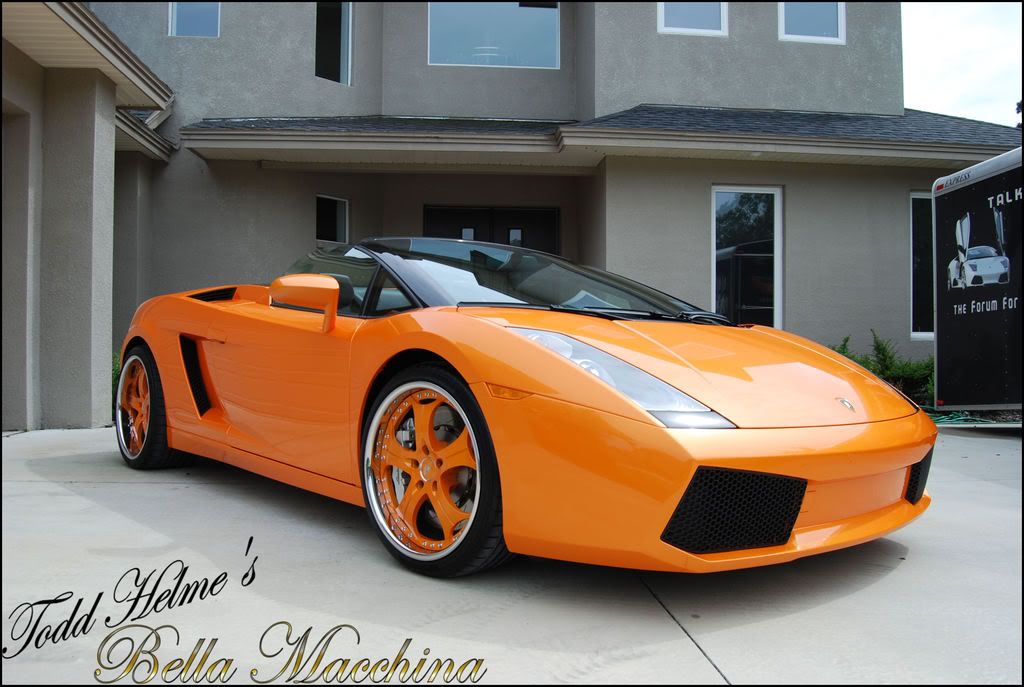
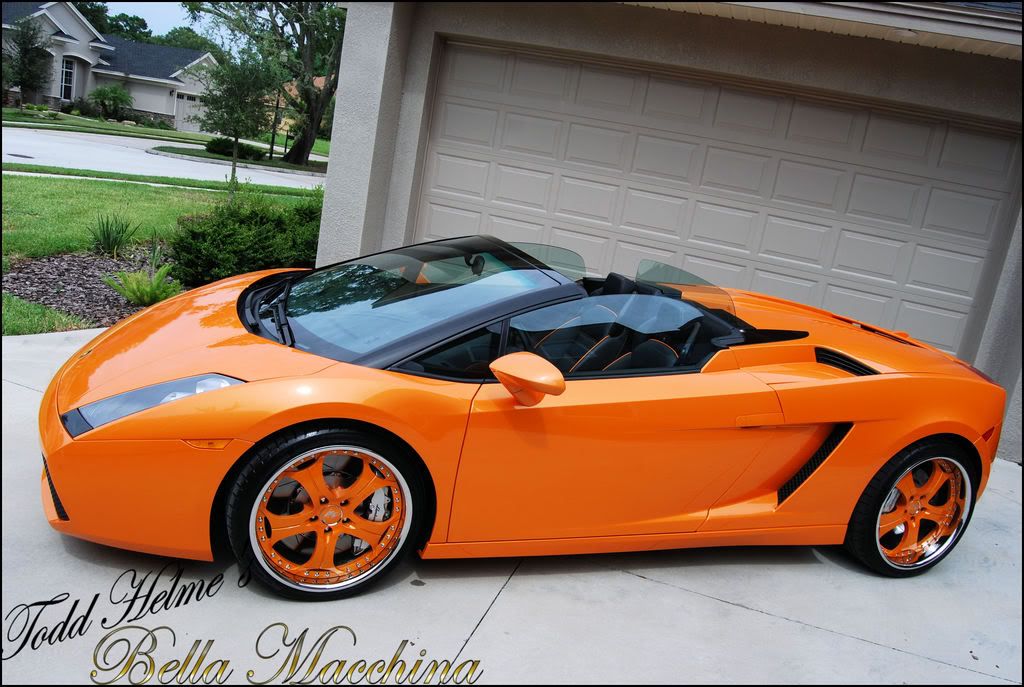
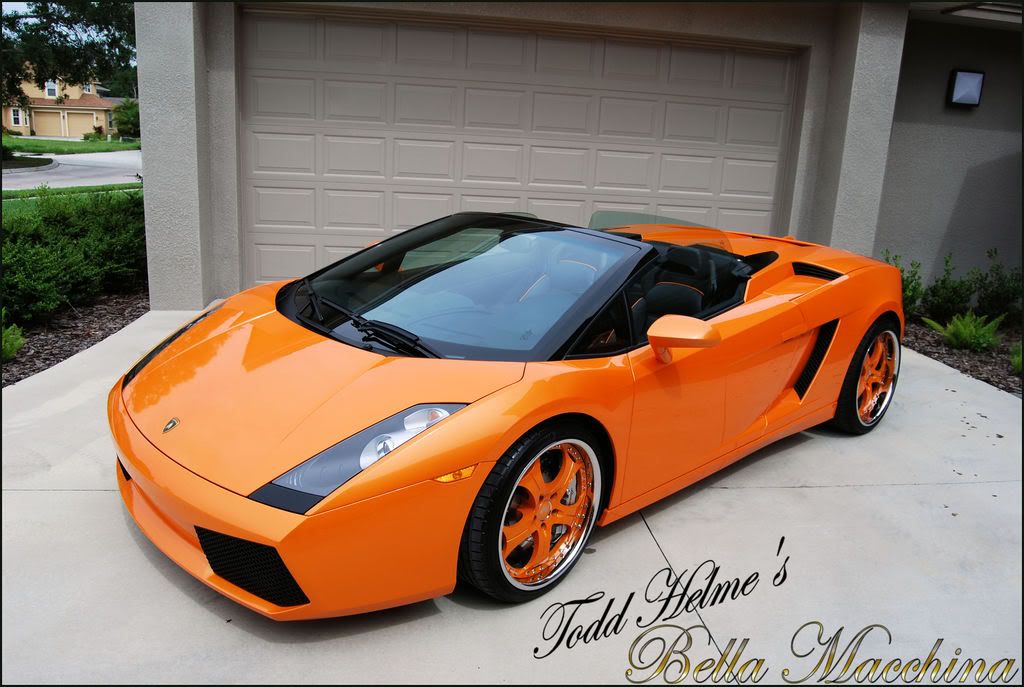
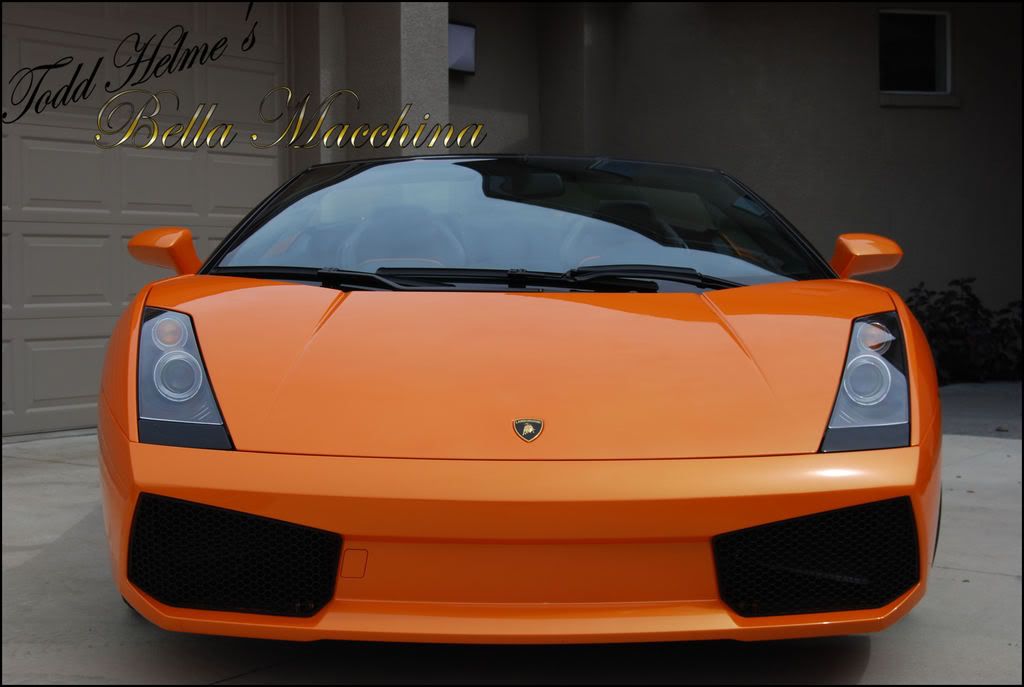
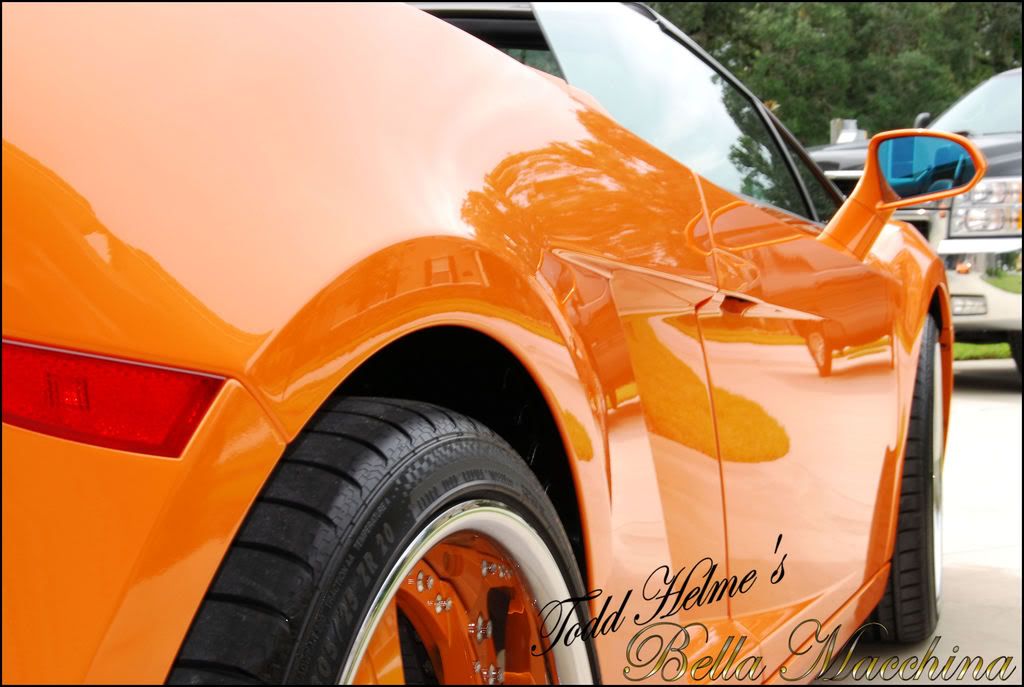
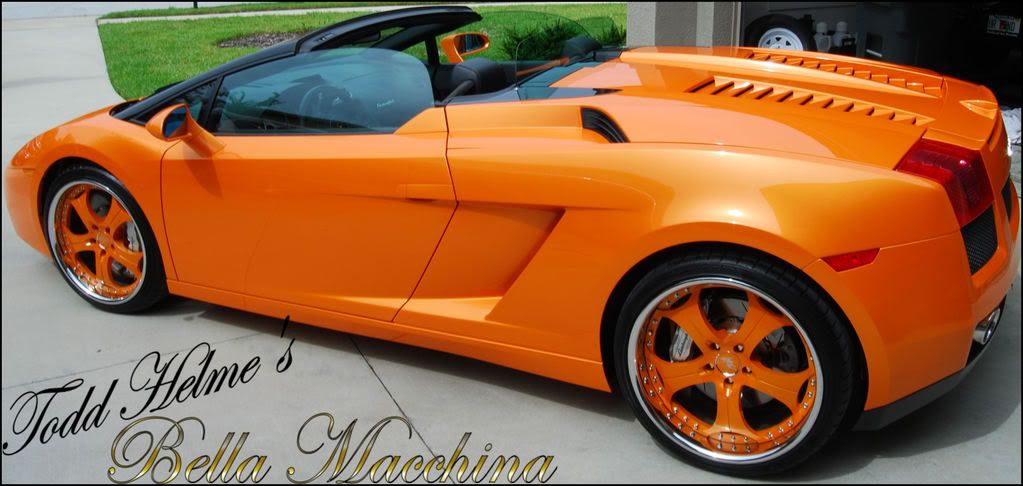
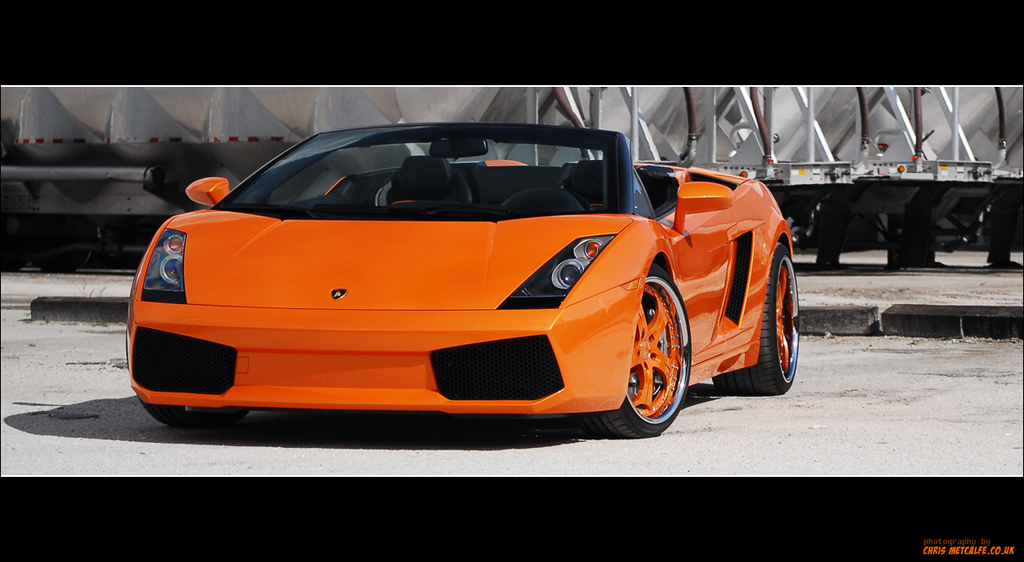
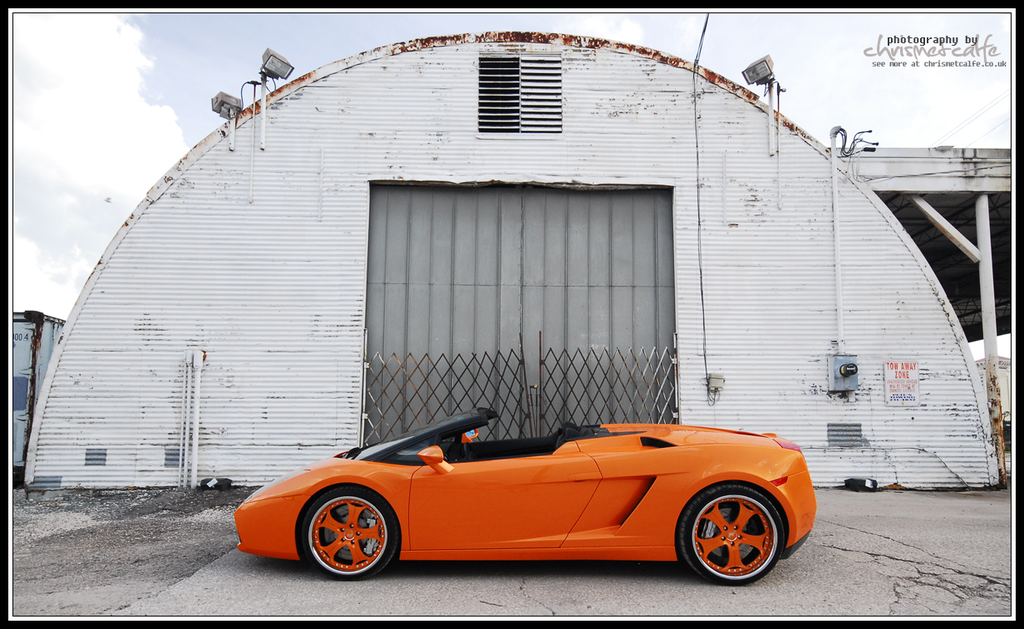
I was very excited to apply this standard on a modern car as previous La Bella Firma services have always been applied to classic Ferraris; which in many ways is a completely different challenge. I was curious to see a new car done with the same standard. This particular Gallardo is a 2006 Spyder which sees laps sliding all four tires around several race tracks in Florida. In two years the Lamborghini has covered over 8000 miles on both the road and track.
Automobile.
Launched in 2004, the Gallardo (/ɡalˈlaɾdo/) aimed a finely tuned bulls-eye on cross country rival Ferrari. Unlike Ferraris surgical scalpel 360 Modena, Lamborghini set forth with a brute machete. Where the Ferrari cuts corners with precision, the Lamborghini snorts pure Dianabol from its famous logos nostrils and charges forward, attacking the corners with more anger. With a larger 10 cylinder engine (5 liters vs Ferraris 3.6 liter V8), 90 more horsepower, and a rear biased four wheel drive system, the Gallardo focuses on pure testosterone and brags about bench press numbers. The Ferrari is a gymnast who prefers wine; The Lamborghini is power lifter who likes to chug beer.
The Gallardo was penned by Luc Donckerwolke who also penned the Lamborghini Murcielago (and won awards for both). The Spyder (which Lamborghini refers to as a separate model) was released in 2006 and featured numerous improvements over the coupe based model including more power (513 horsepower vs. 492) to better separate the herd from the improved and more powerful Ferrari F430 (483 horsepower).
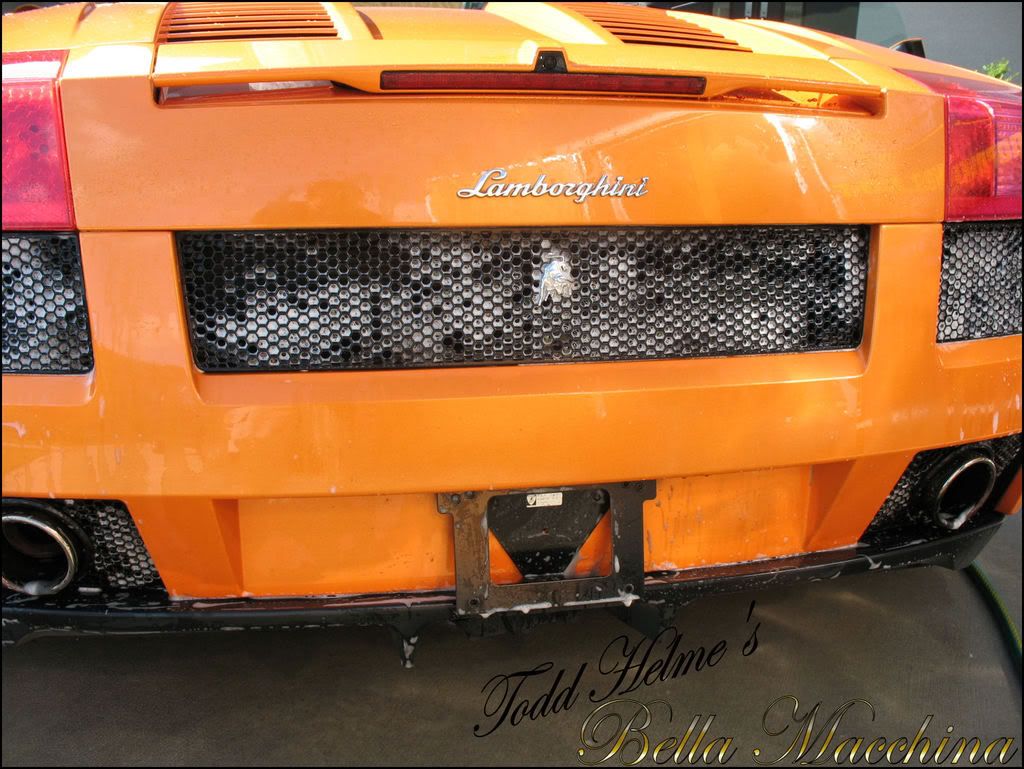
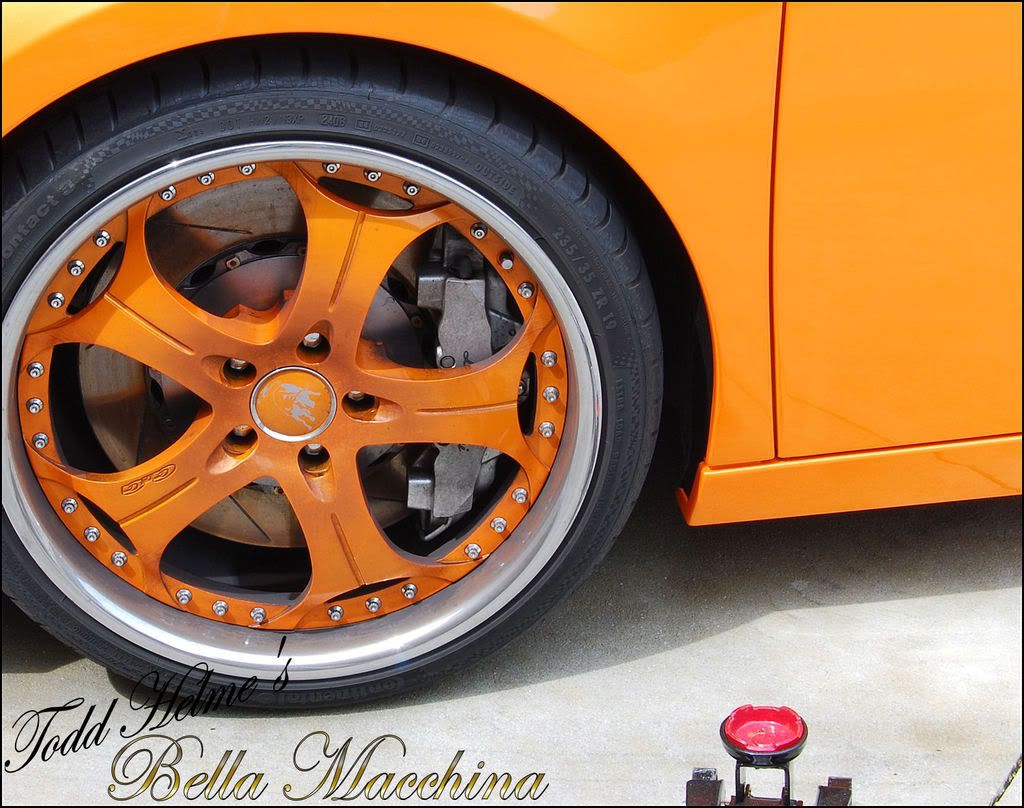
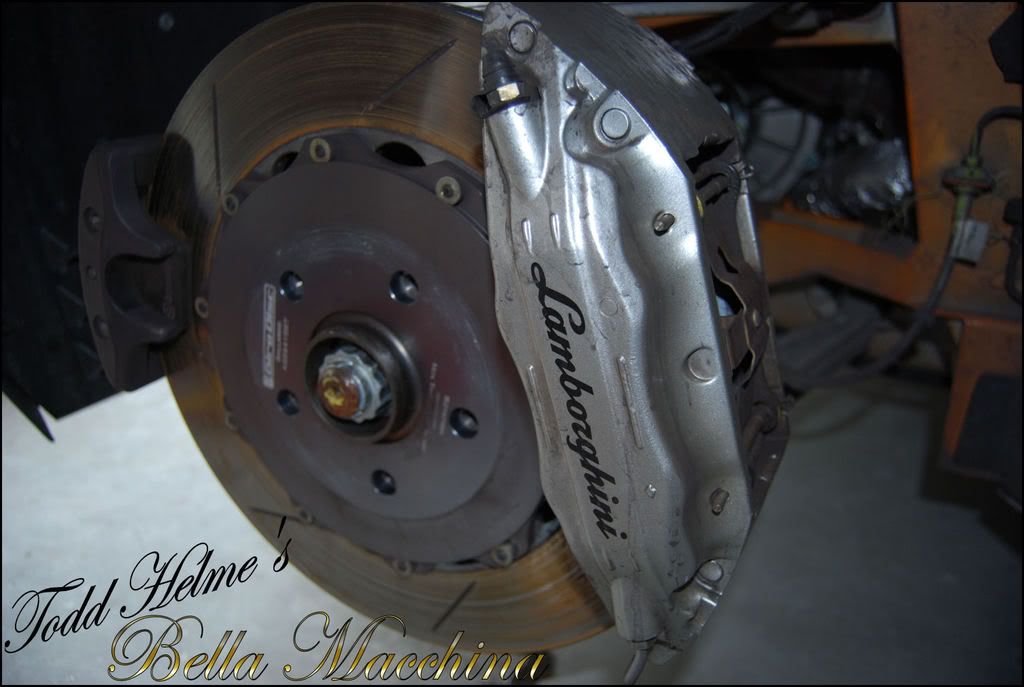
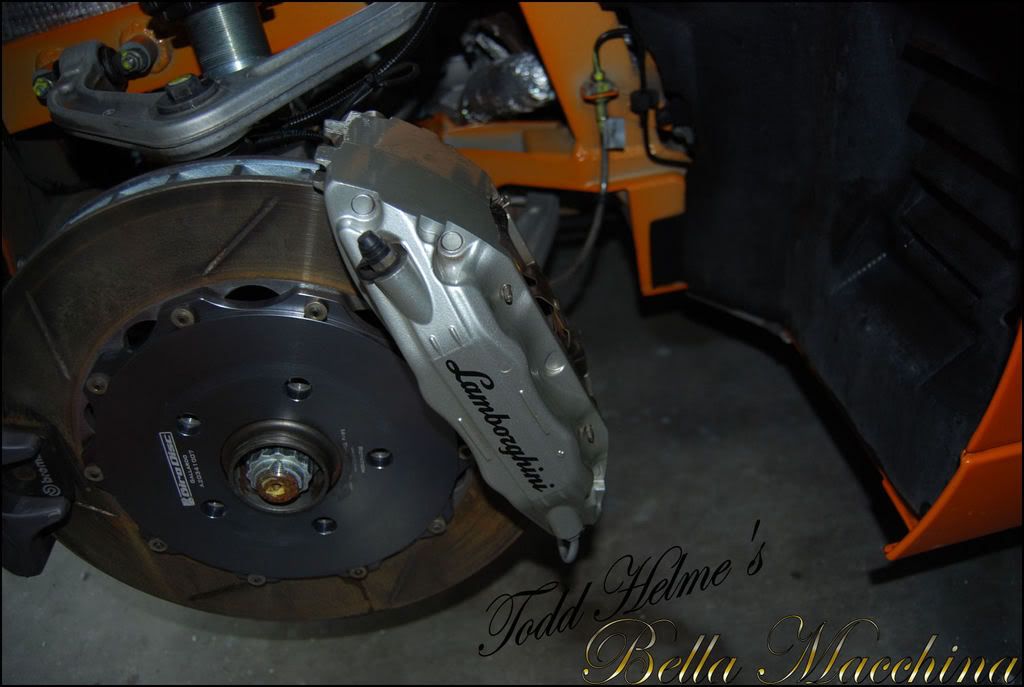
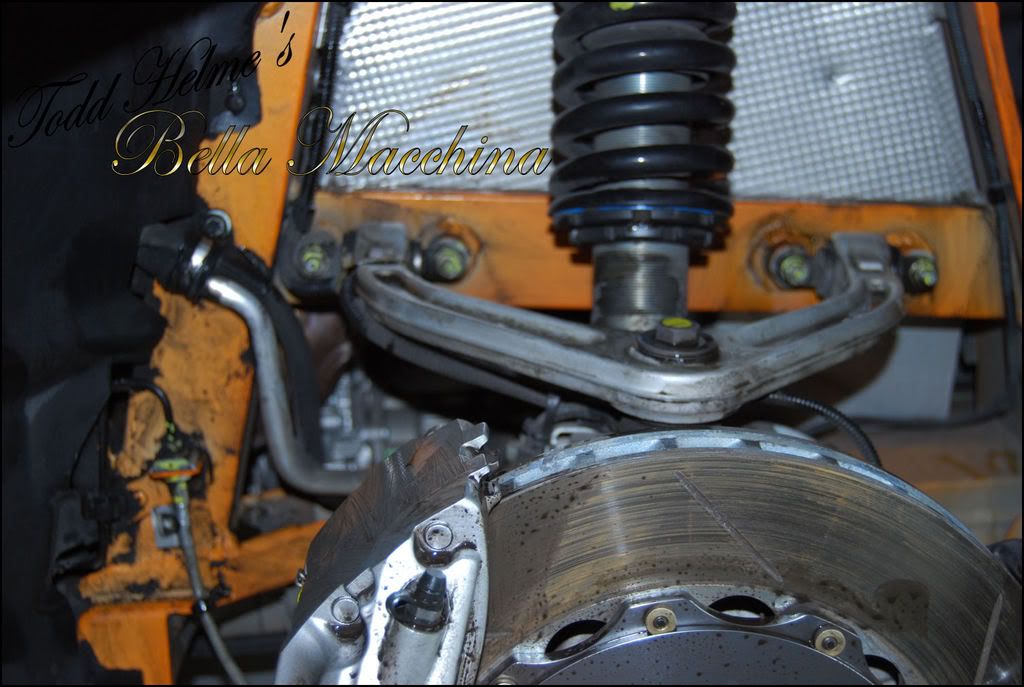
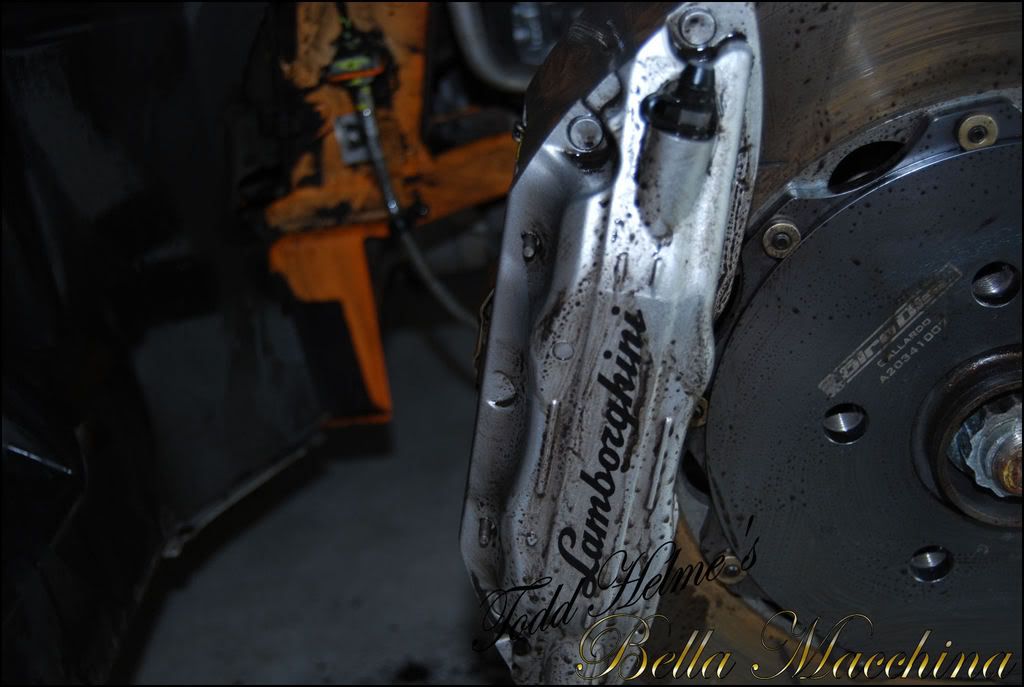
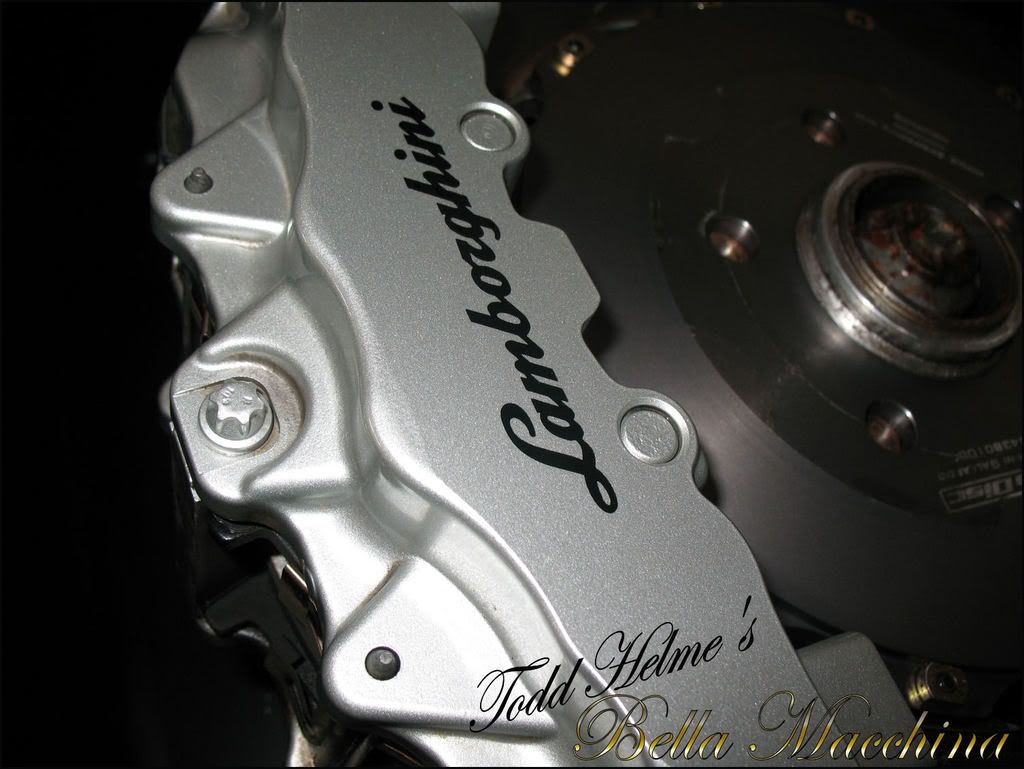
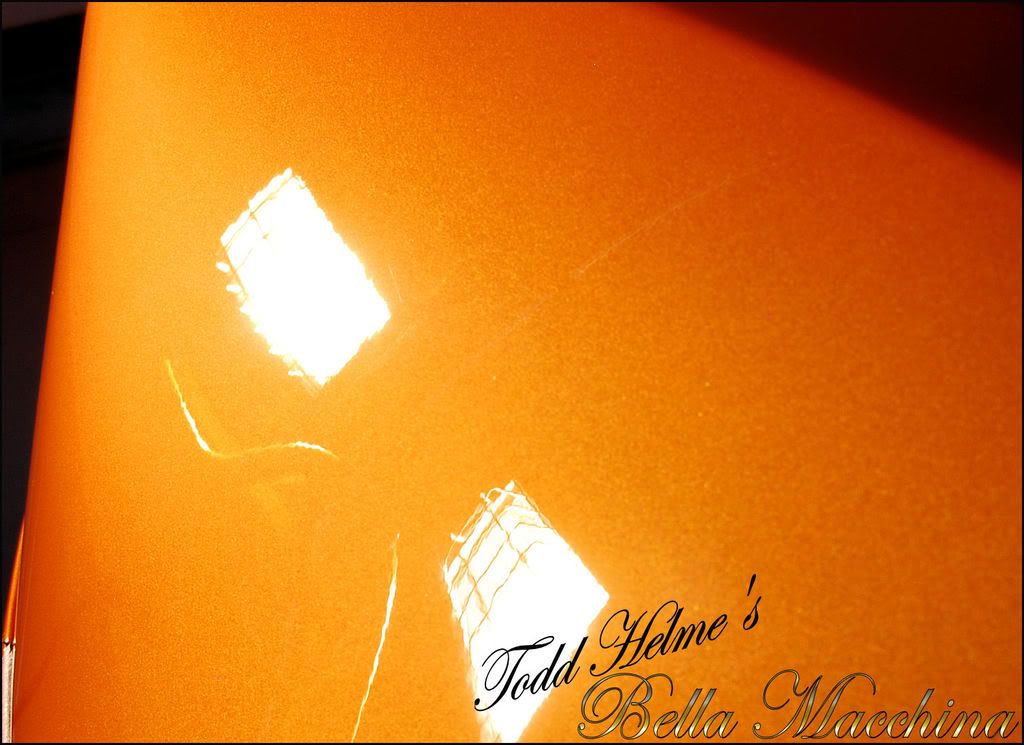
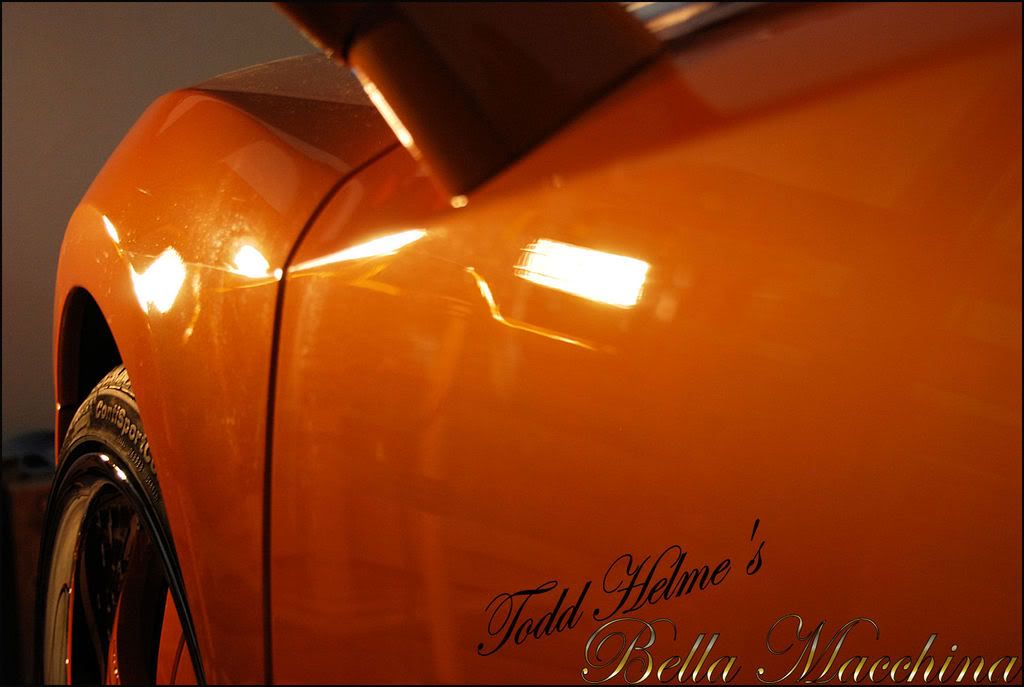
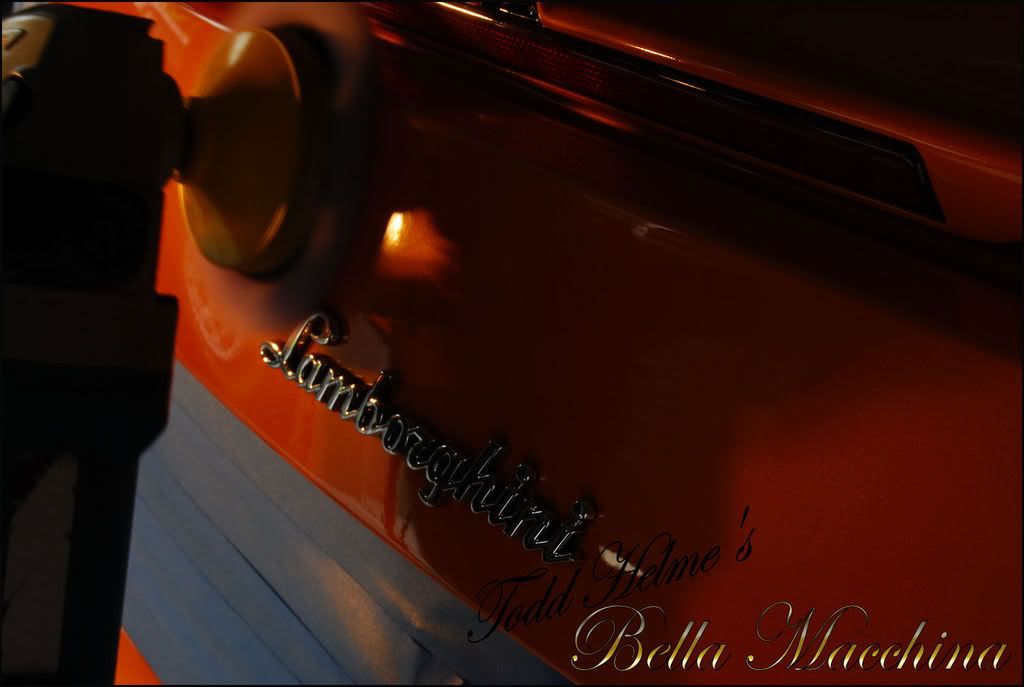
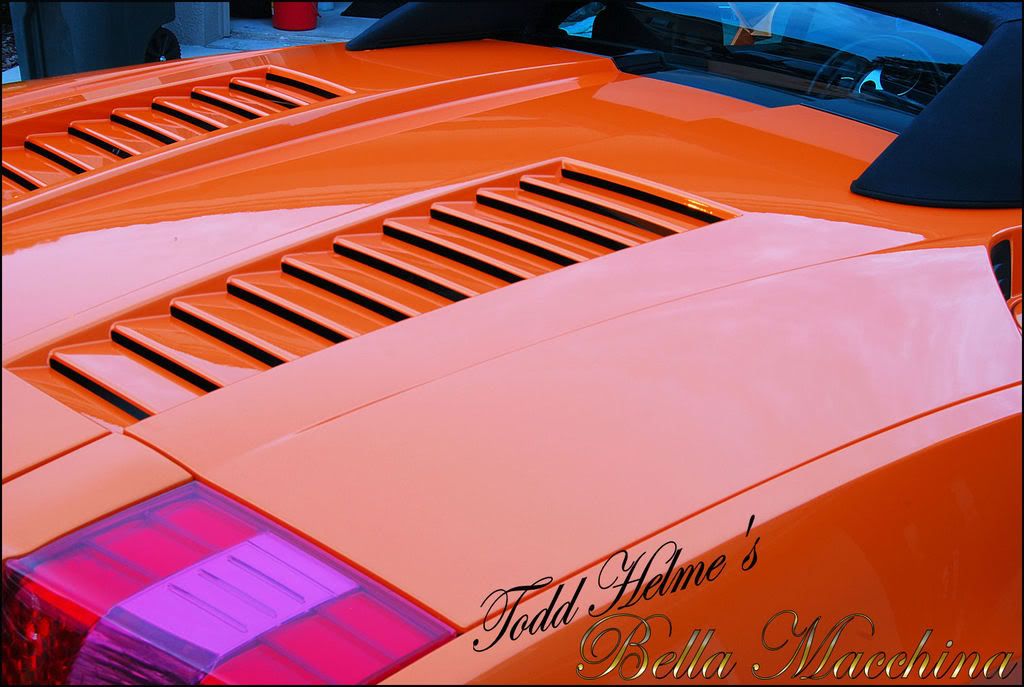
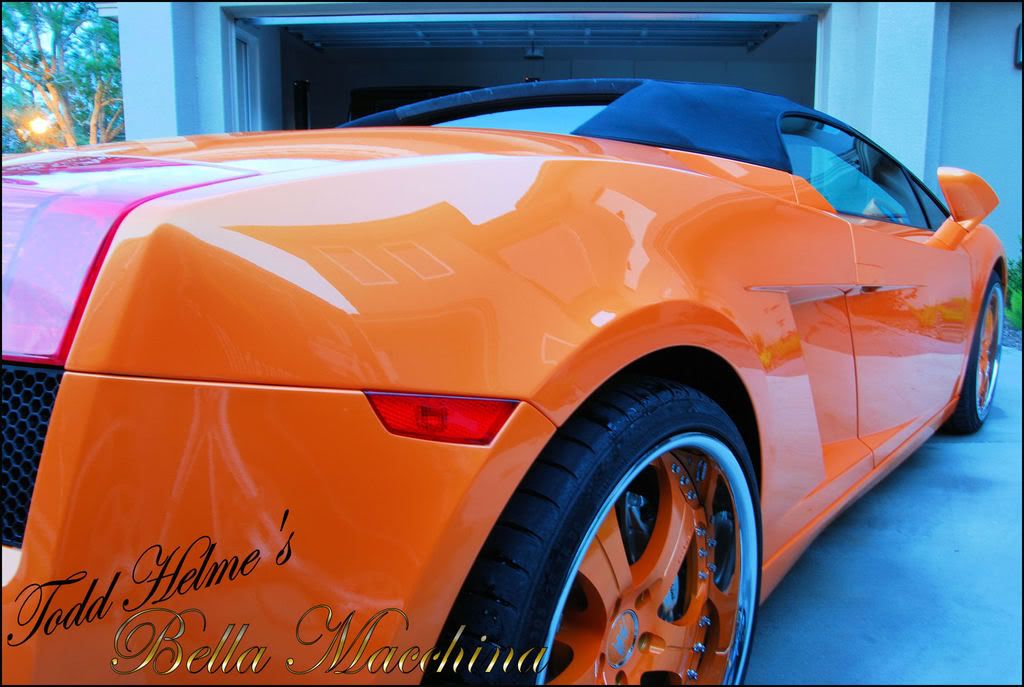
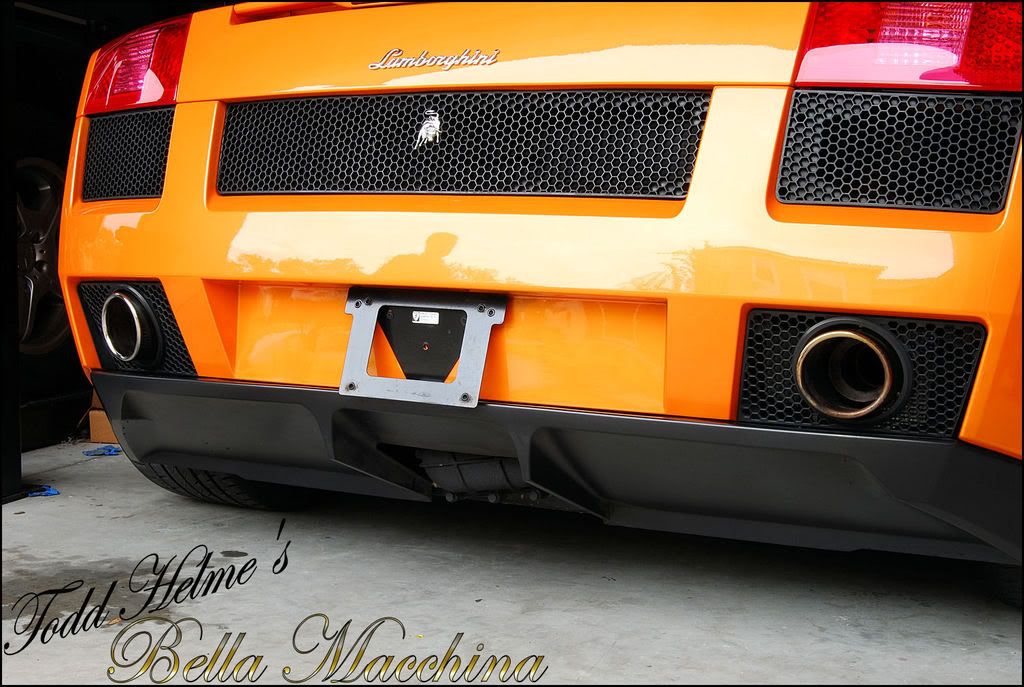
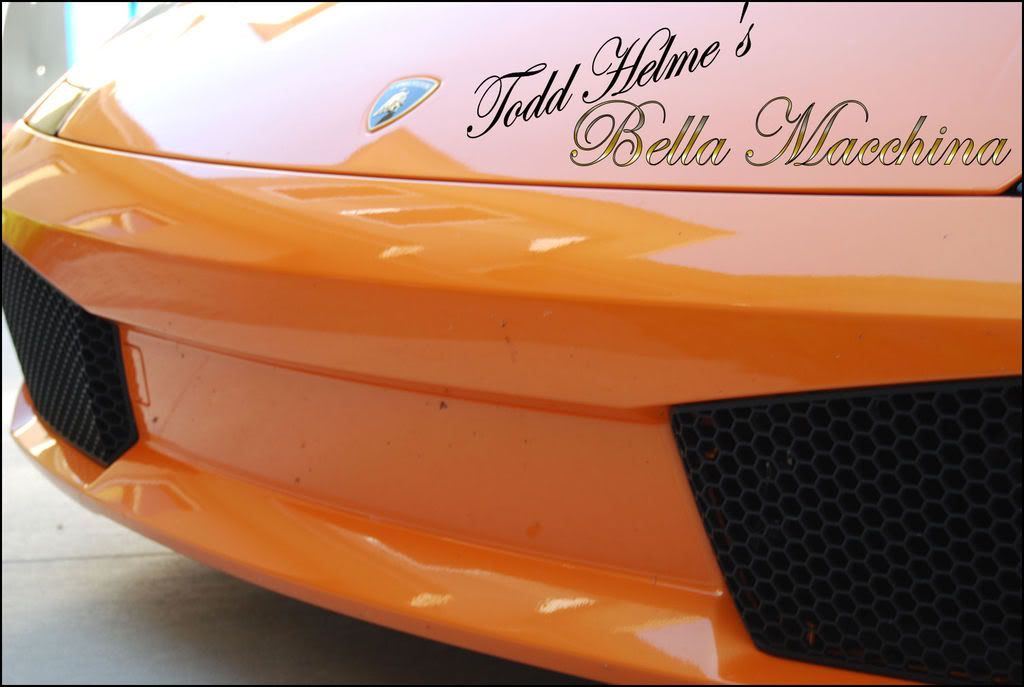
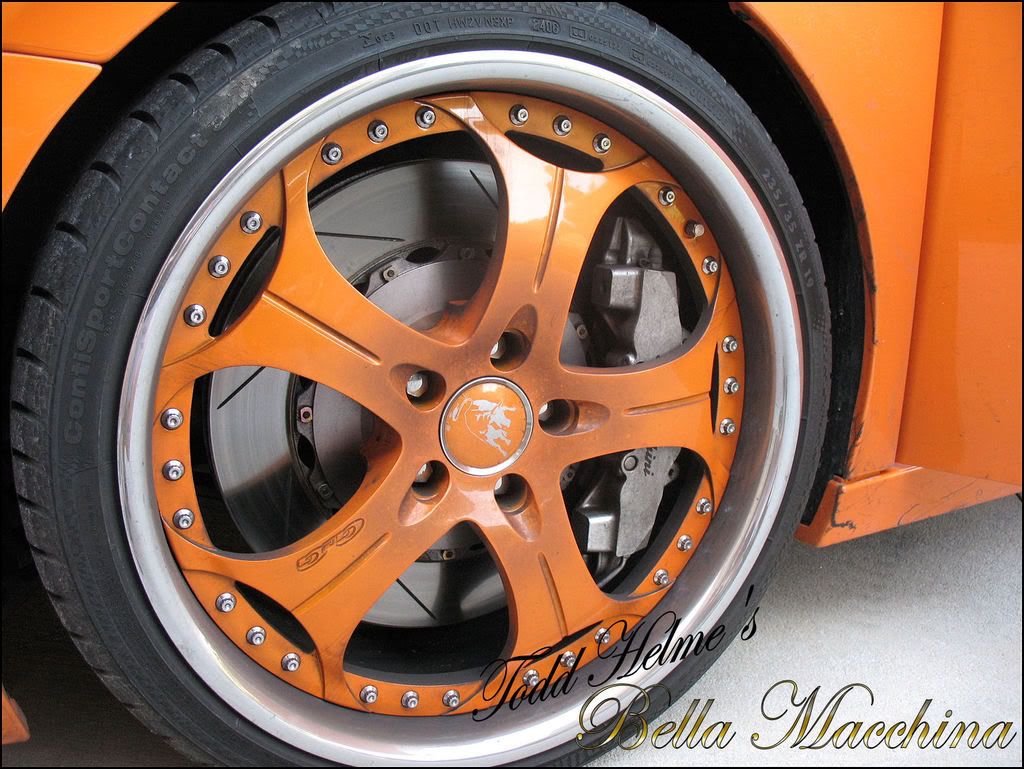
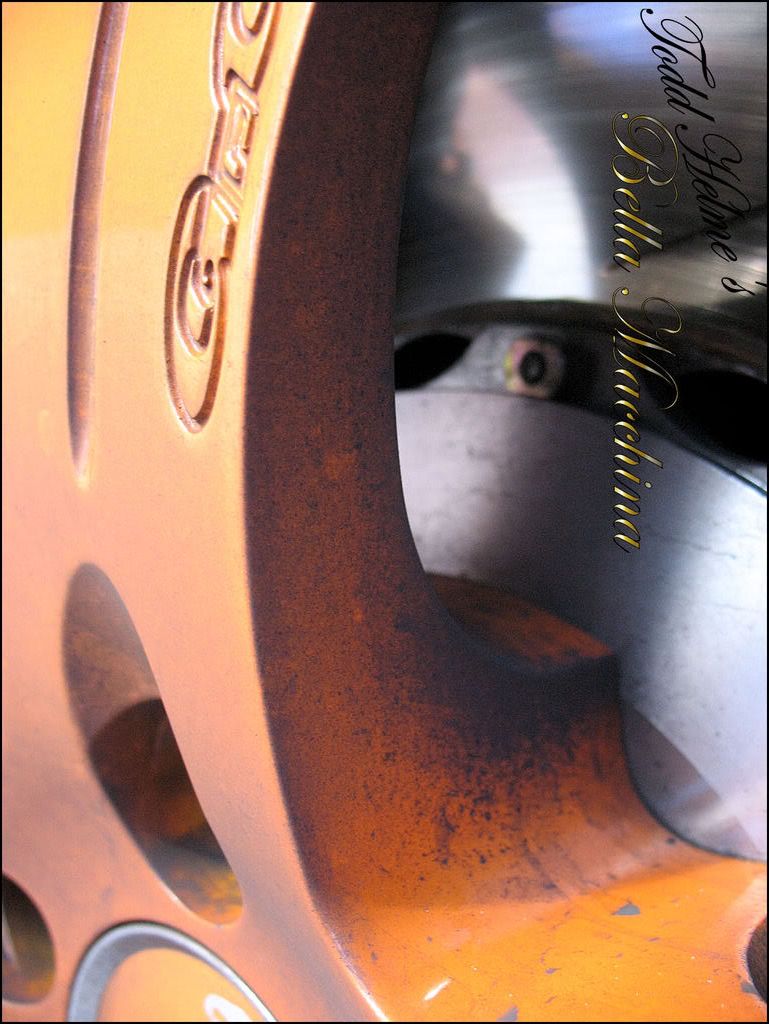
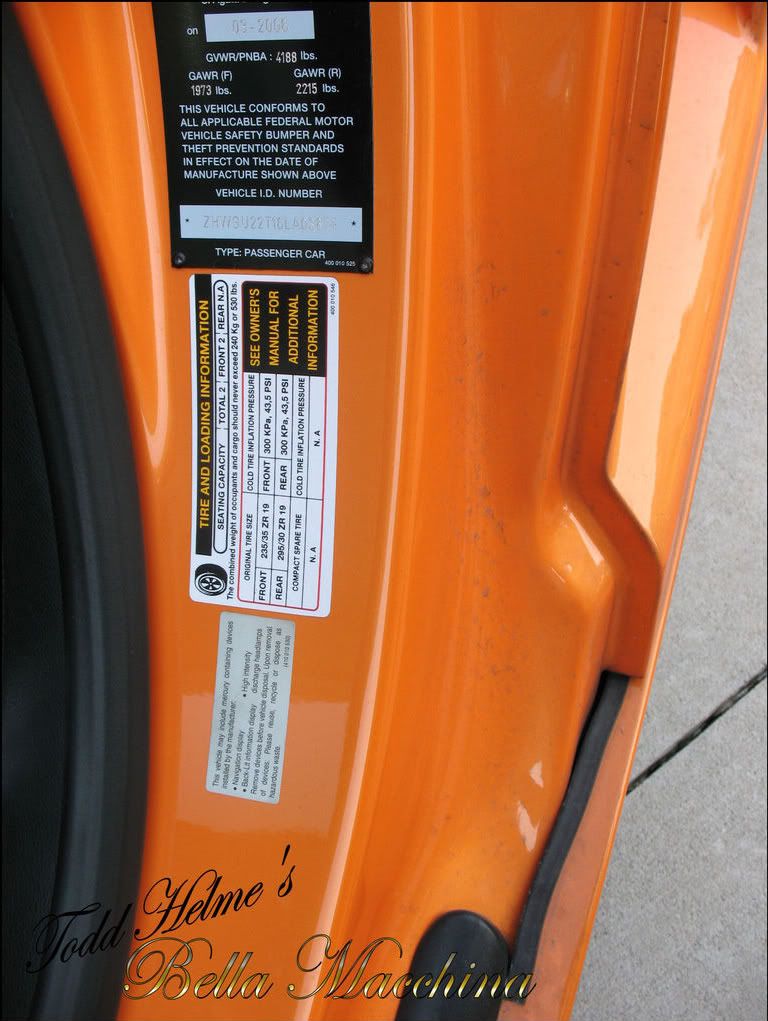
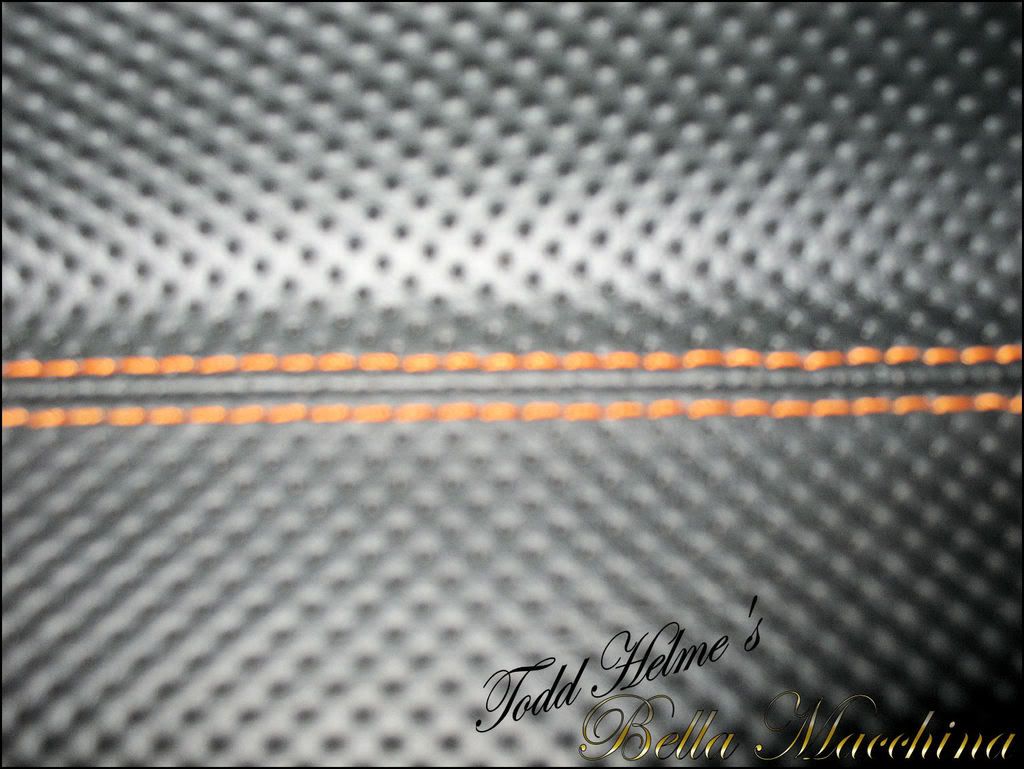
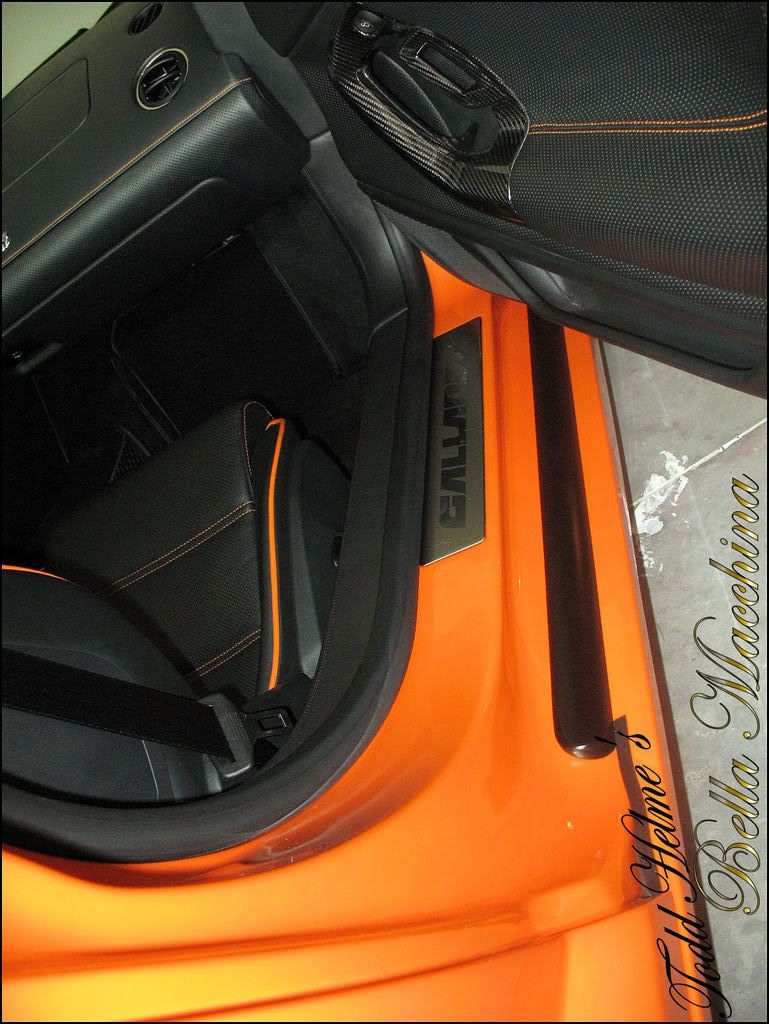
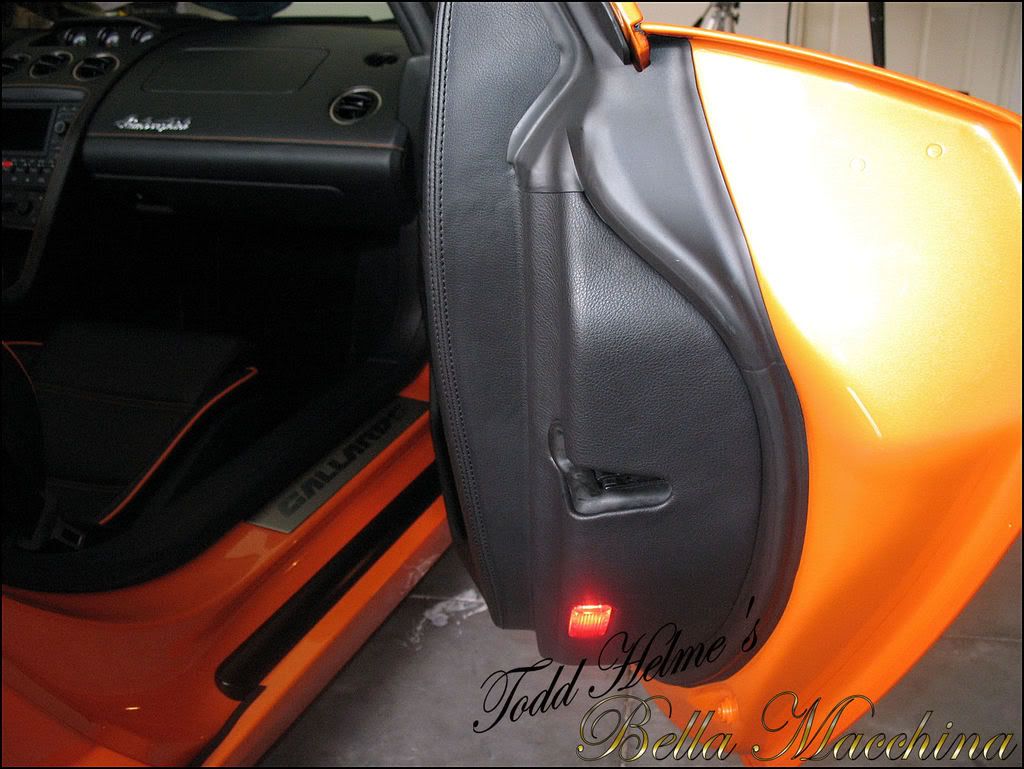
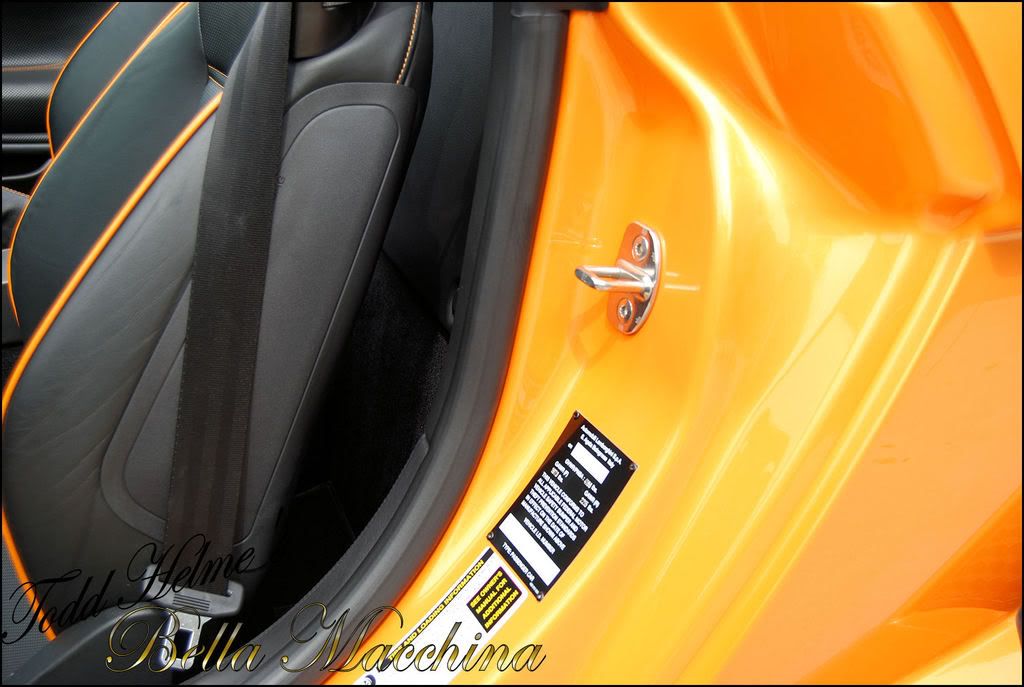
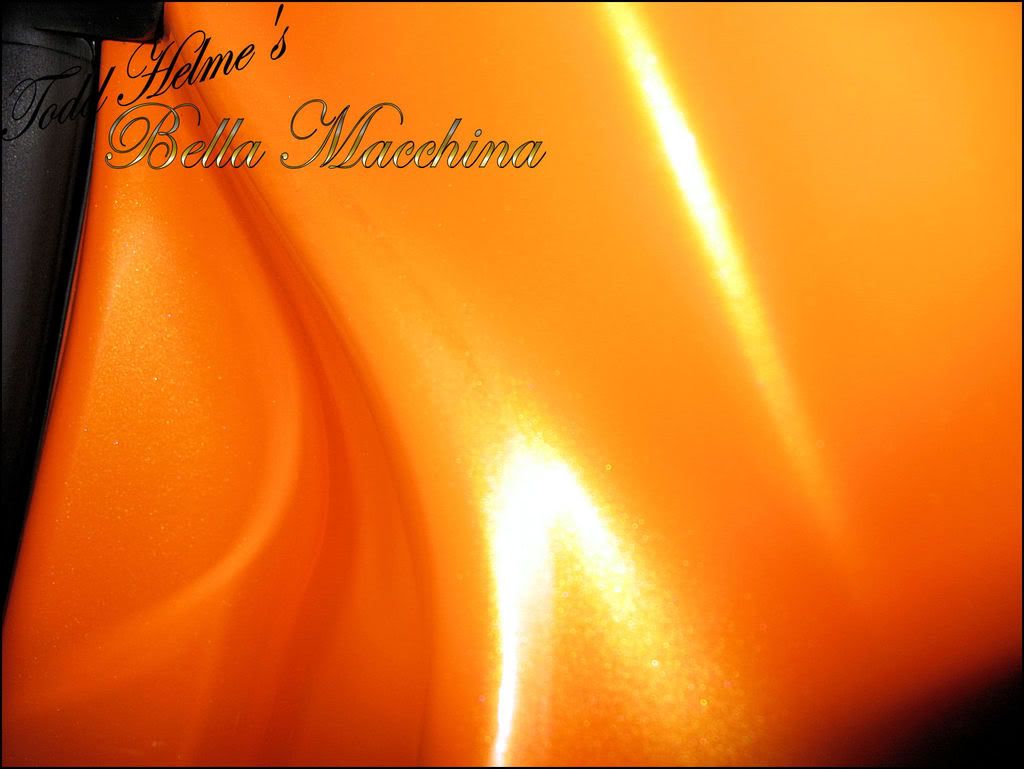
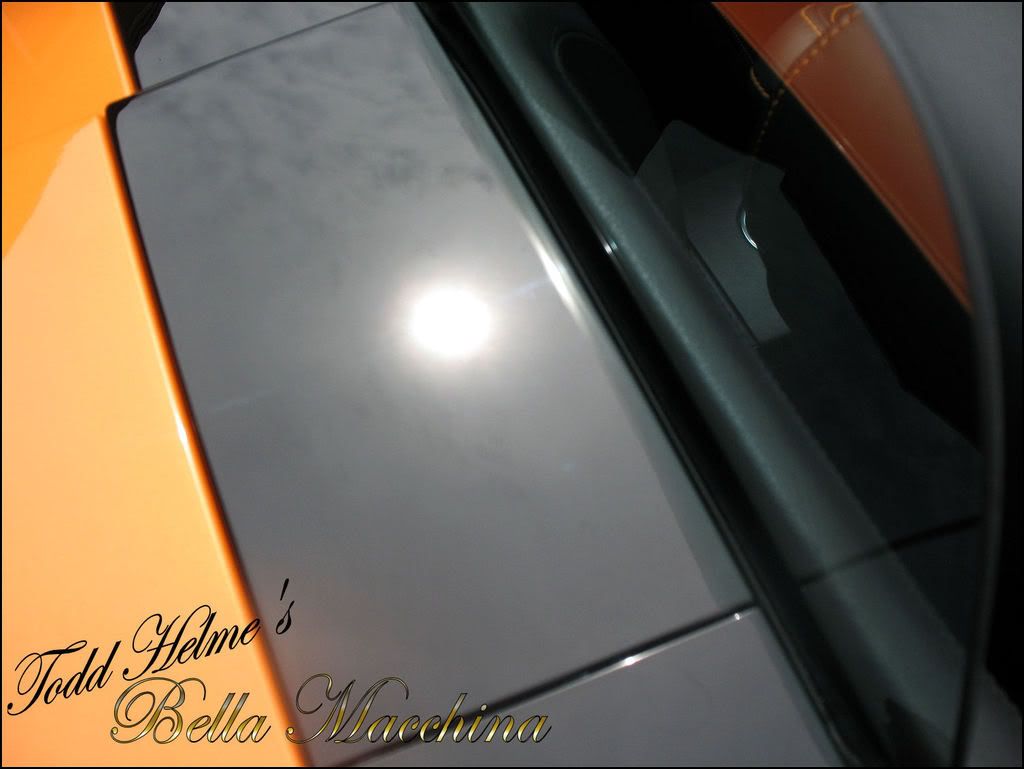
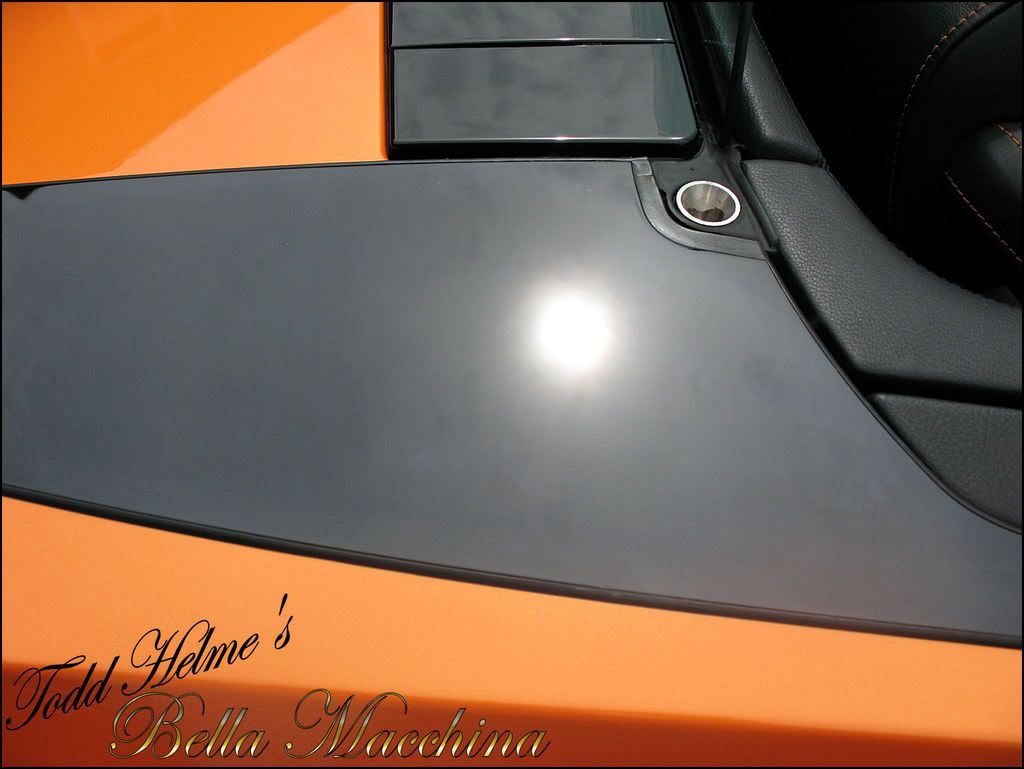
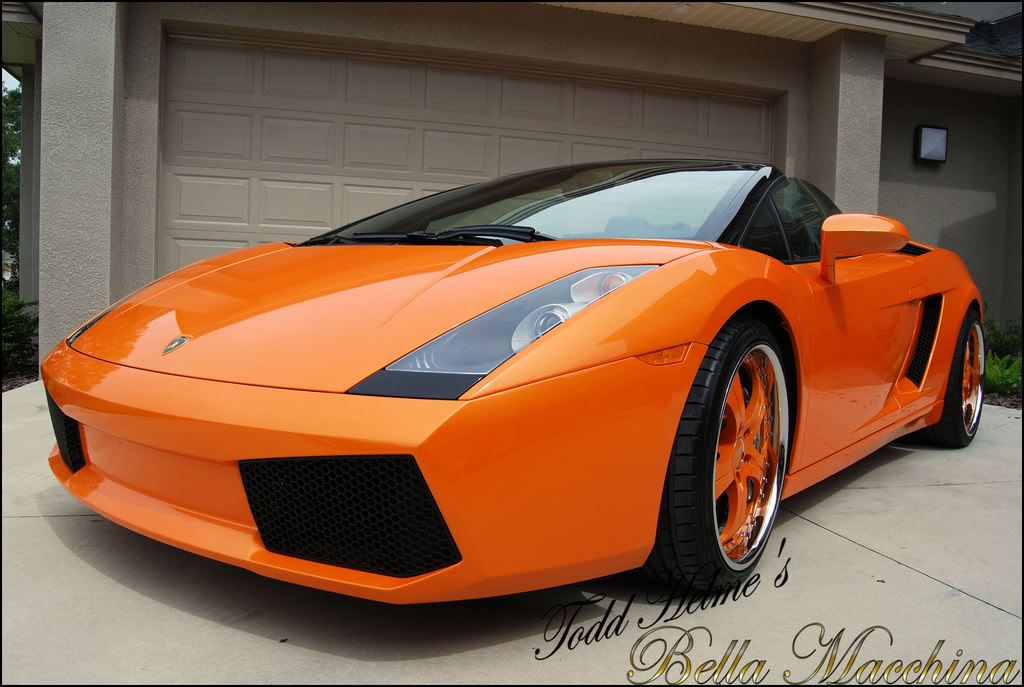
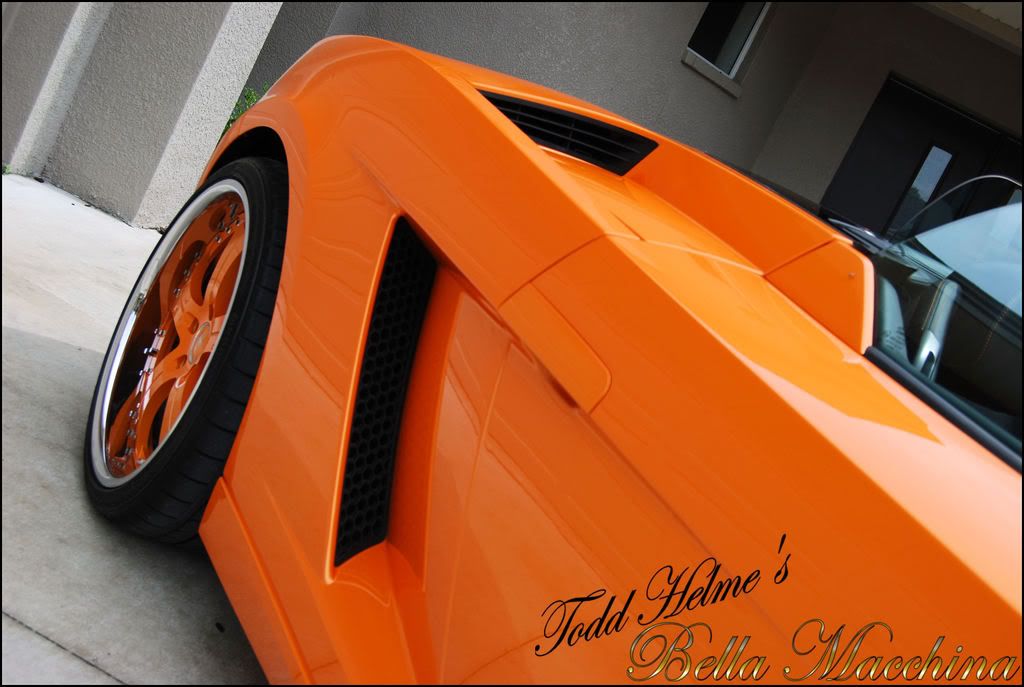
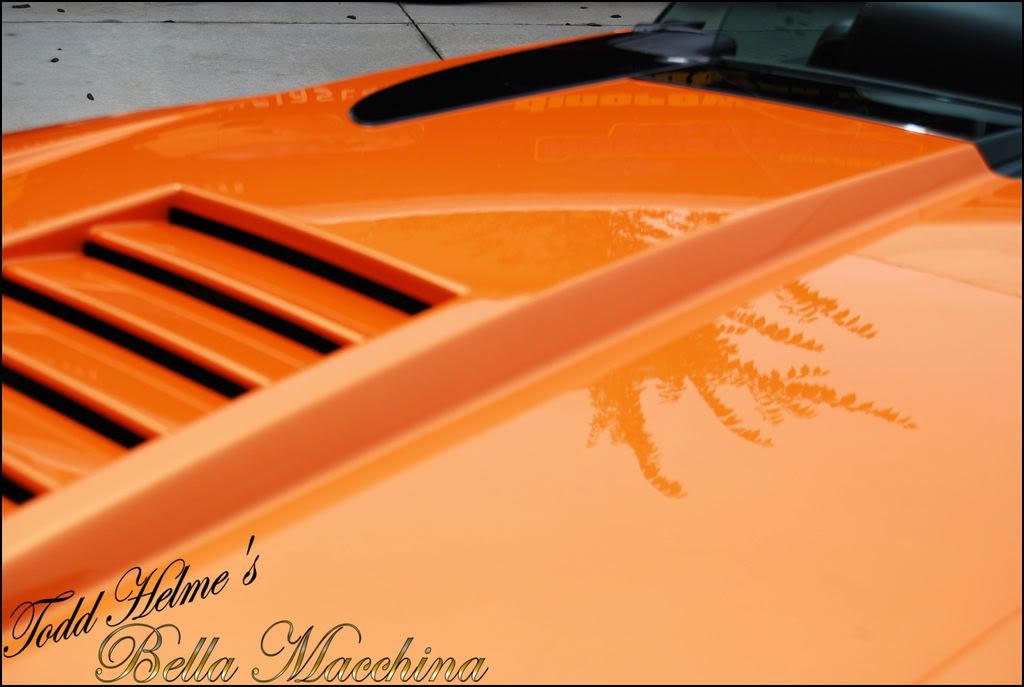
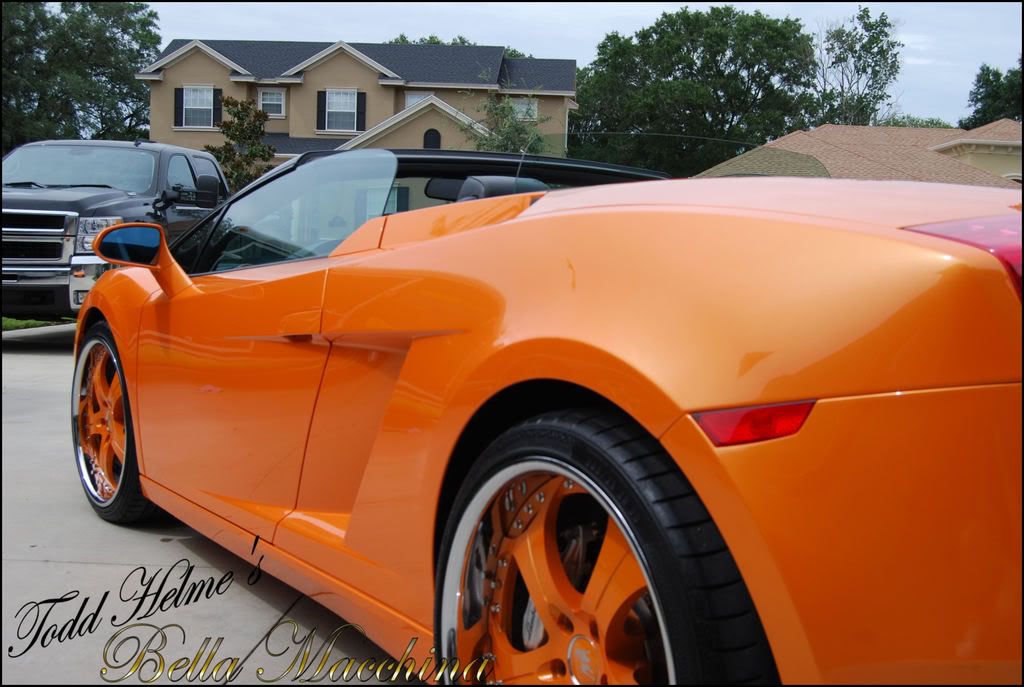
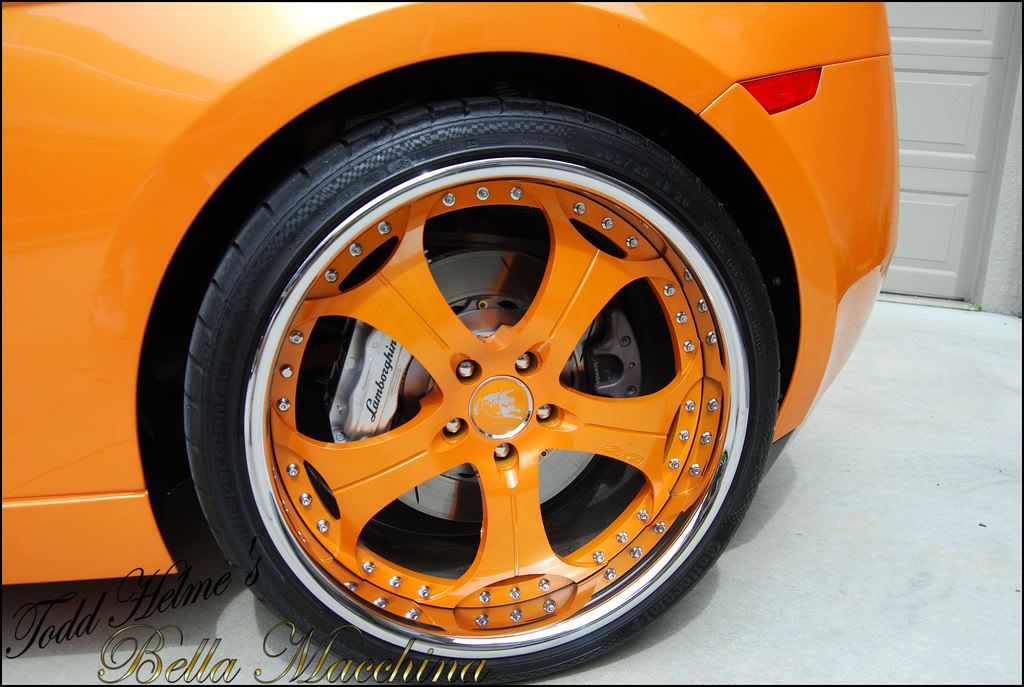
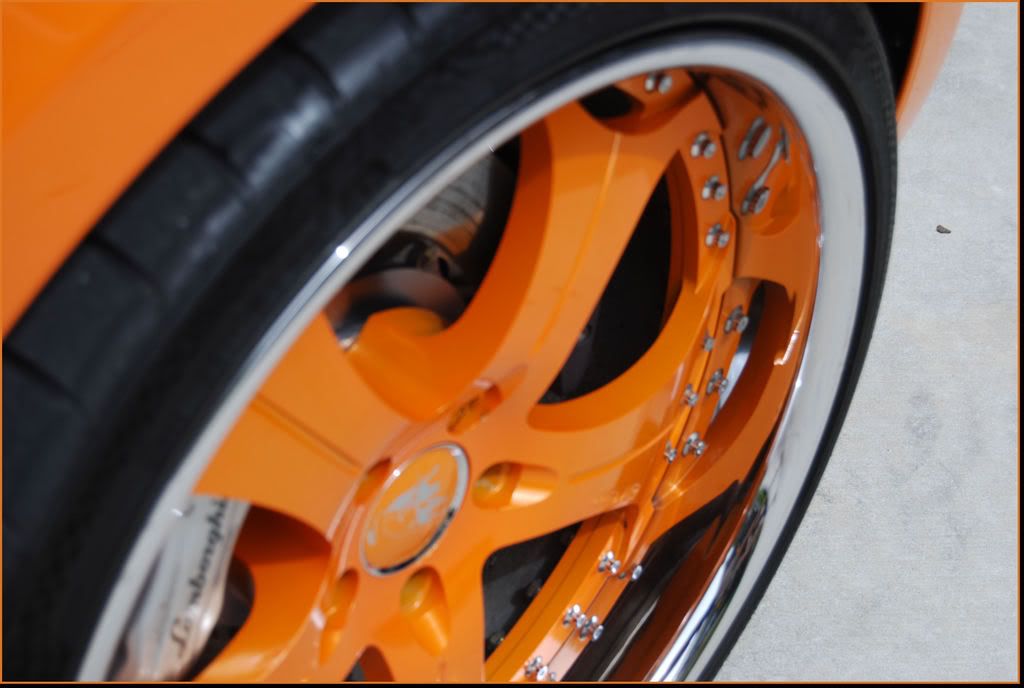
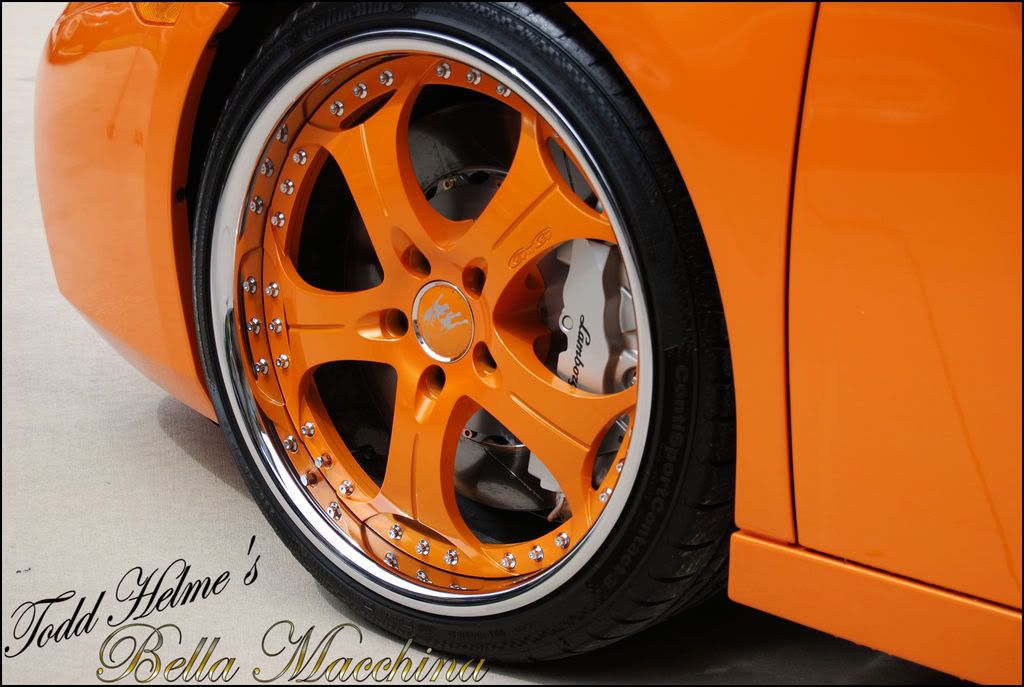
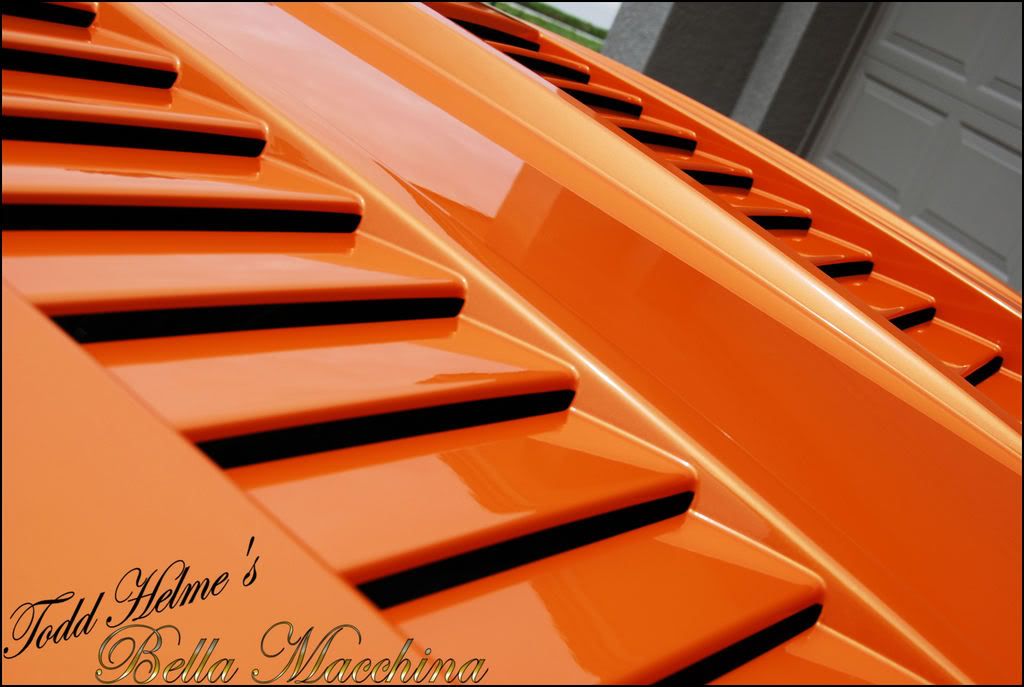
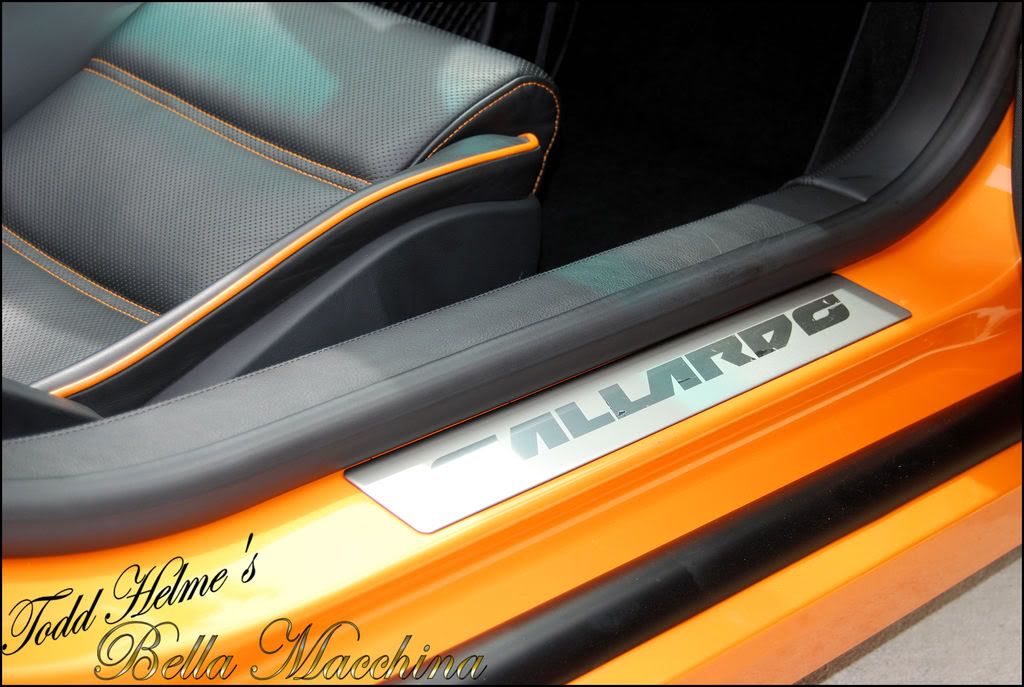
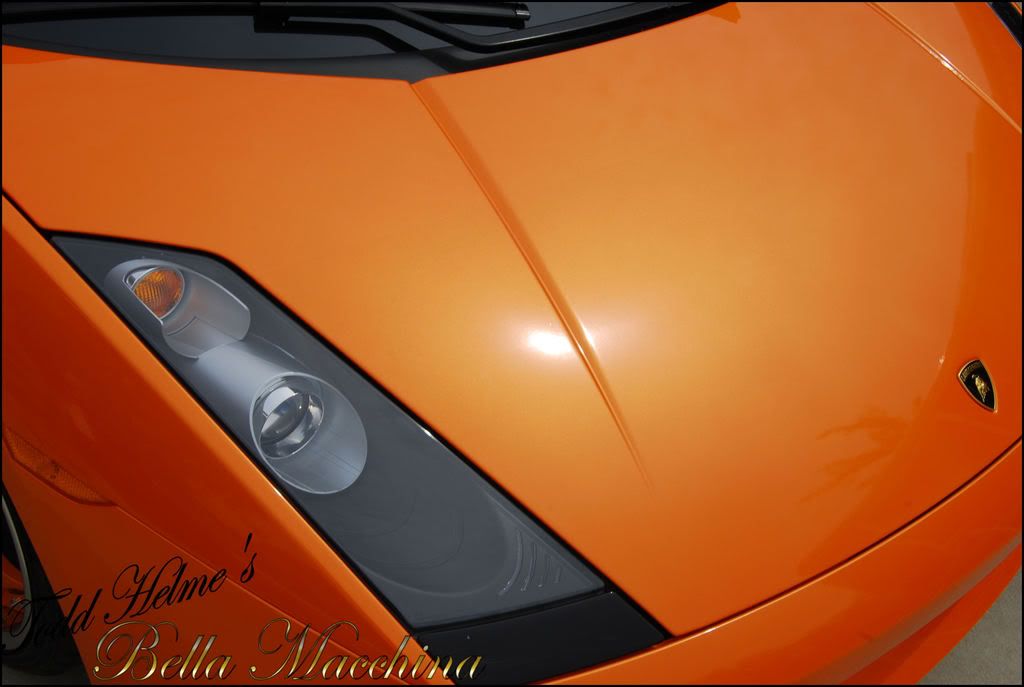
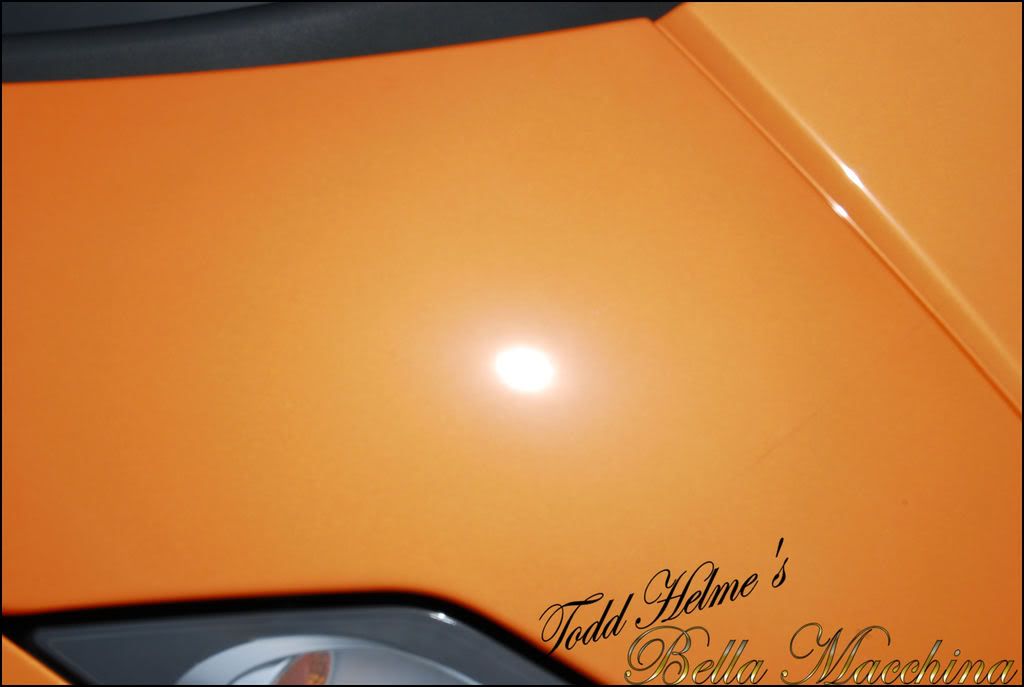
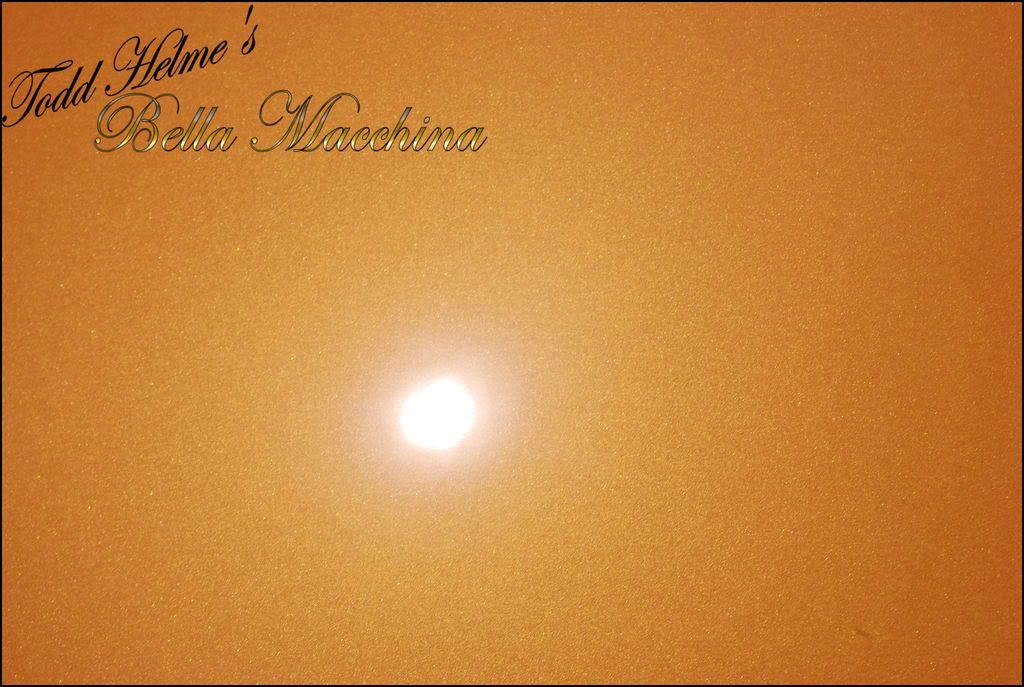
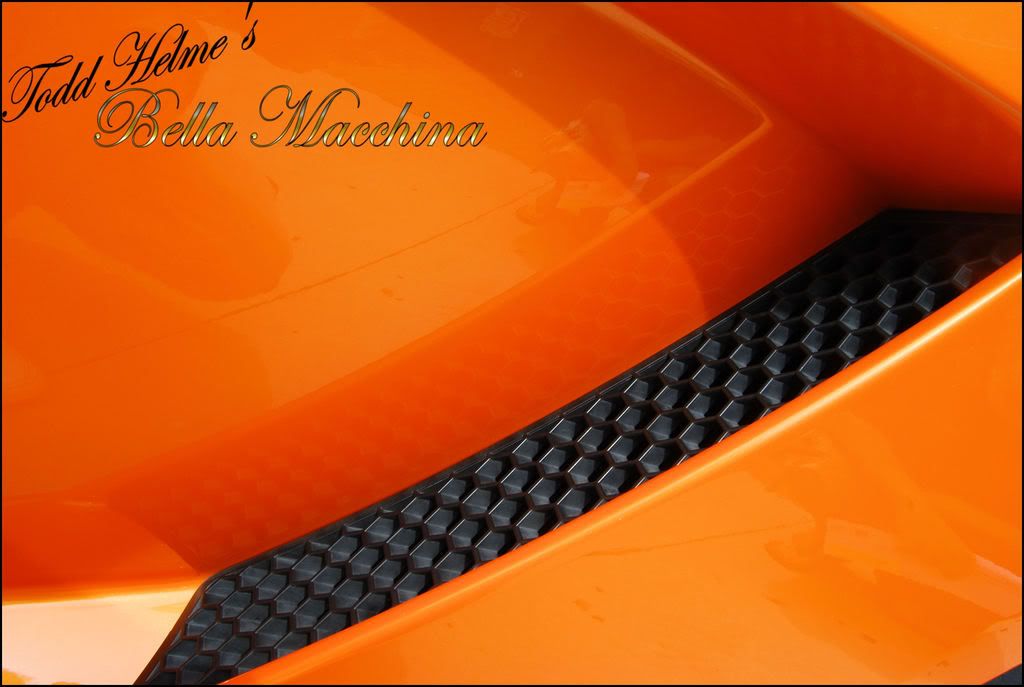
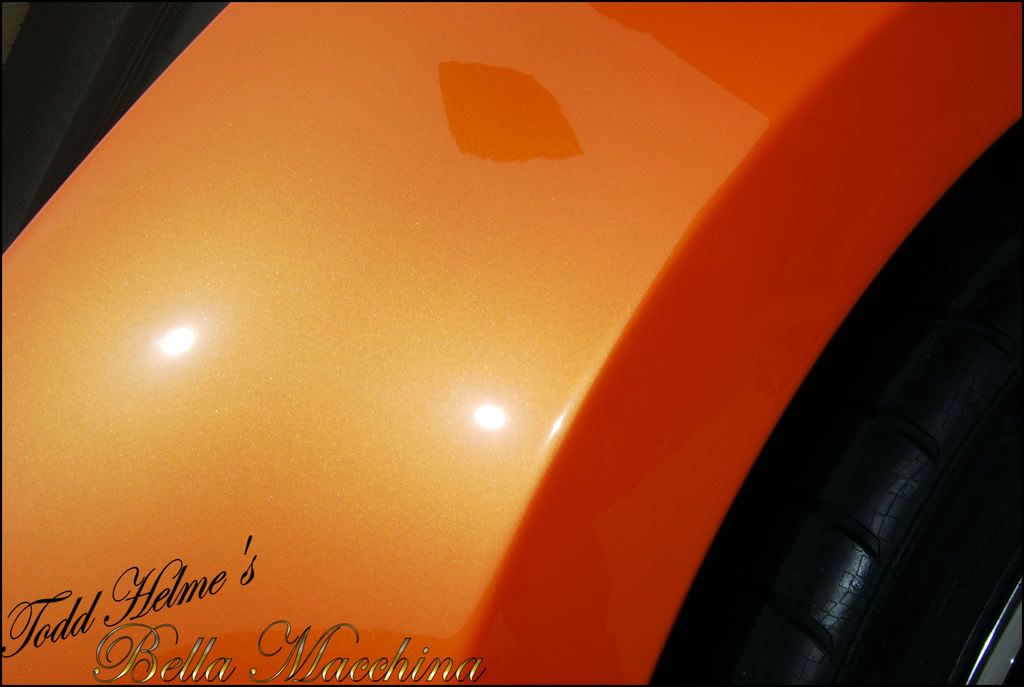
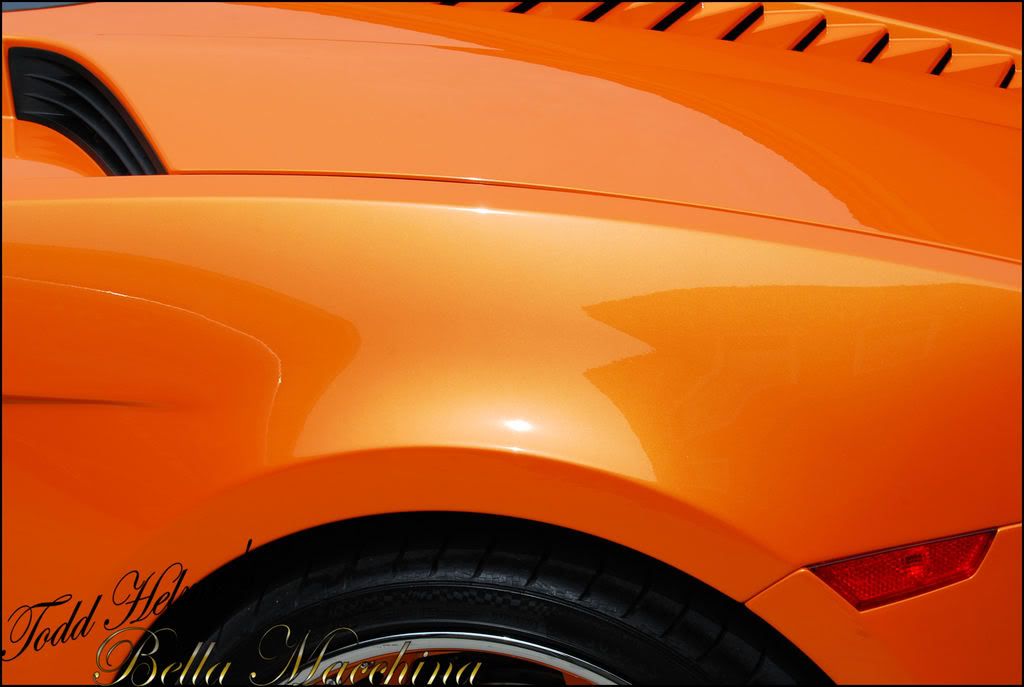
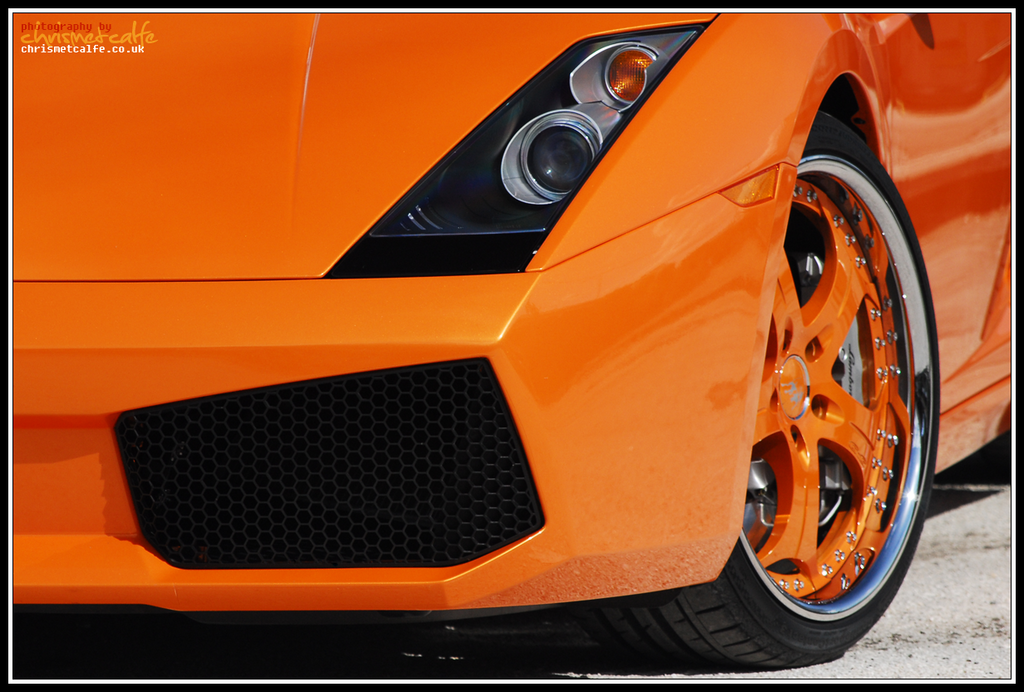
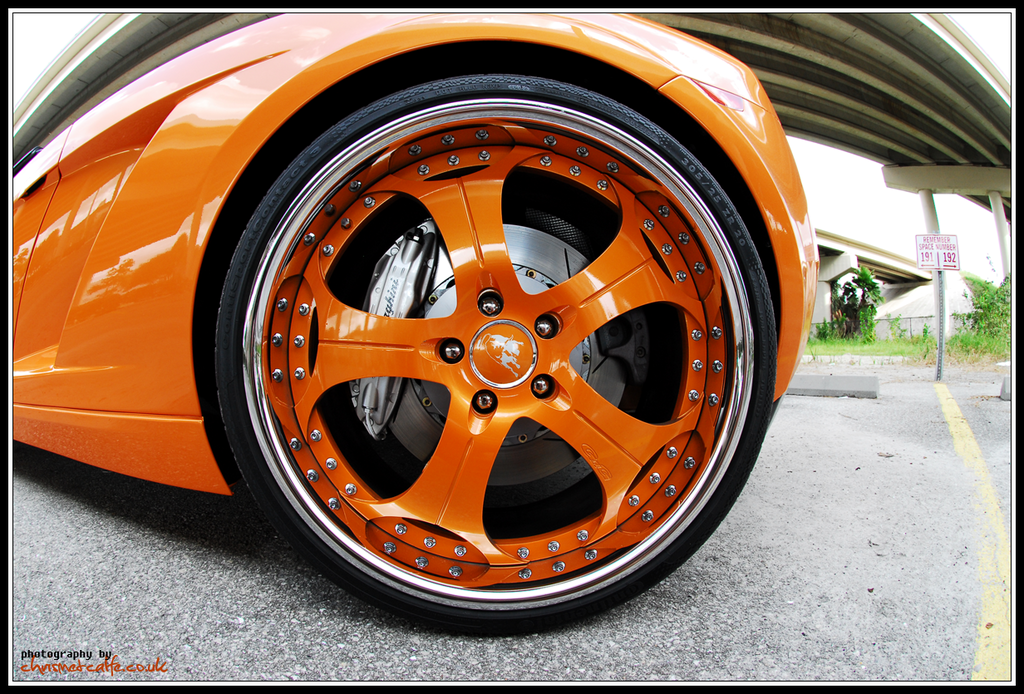
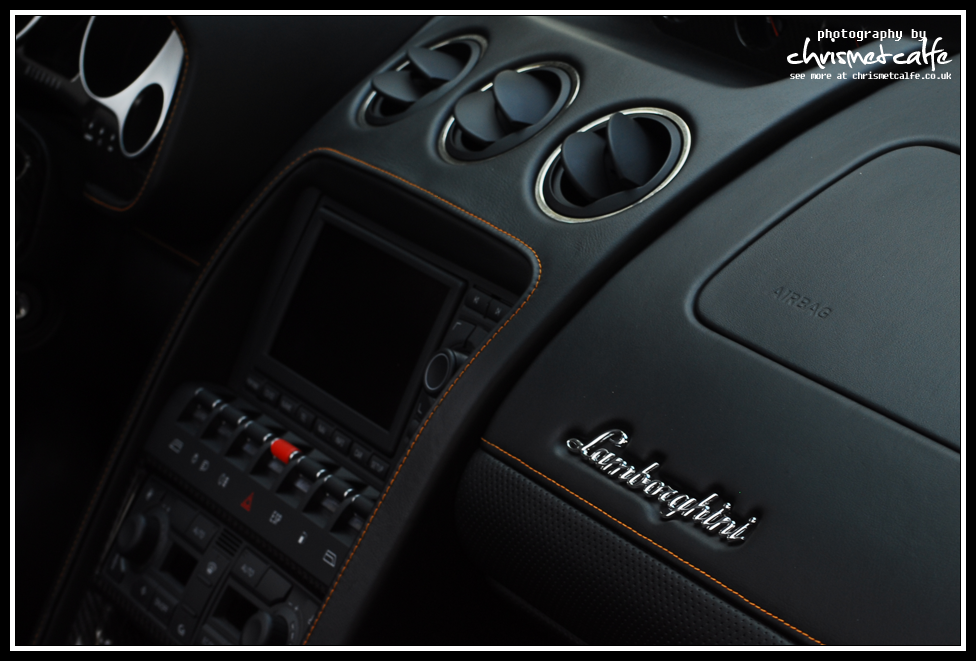
This particular 2006 Spyder is painted in gorgeous Arancio Borealis, which is slightly tangerine with a pearl flake added for good measure. The interior is in Nero Porseus with orange stitching and piping. Larger Girodisc rotors have been fitted (solid vs. cross drilled) to withstand the track abuse better. Softer, more aggressive Pagid brake pads mate the stock calipers to the larger rotors. The owner went to great lengths (even driving the car around with out the rear!) to test various exhaust systems and ended up with a RSC Tuning full titanium exhaust that shave 50 pounds from the rear of the car and increased the quality of sound tremendously (the car can be heard on the video clips at the end of this write up).
Detail.
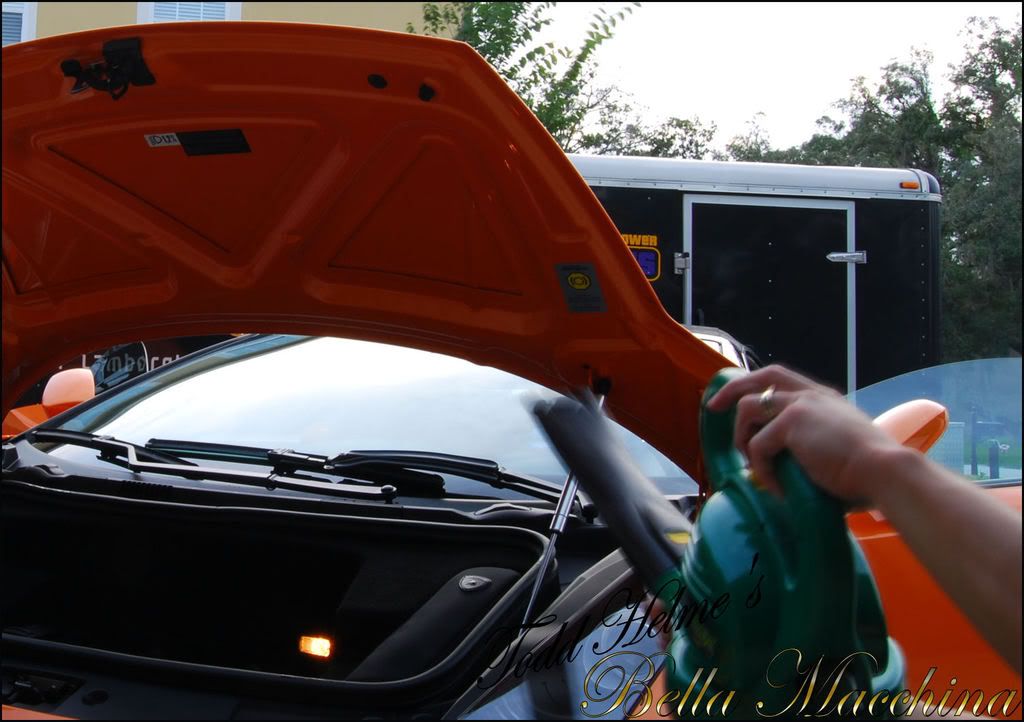
The owner warned me that the car was a little dirty and needed a good clean up. After a couple discussions we decided to make it perfect and selected La Bella Firma. I planned out 3 to 4 days to make this happen and all work was completed on sight within my clients garage. (This was also the first time I have done this service fully mobile, which proved challenging in its own regard). The detail was broken down into the three phases: Cleaning and Detoxification; Correction; Detailing, each to be carried on as long as necessary over four days of allotted time (roughly 50 hours where set aside). In the end the goal was to use my experience and passion to transform this Lamborghini into something perfect: Art.
Day One.[/SIZE]
Cleaning,Decontamination, Detoxification.
The owner had warned me, this automobile was dirty!
Several species of insects had met their end between this bulls nostrils.
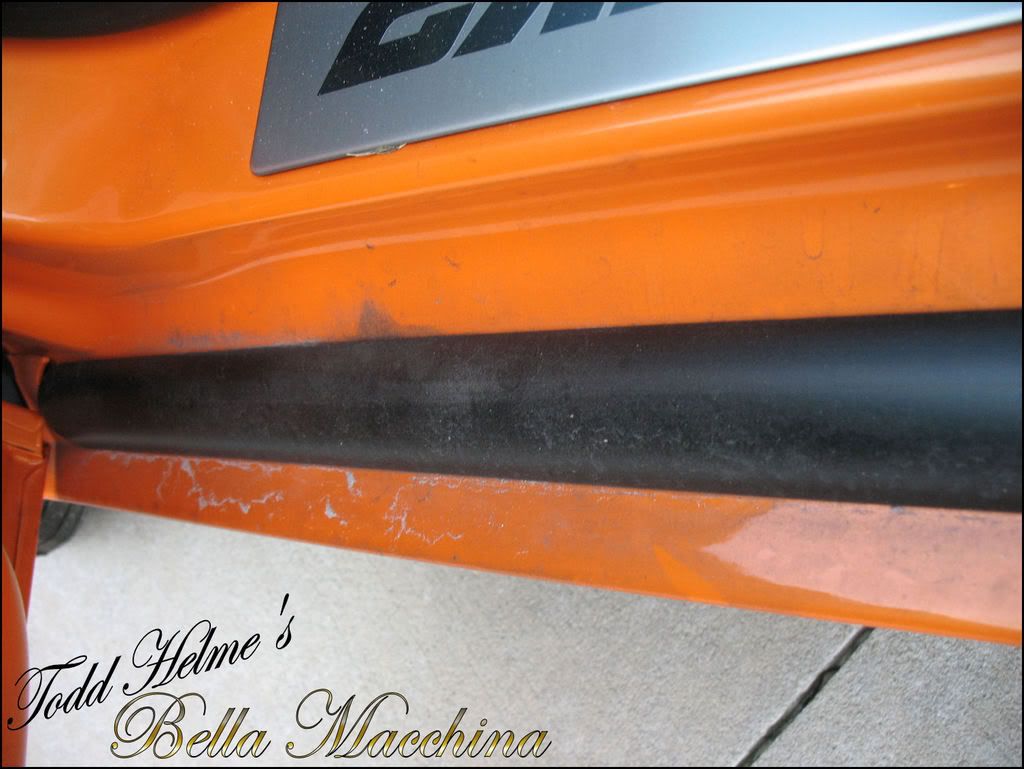
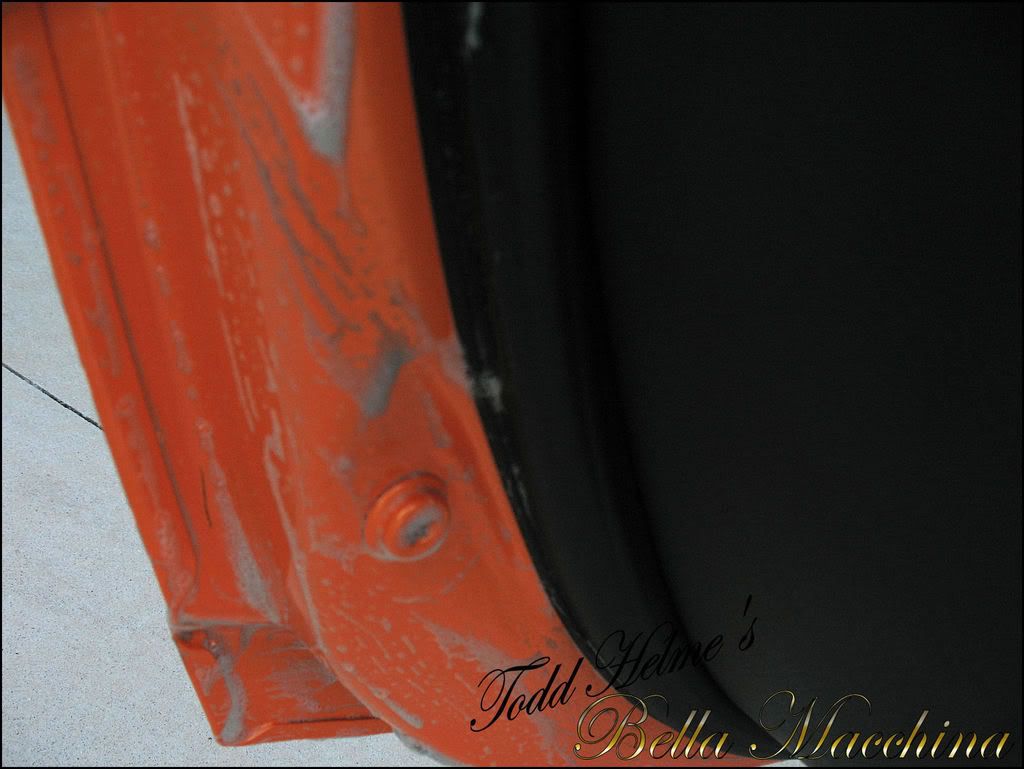
Tar and grease where plastered in the wheel compartments and along the sides.
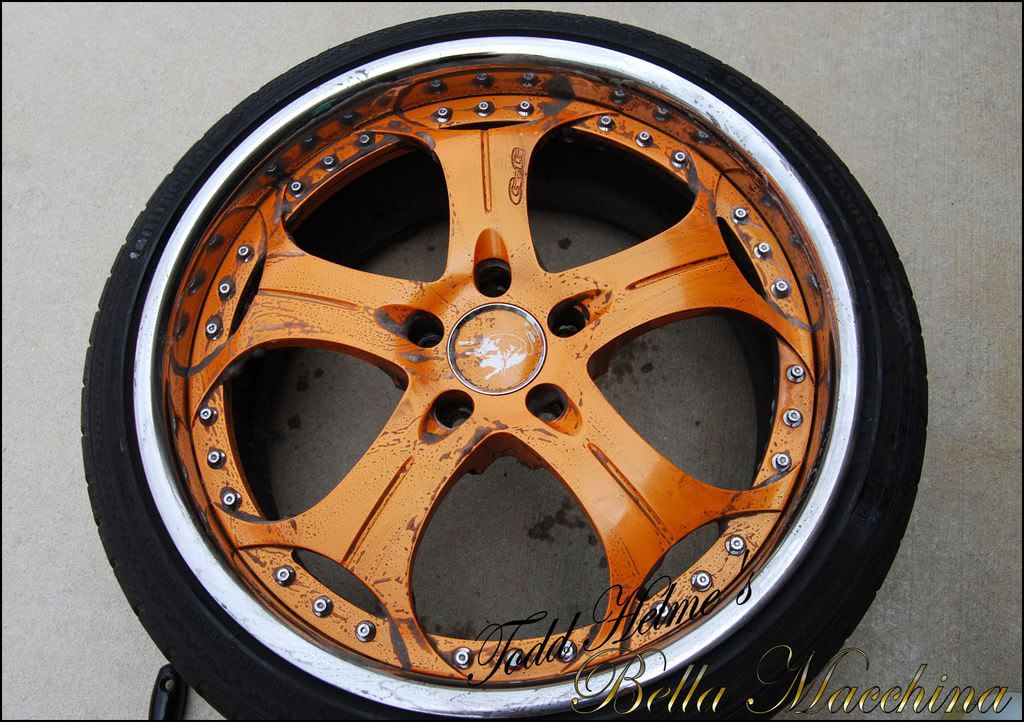
Soft, aggressive Pagid break pads combined with aggressive driving ensured plenty of brake dust. It looked like ash fallout from a volcano covering the land as the orange of the painted GG wheels was barely visible.
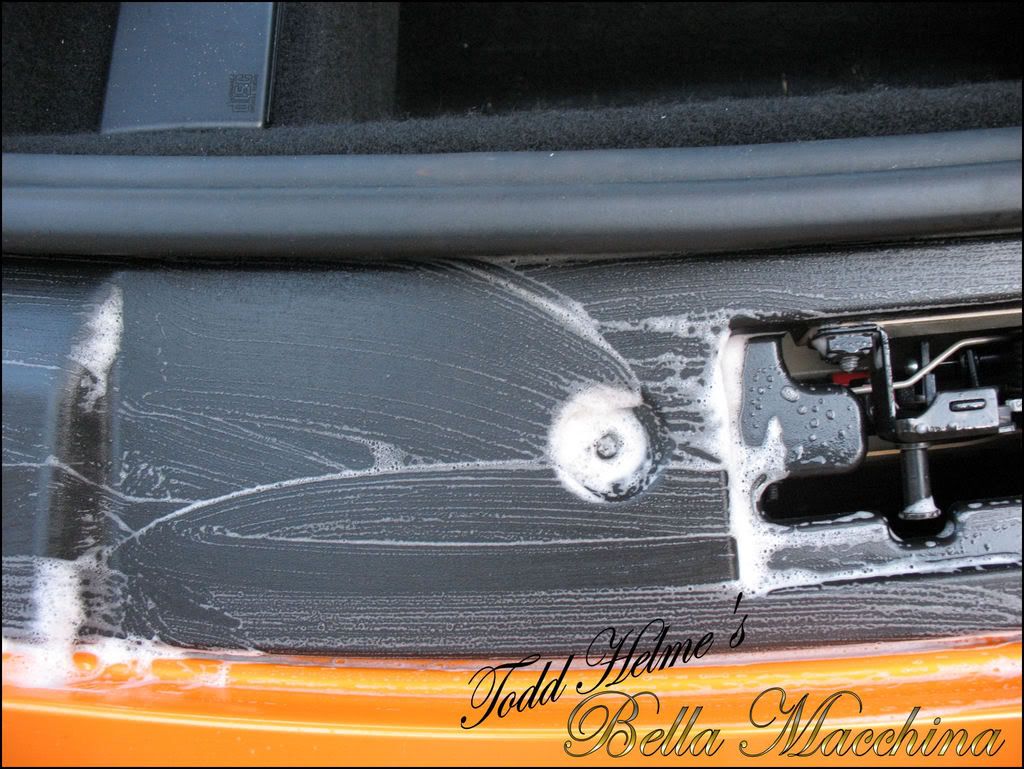
The door shuts did not fare much better.
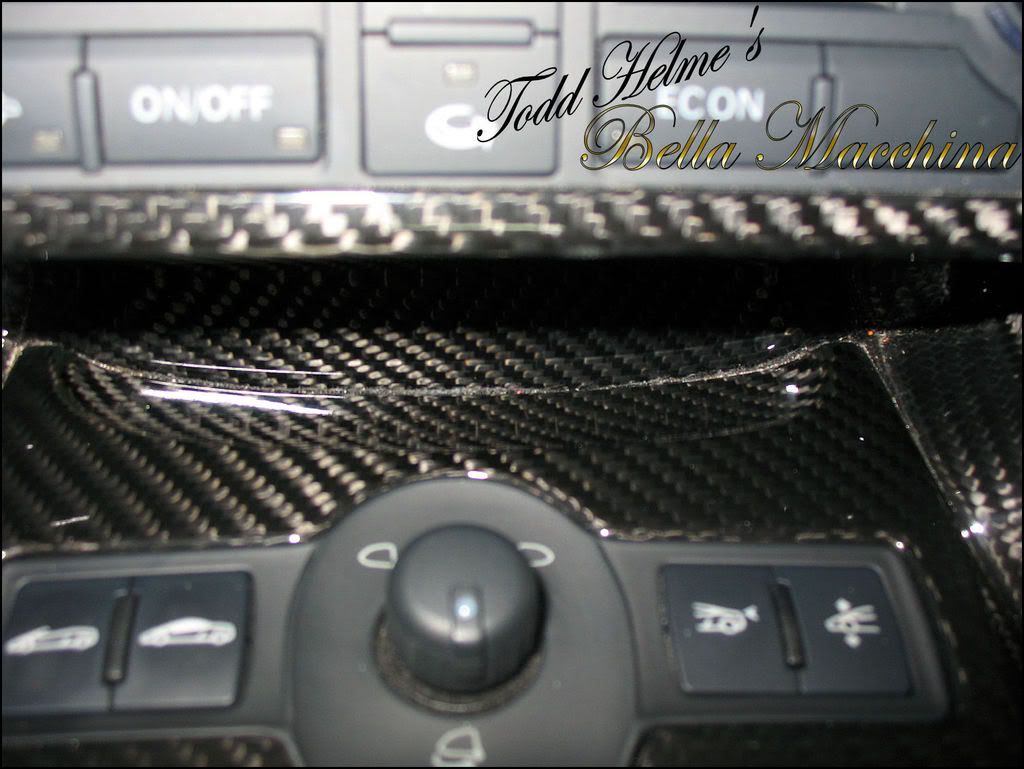
The interior would also need my full attention. Grime and grease covered some of the buttons.
The carpets where soiled and the pedals where scuffed.
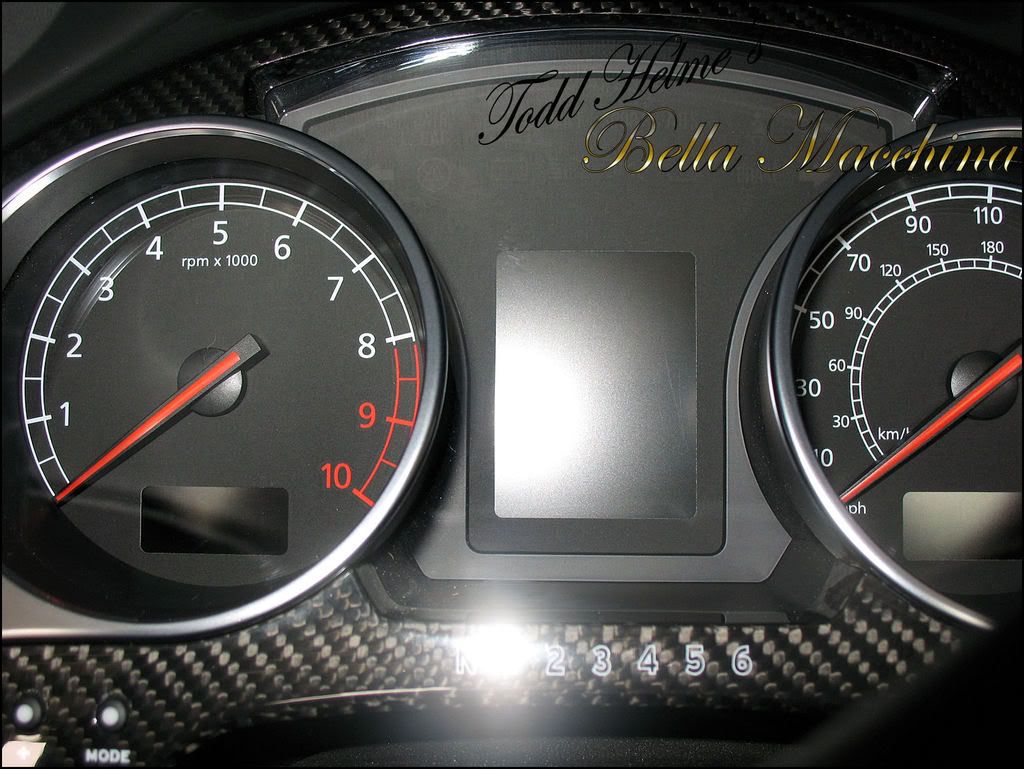
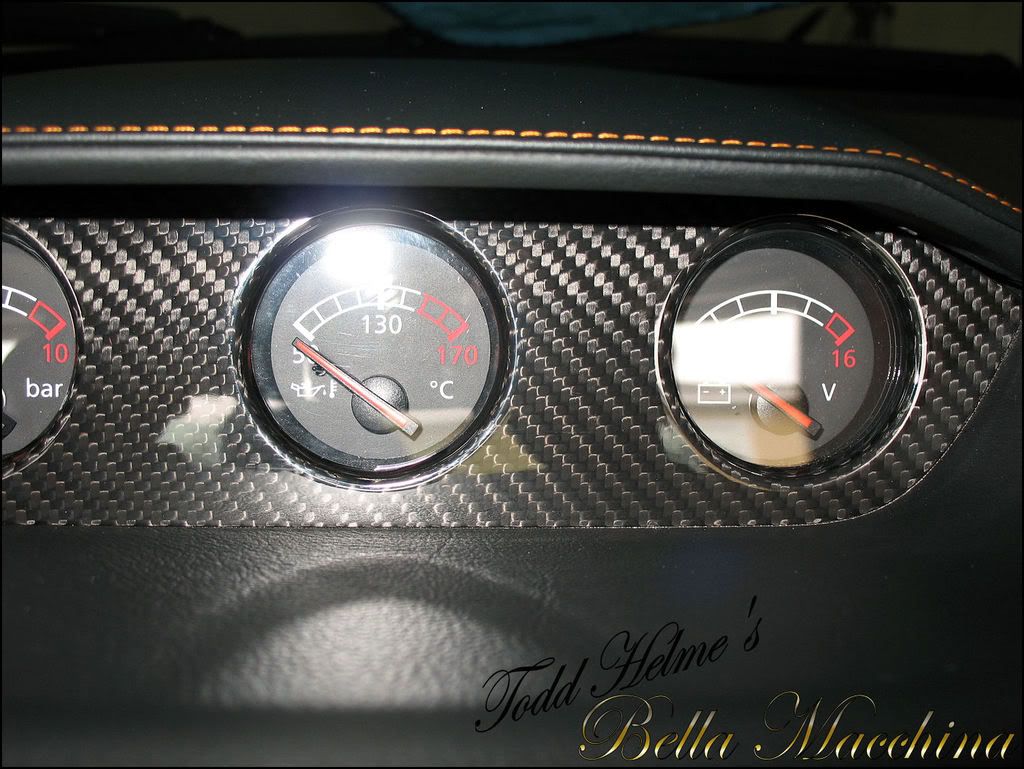
The dash.
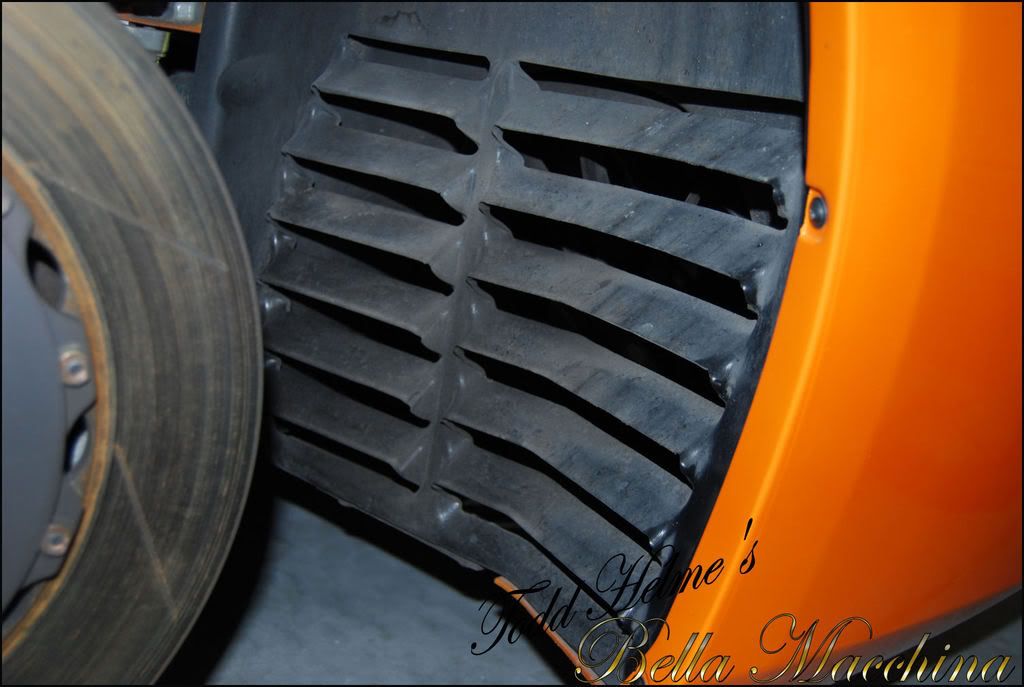
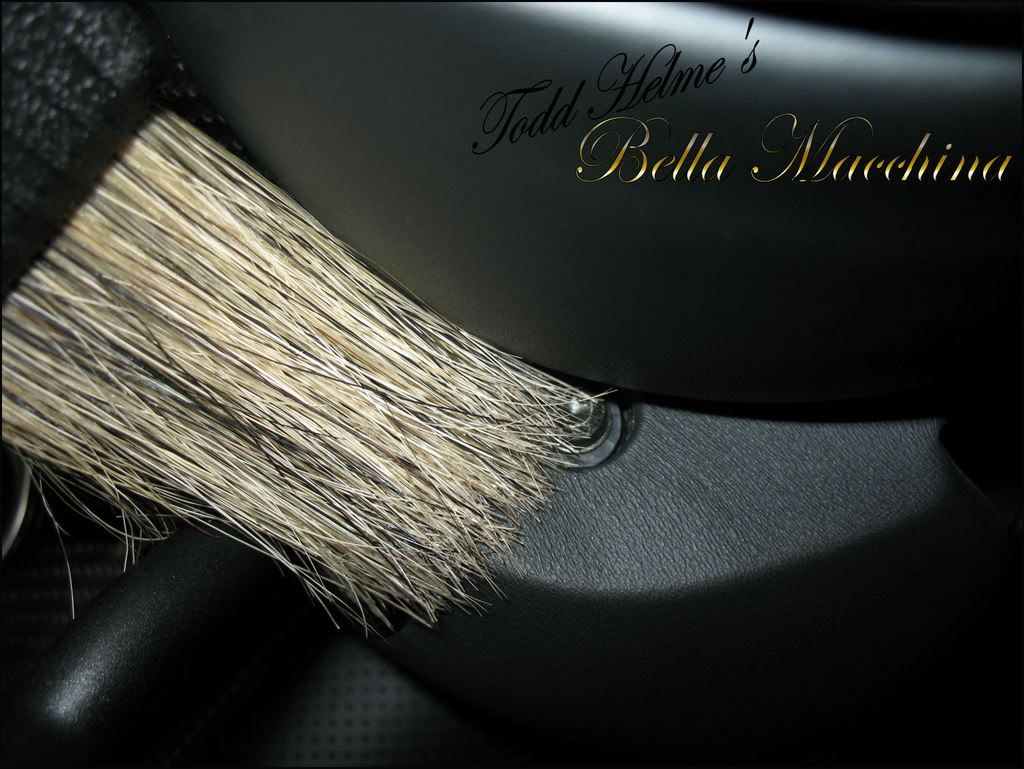
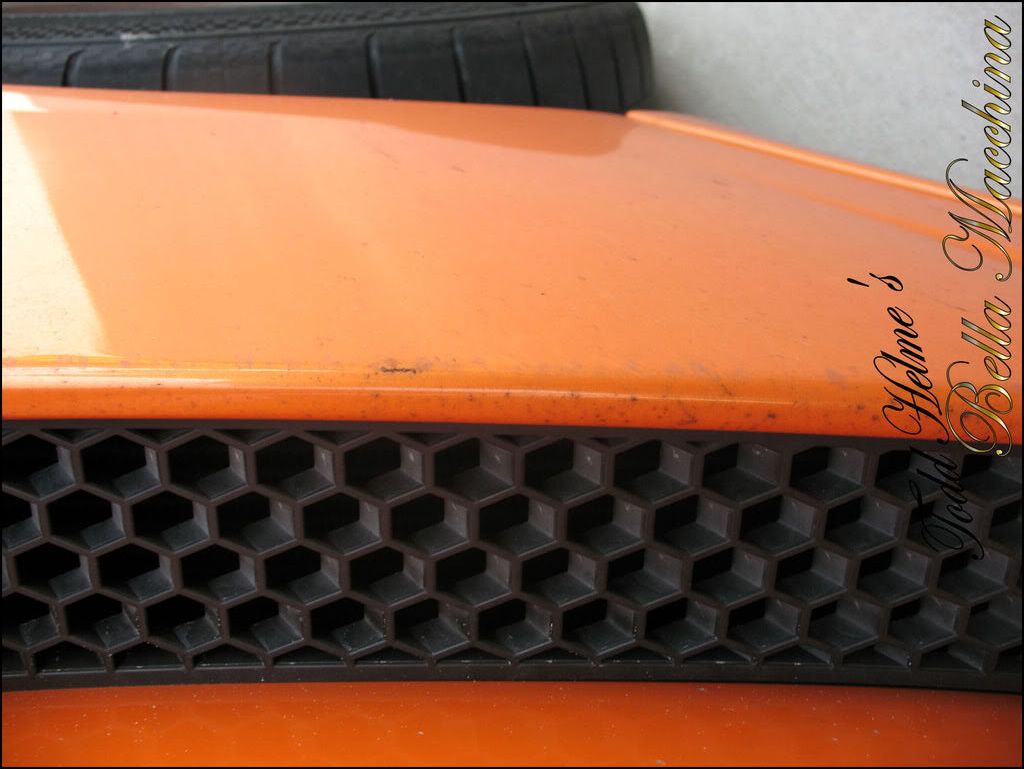
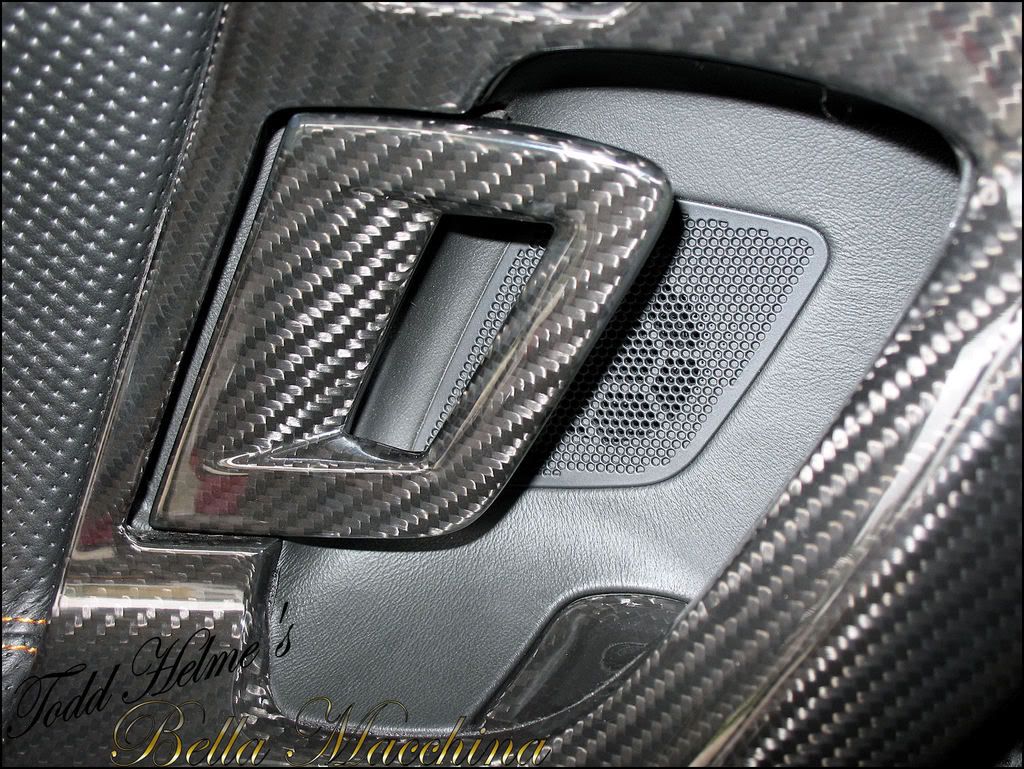
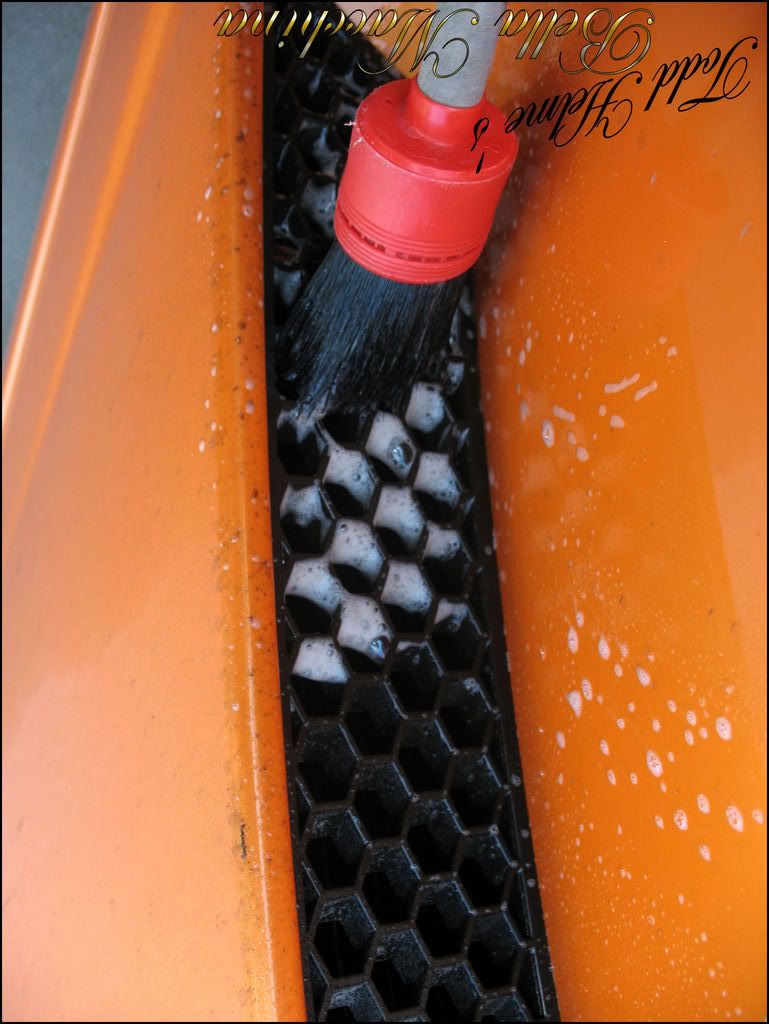
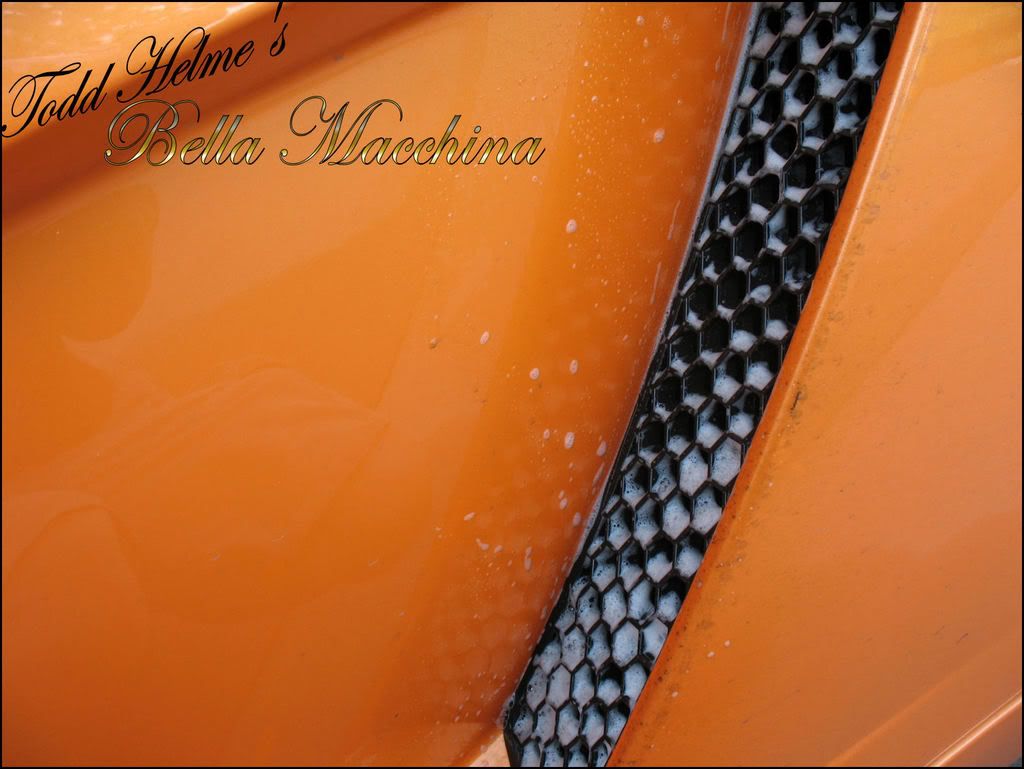
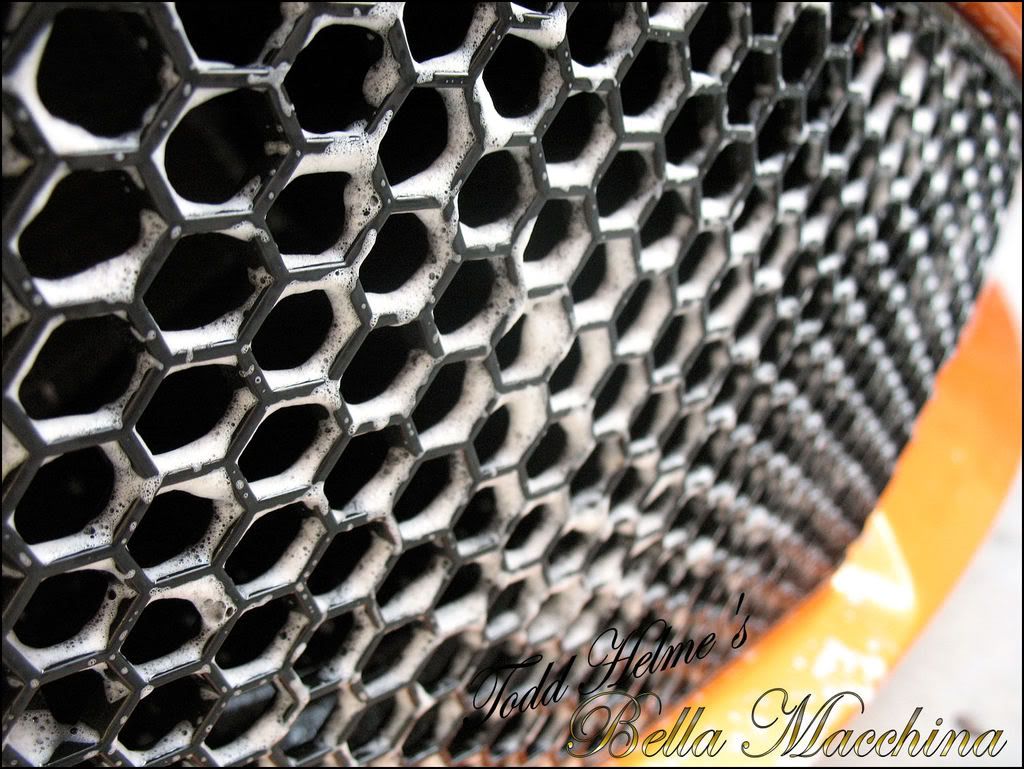
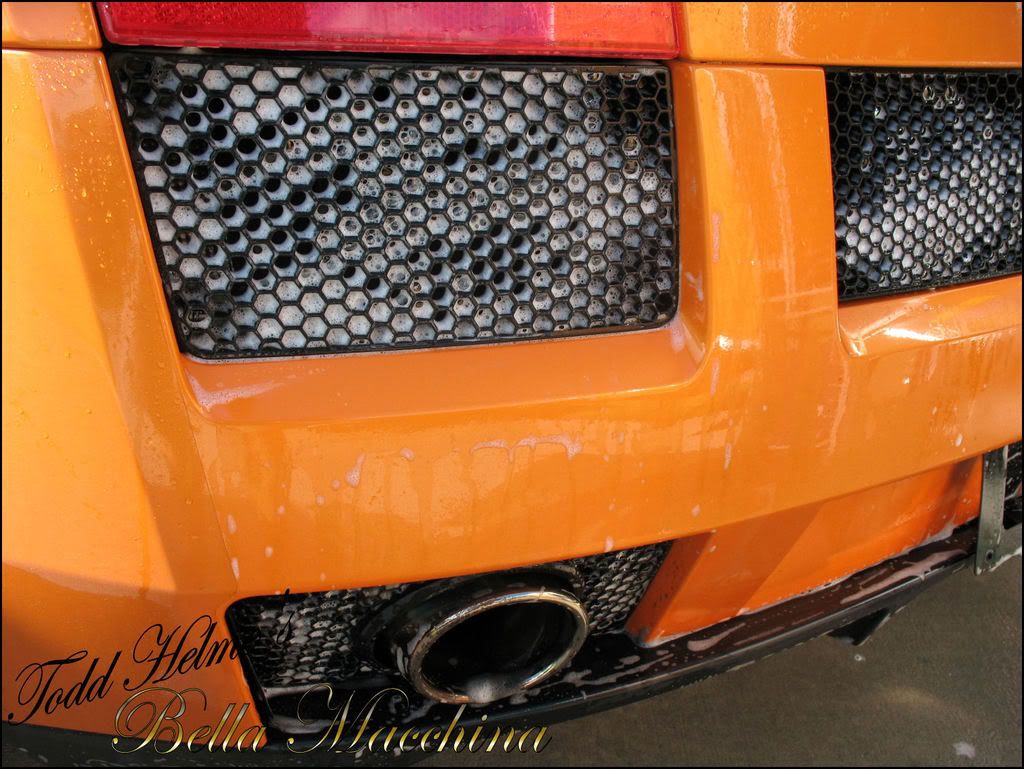
Vents and grates.
Day ones goal was to remove all dirt, contaminants, and soil from all the surfaces of the vehicle then deep clean and detoxify the surfaces to give the best possible foundation for the work to follow.
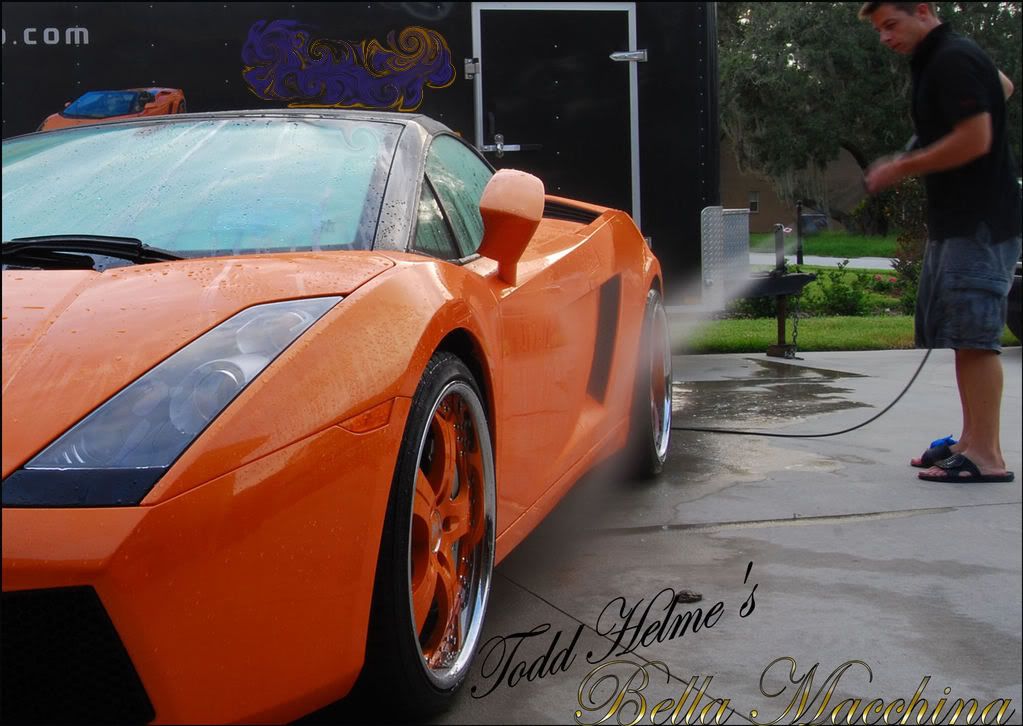
First the exterior and door shuts where pressure washed using a Karcher 1500psi pressure washer filtered with ultra pure, de-ionized water. De-ionized water is extremely pure and without minerals and toxic particulate, washing can be done outside with out fear of damaging water spotting and etching.
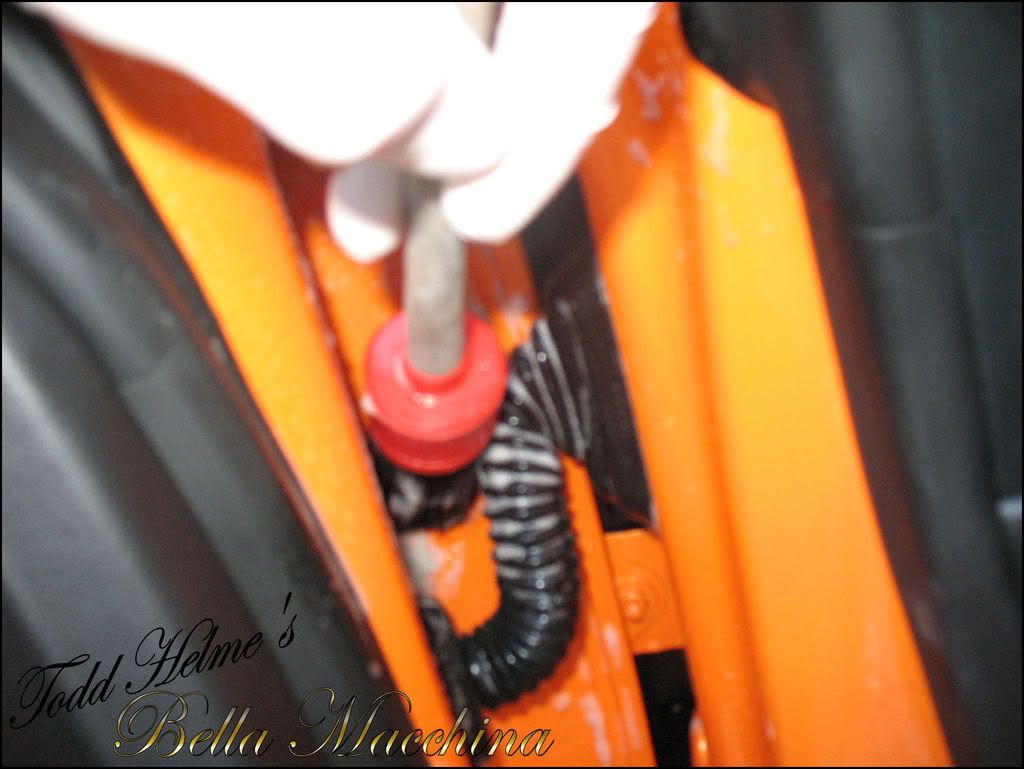
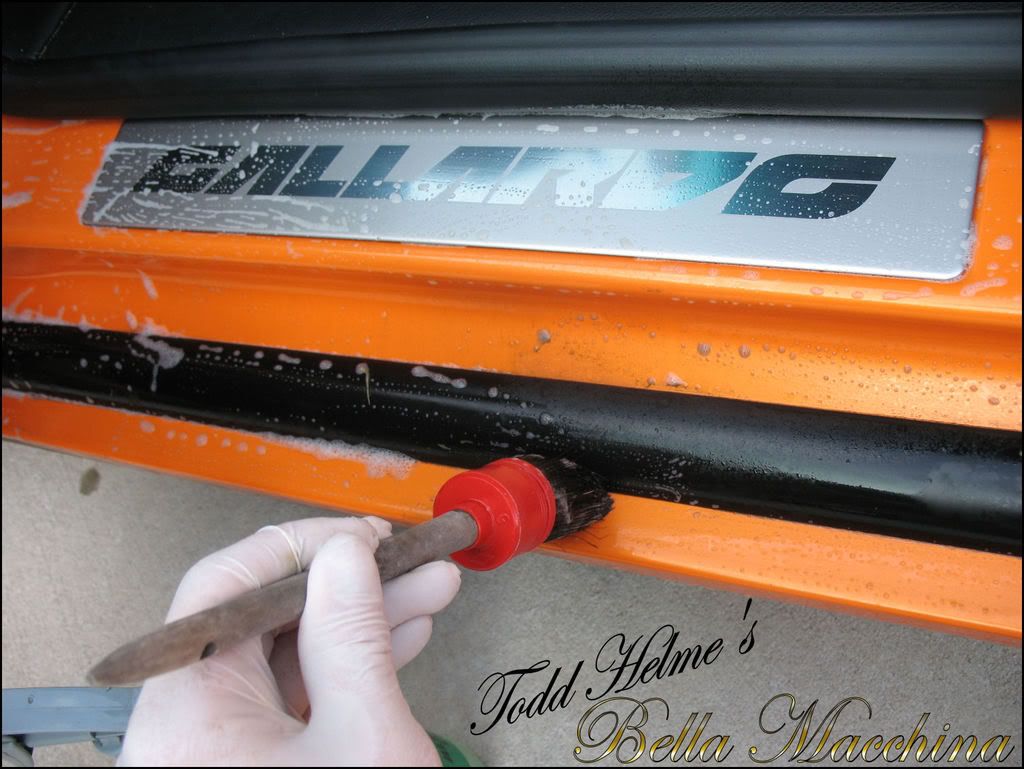
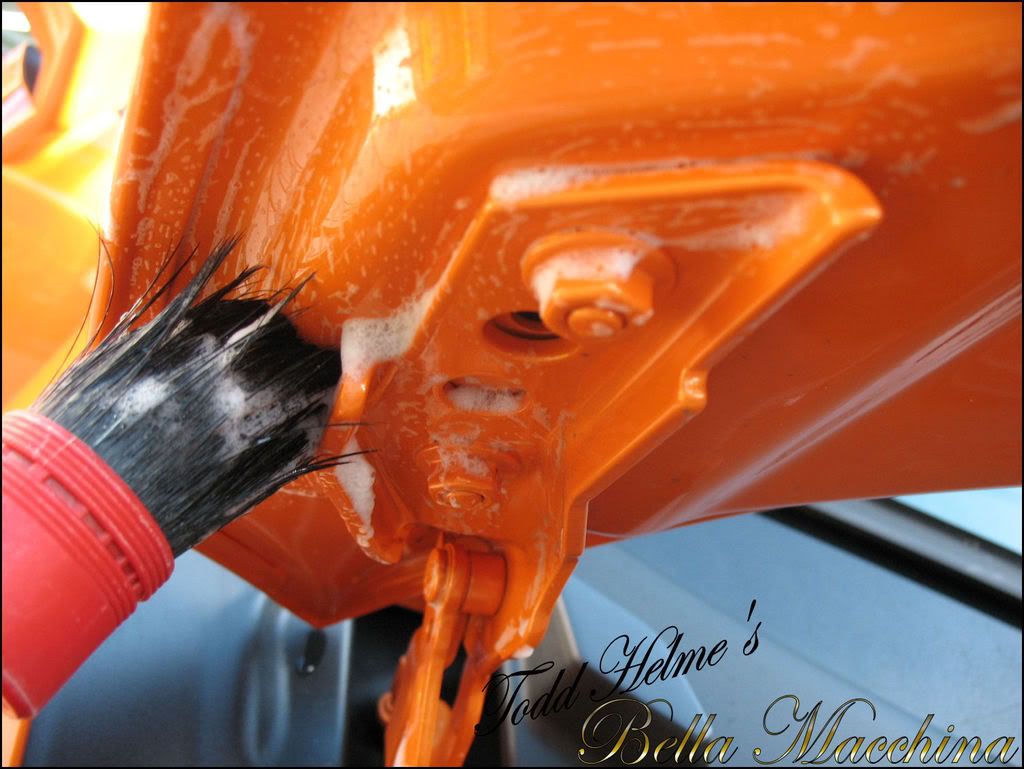
Using a Swiss-Vax wheel brush and Optimum Power Clean, the door shuts where agitated to loosen the soil.
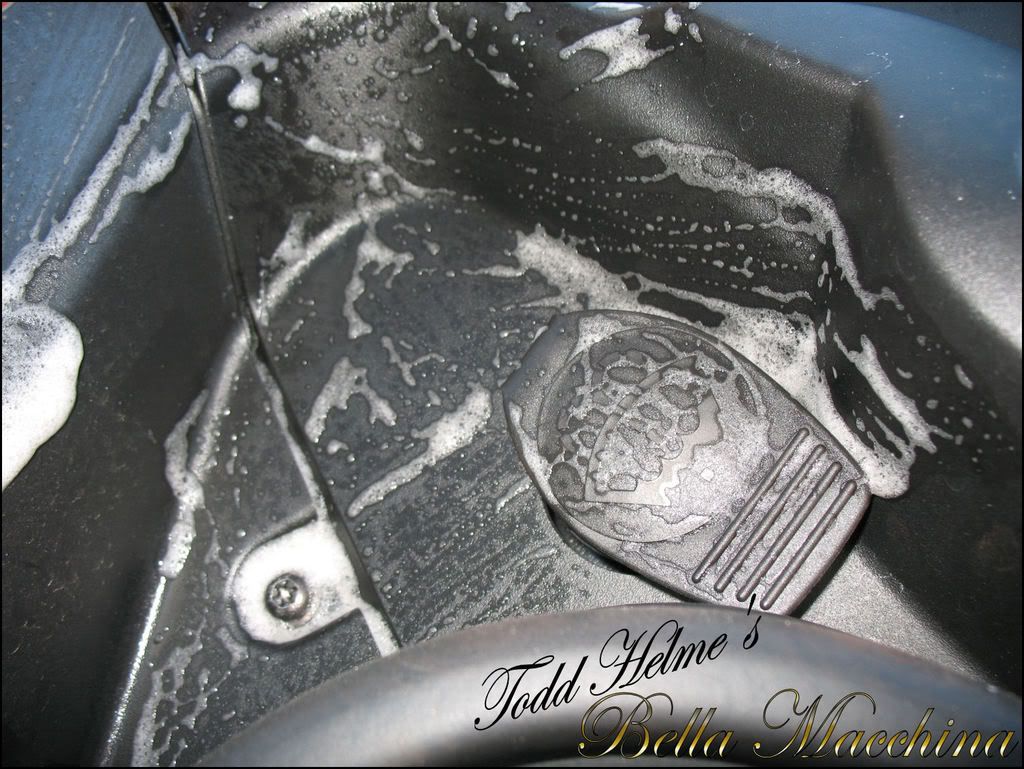
The front trunk trim received similar treatement to agitate and clean.
As well as the underside of the hood.
The grating and vents where also cleaned, finishing up most of the detail cleaning work. After being left to dwell a short time, all areas where pressure rinsed and toweled dry using a Chemical Guys Long Nap drying microfiber.
Results 1 to 15 of 46
-
08-02-2011, 03:26 PM #1Just a regular guy


- Join Date
- Feb 2009
- Location
- Oviedo/Stuart Florida
- Posts
- 15,278
- Post Thanks / Like

Lamborghini Gallardo -330 pics- 5 day detail
-
08-02-2011, 03:28 PM #2Just a regular guy
- Join Date
- Feb 2009
- Location
- Oviedo/Stuart Florida
- Posts
- 15,278
- Post Thanks / Like
Re: Lamborghini Gallardo -330 pics- 5 day detail
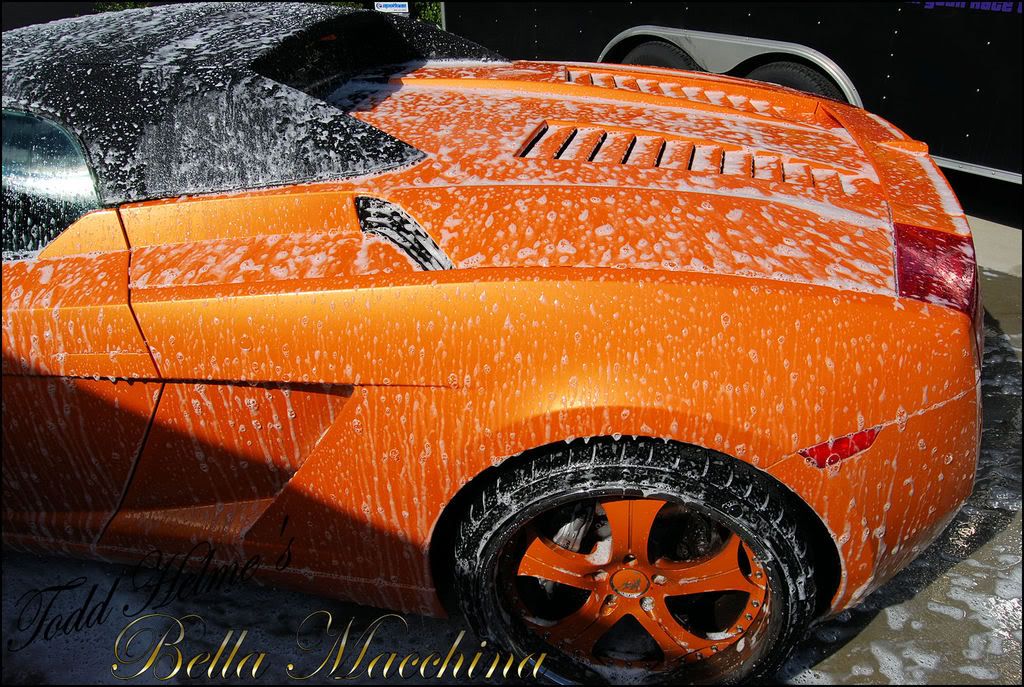
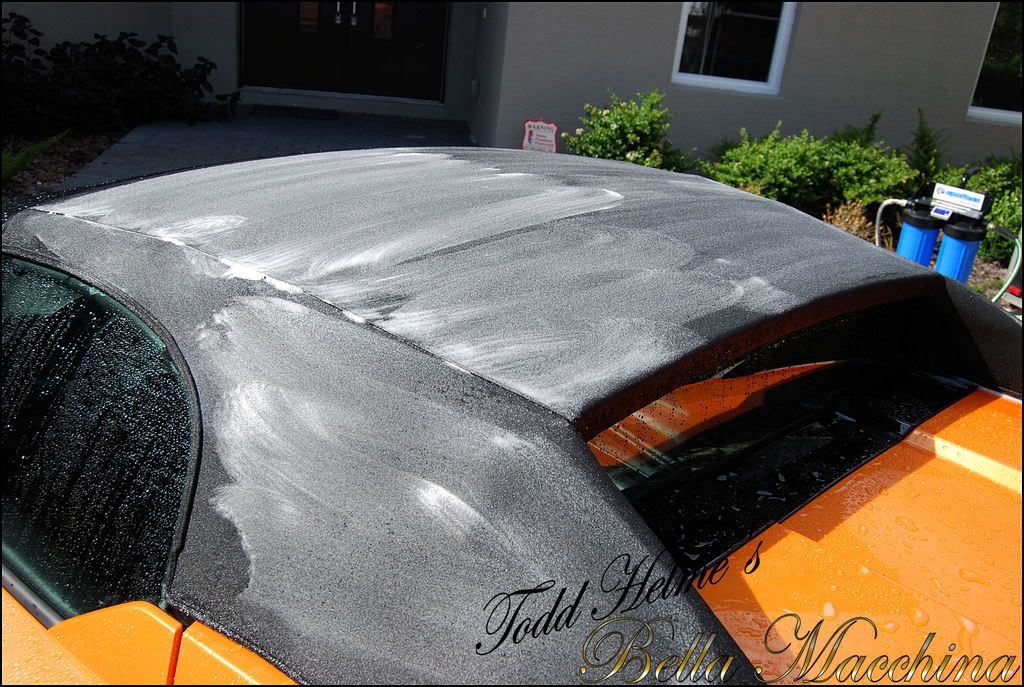
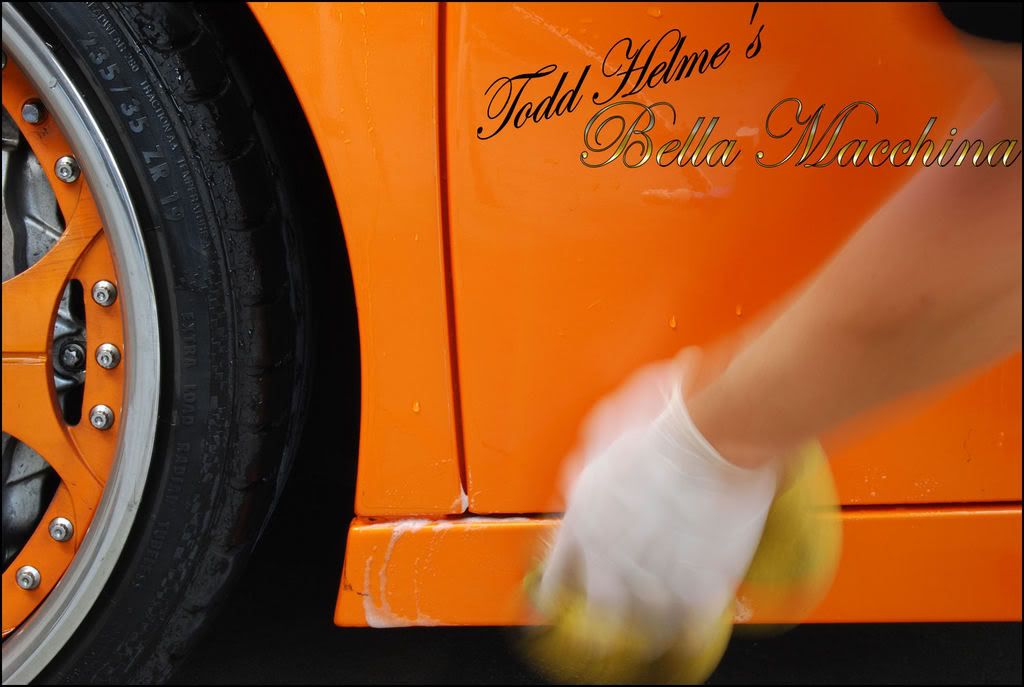
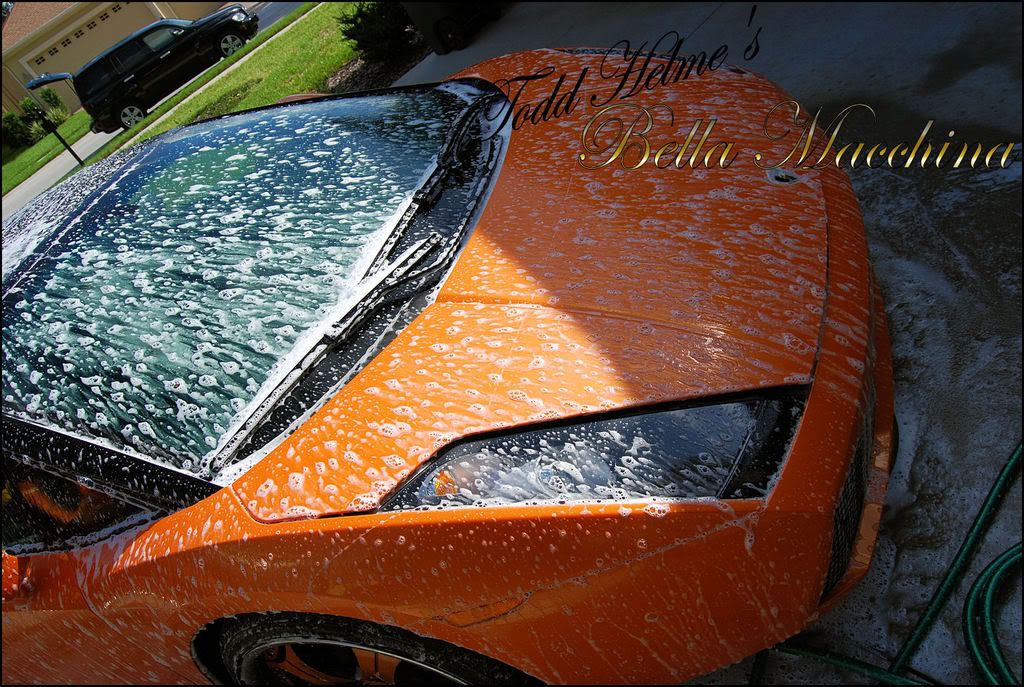
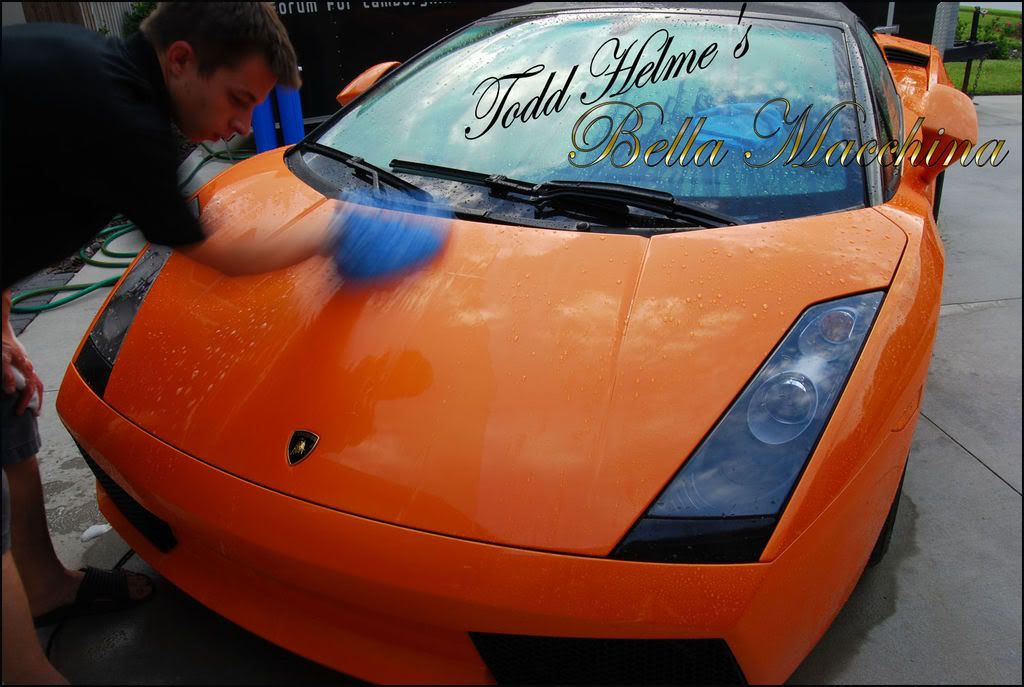
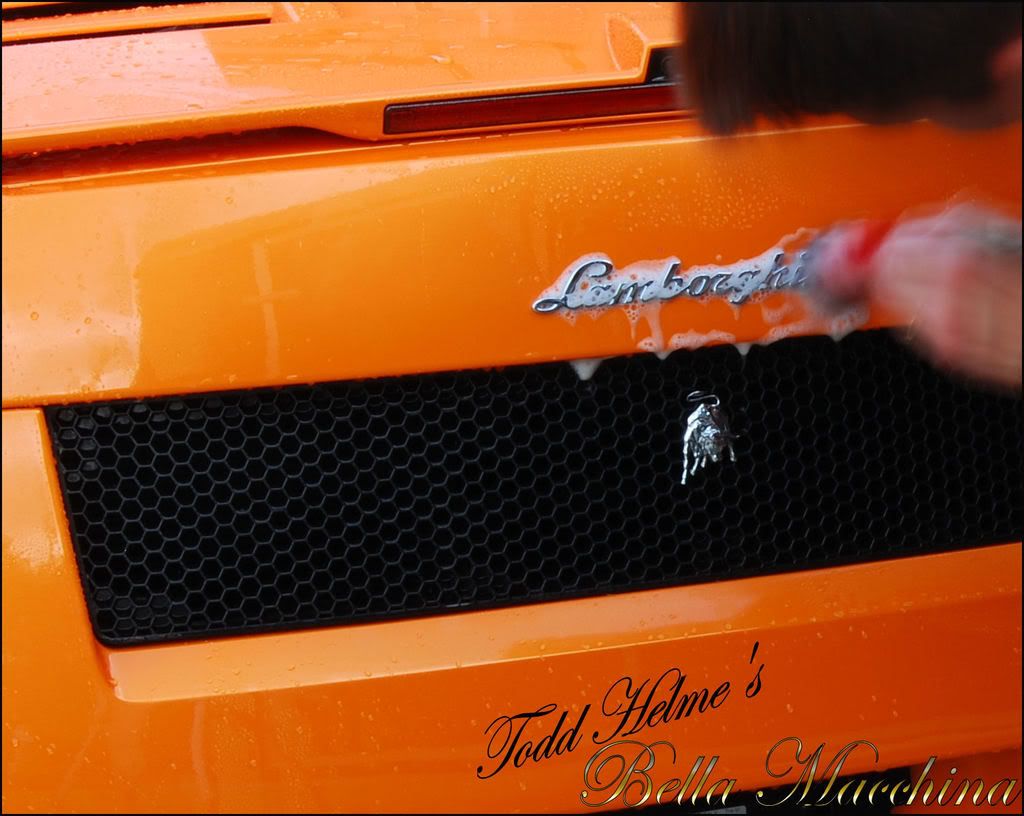
With the details cleaned, I turned my attention to the exterior, which was foamed with Zaino Z7 and left to dwell for 3 to 5 minutes to loosen and encapsulate the remaining loose grit from the paints surface.
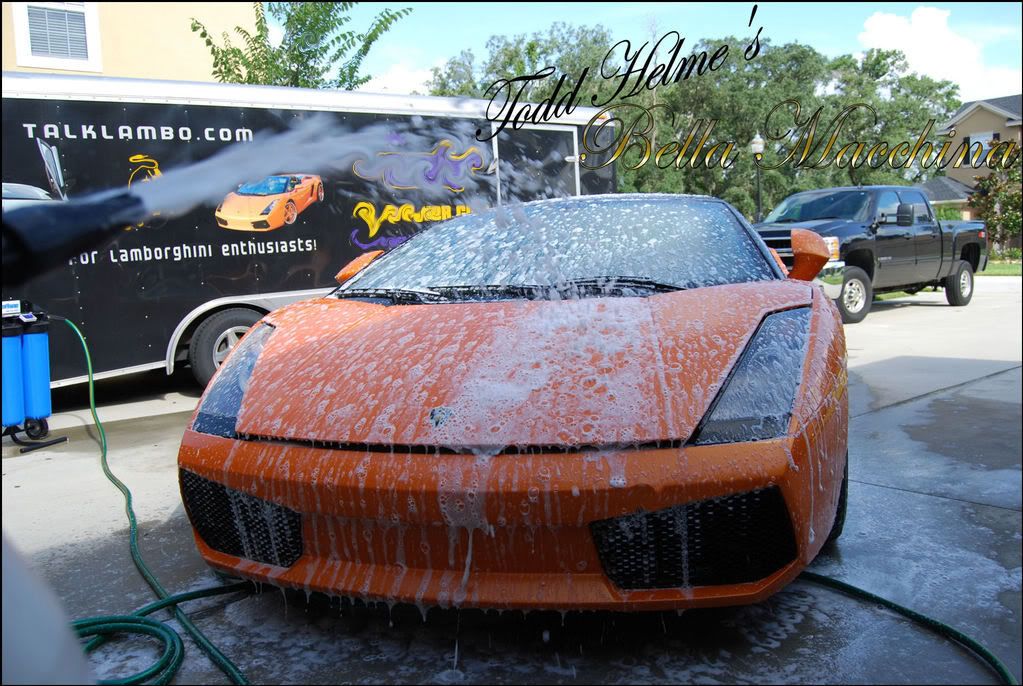
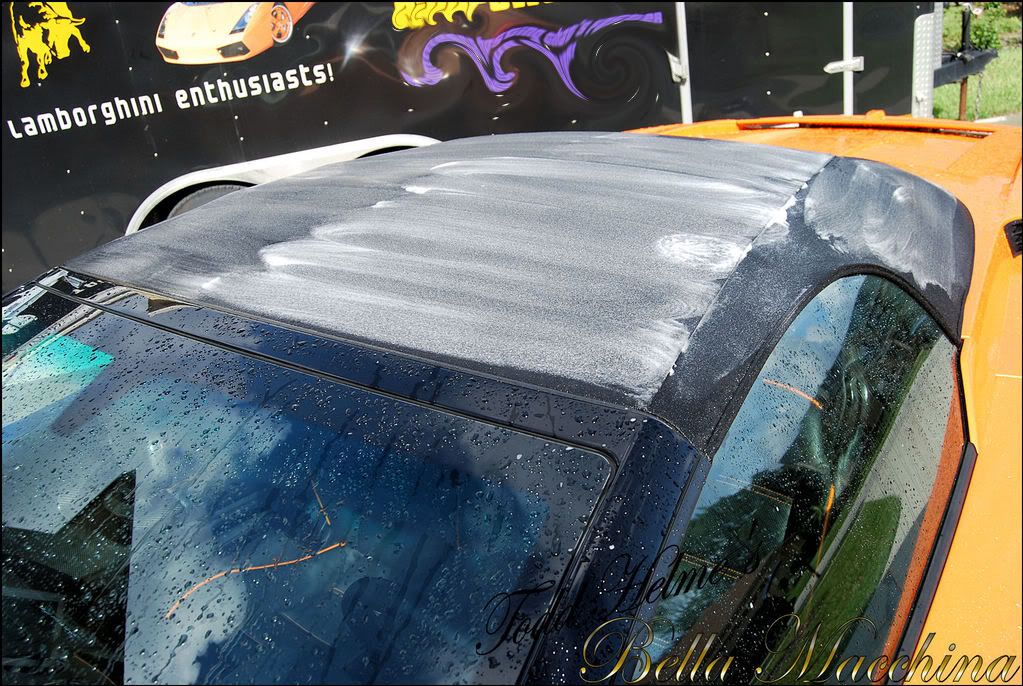
During the rinsing process I noticed that the water was laying tight and flat to the fabric soft-top, indicating protection had gone the way of the dodo bird. Meguiars` APC (10:1) and their Gold Class Carpet Brush quickly removed all soil from the top.

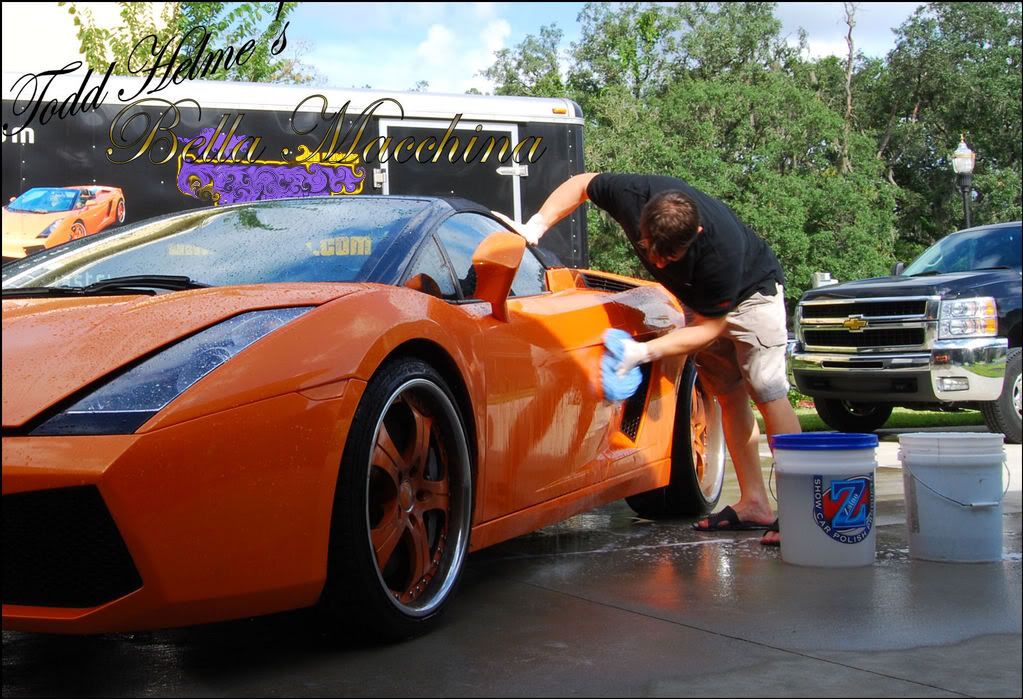
Two buckets with Grit-Guards and a soft mitt made quick work of the remaining dirt. The dirt was gently washed away as I did not want to induce more scratching and marring into the Lamborghinis extremely hard clear coat.
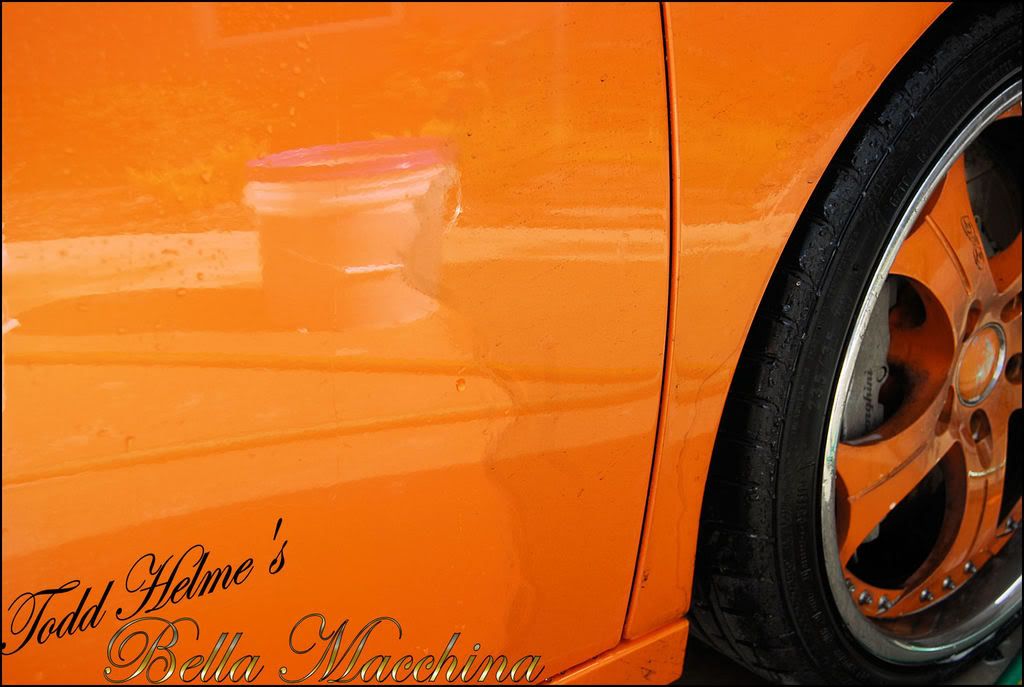
A good picture which illustrates the cleansed paint vs the soiled area.
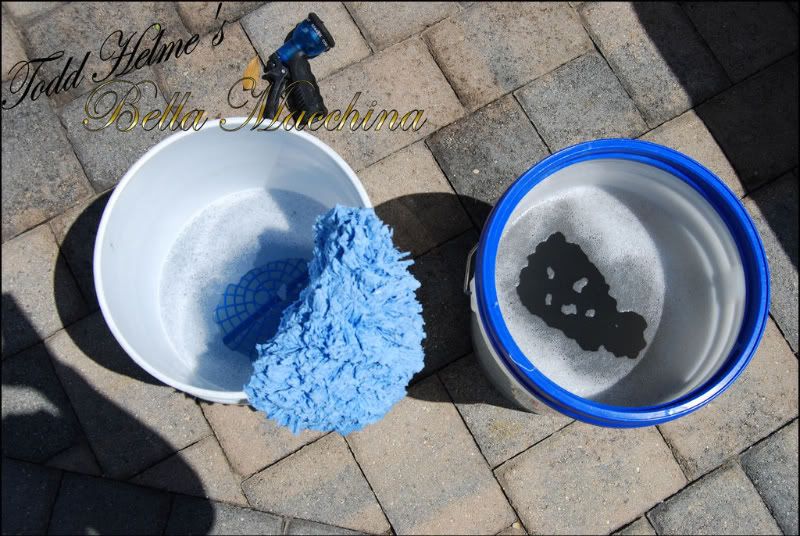
Here are the buckets after being let to stand for the day. The rinsing bucket has clearly trapped a majority of the grime, preventing it from being reintroduced into the wash (soapy) bucket. Washing with one bucket (without frequent rinsing) is the same as going to the beach and mixing a bucket with sandy water. (Rinse bucket on the right)
Surf City Garages excellent Road Grime Remover was sprayed under the car and along the sides to remove remaining stubborn tar deposits and left to dwell for approximately five minutes.
Areas where tar remained were then wiped with soap and a grout sponge, the rinsed clean under pressure.
A quick inspection of the paint revealed a lot of bonded containment`s and a very rough feel to the touch, especially the front window and rear areas. I did not want to risk marring the paint by grinding the contaminants off with an aggressive clay so I opted to use FK1s three stage Decontamination System.
First the car was foamed with FK1s #1119 Soil/Coating remover and worked in for several minutes before being washed clean.

FK1 #883 Rust/Iron remover was then applied directly to the paint with the FK1 Sponge the rinsed clean. The the final step, #118 SC- pH Neutralizer was foamed on to the Lamborghini and allowed to dwell for several minutes before being power washed from the surface.
The paint was squeaky clean and a light pass with Zaino Z18 Clay (used with Chemical Guys Speed Shine as a surface lubricant) quickly removed any remaining containment with no effort.
Once again the Gilmore was used to foam the car with Dodo Juice Born to be Mild gentle car soap to remove any remaining chemicals and residue. After a quick agitation with a soft, natural sheep skin mitt, the paint was flooded with water to remove the soap and pull the water from the car.
Several Cobra Guzzler waffle weave microfibers quickly picked up the remaining water by blotting dry. Wash complete, total time: 5 ½ hours.
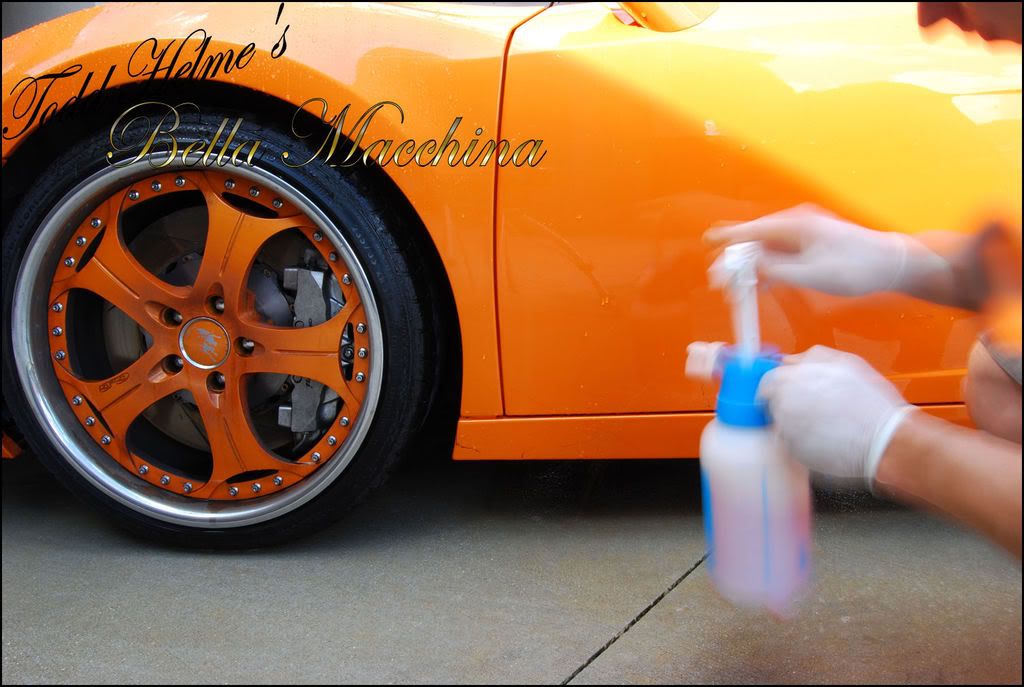
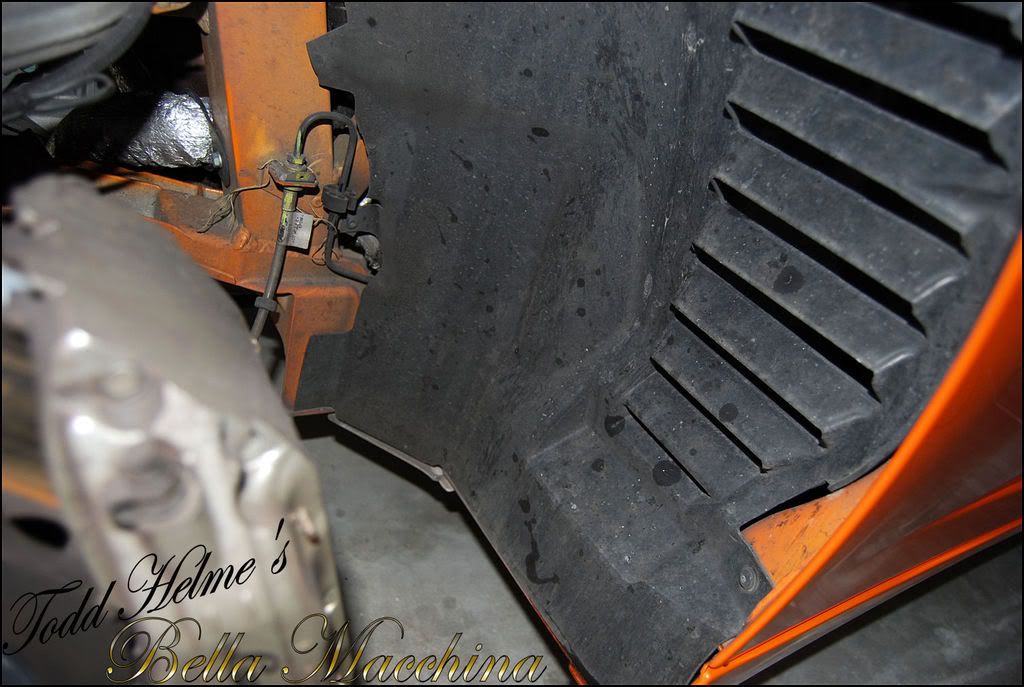
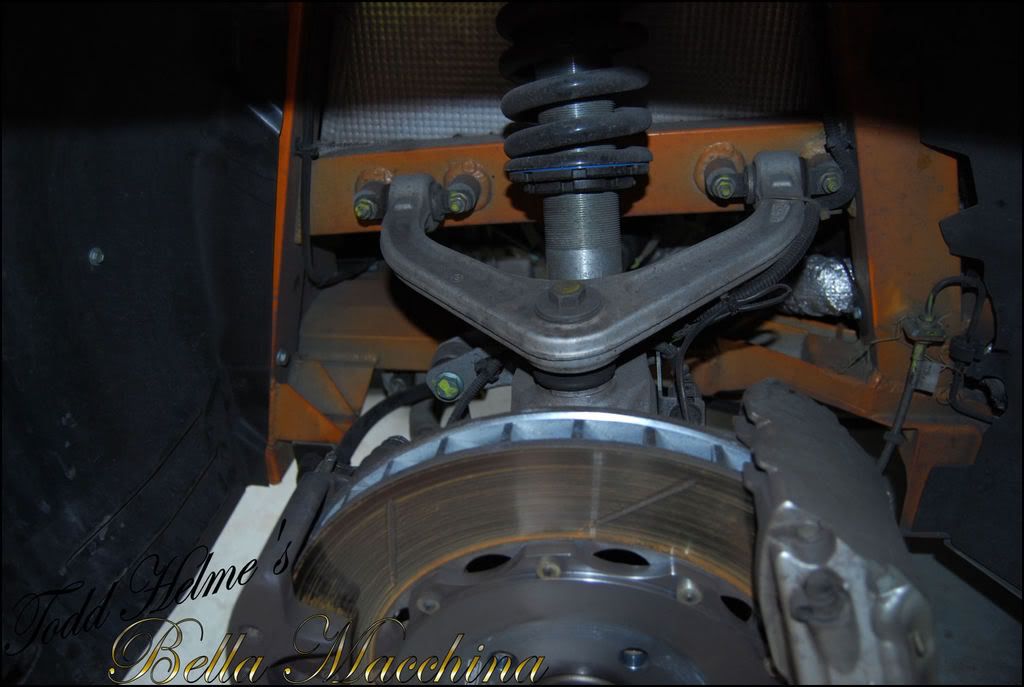
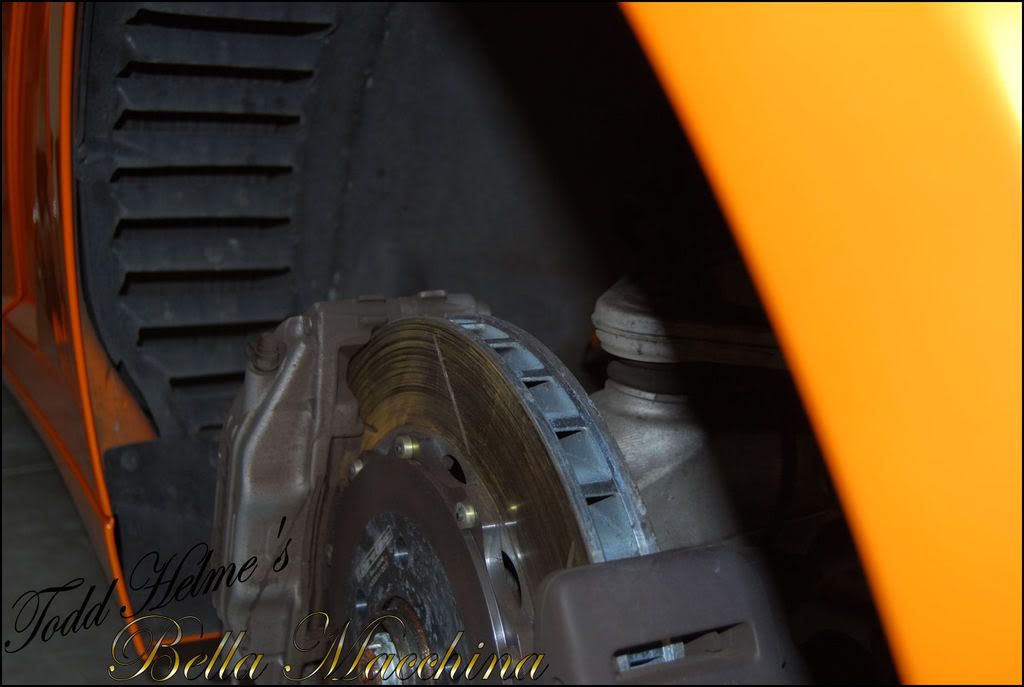
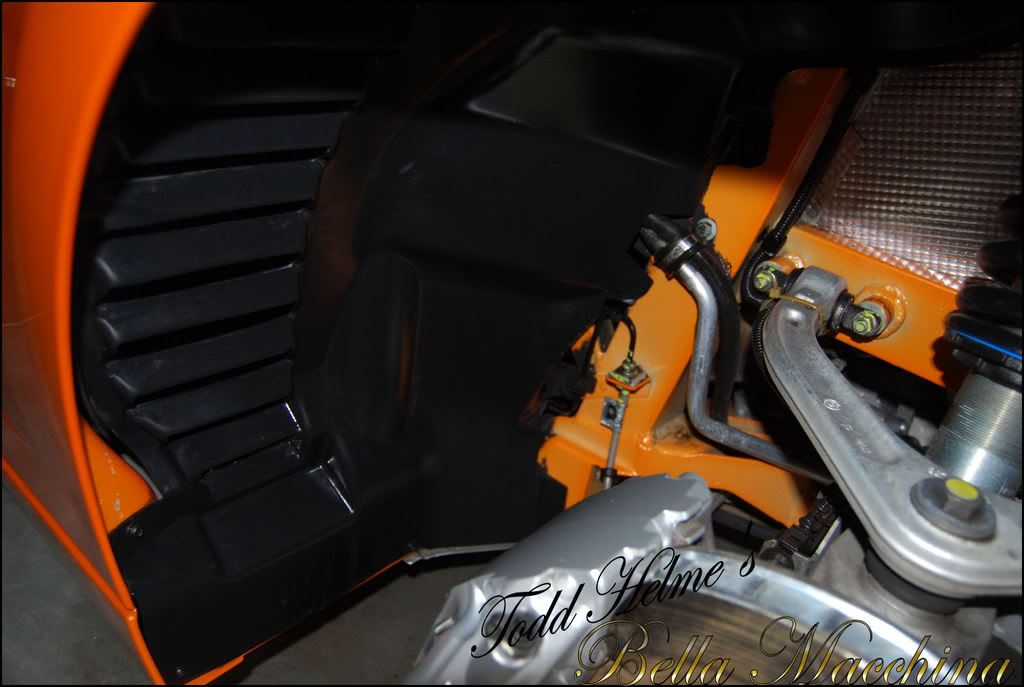
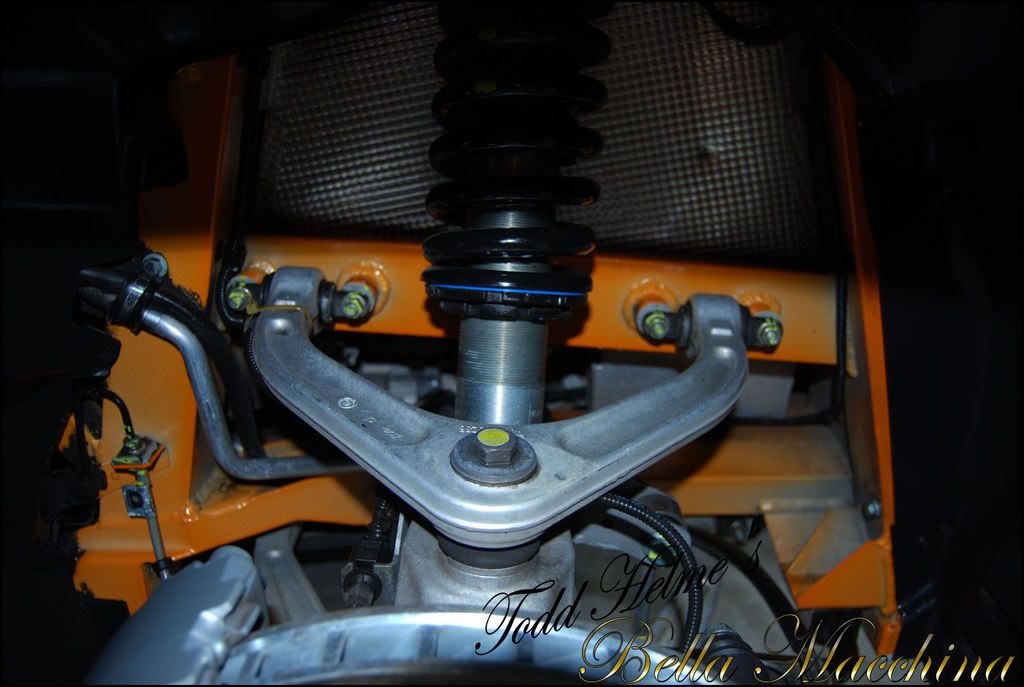
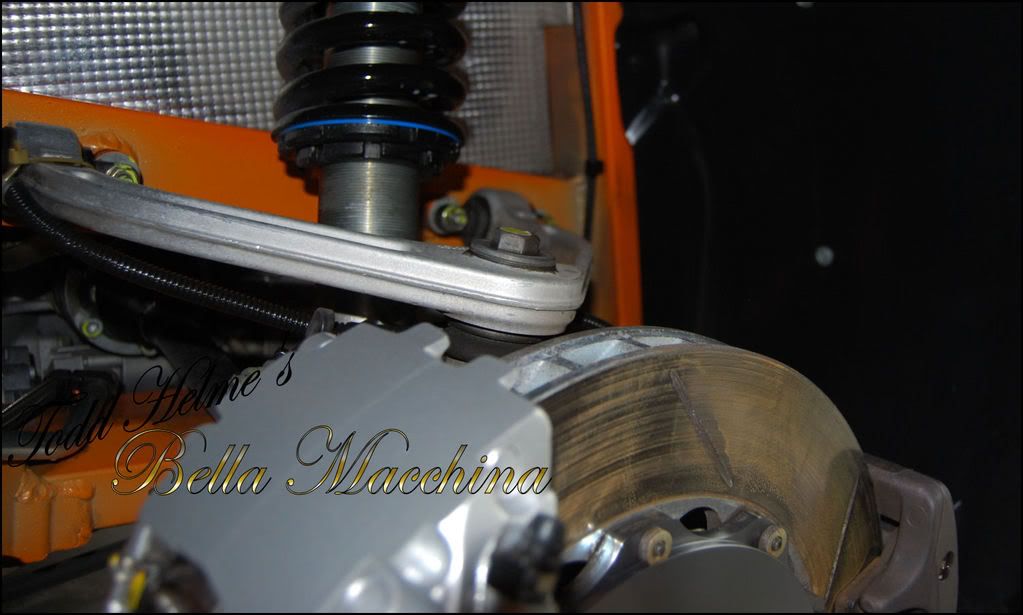
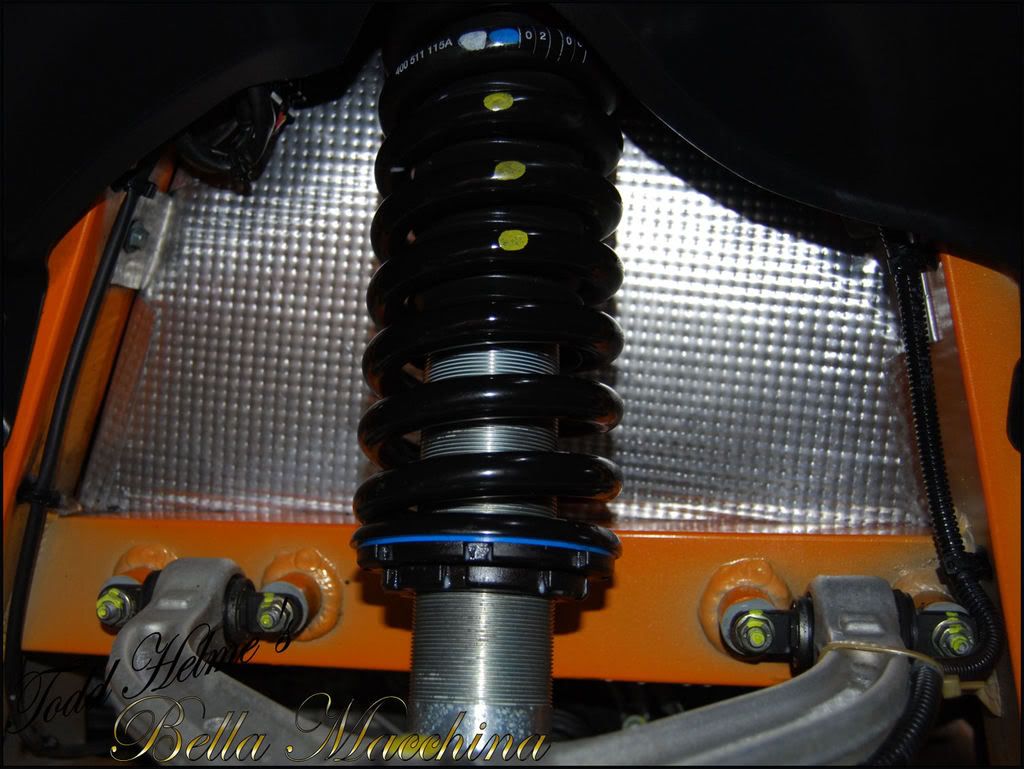
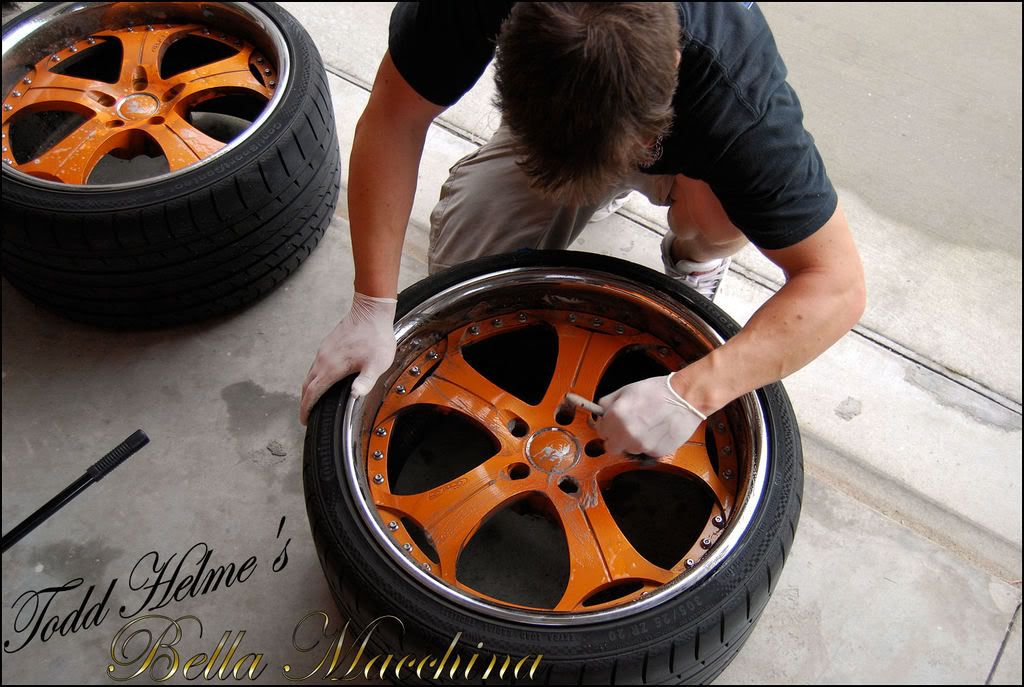
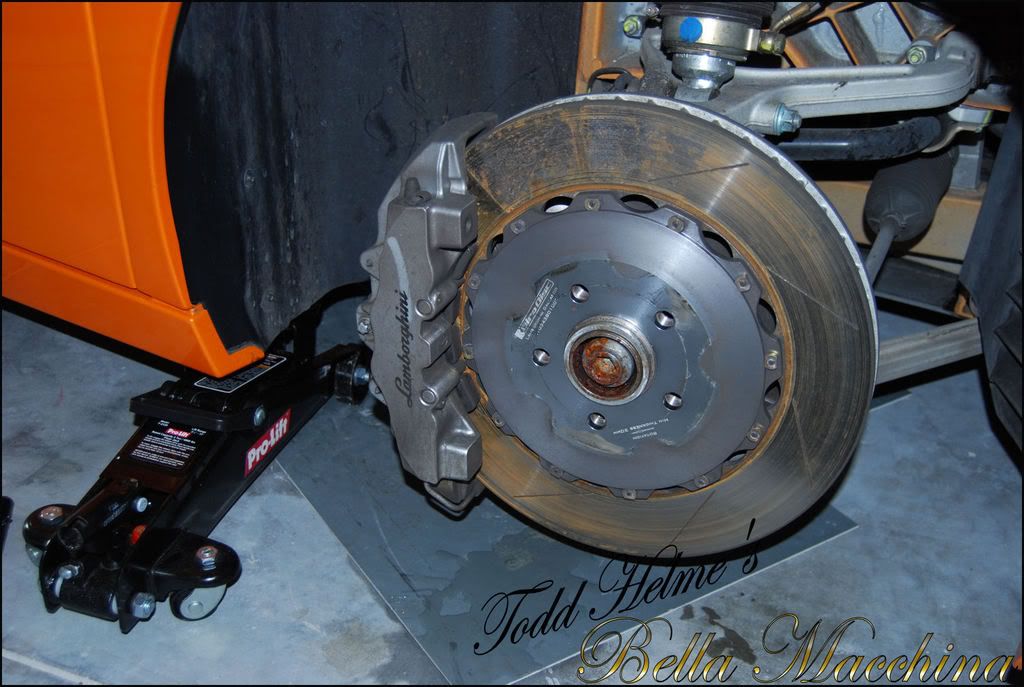
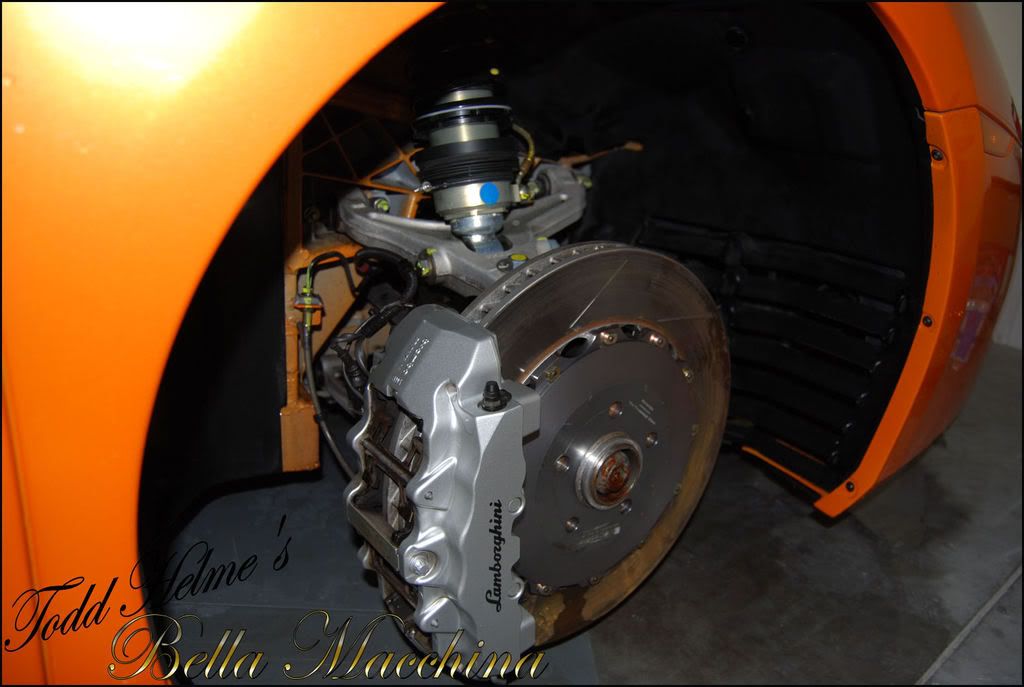
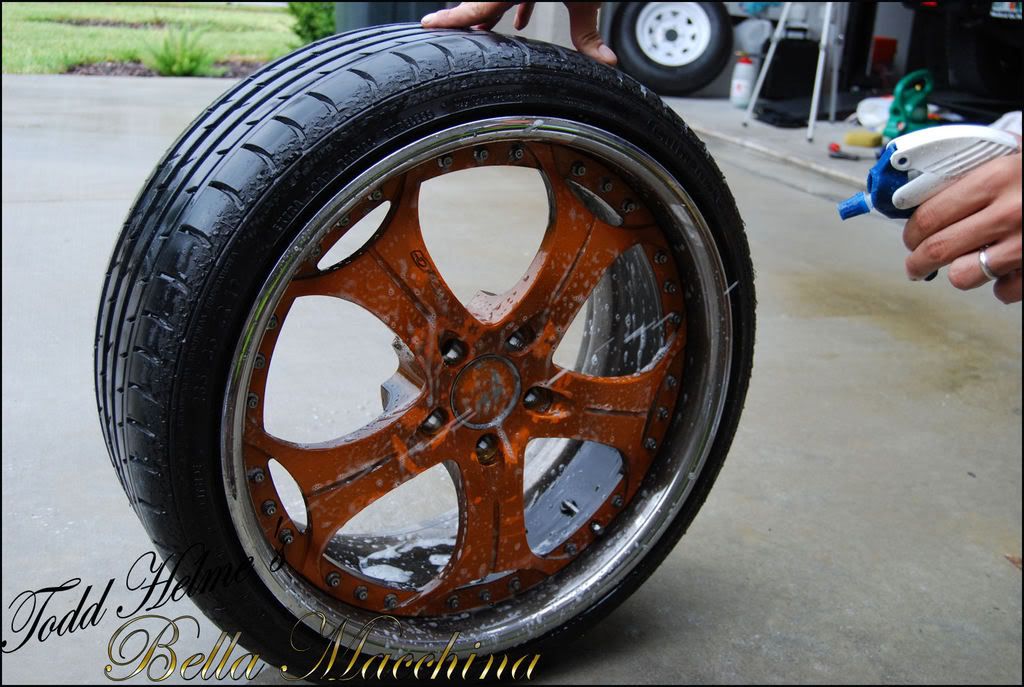
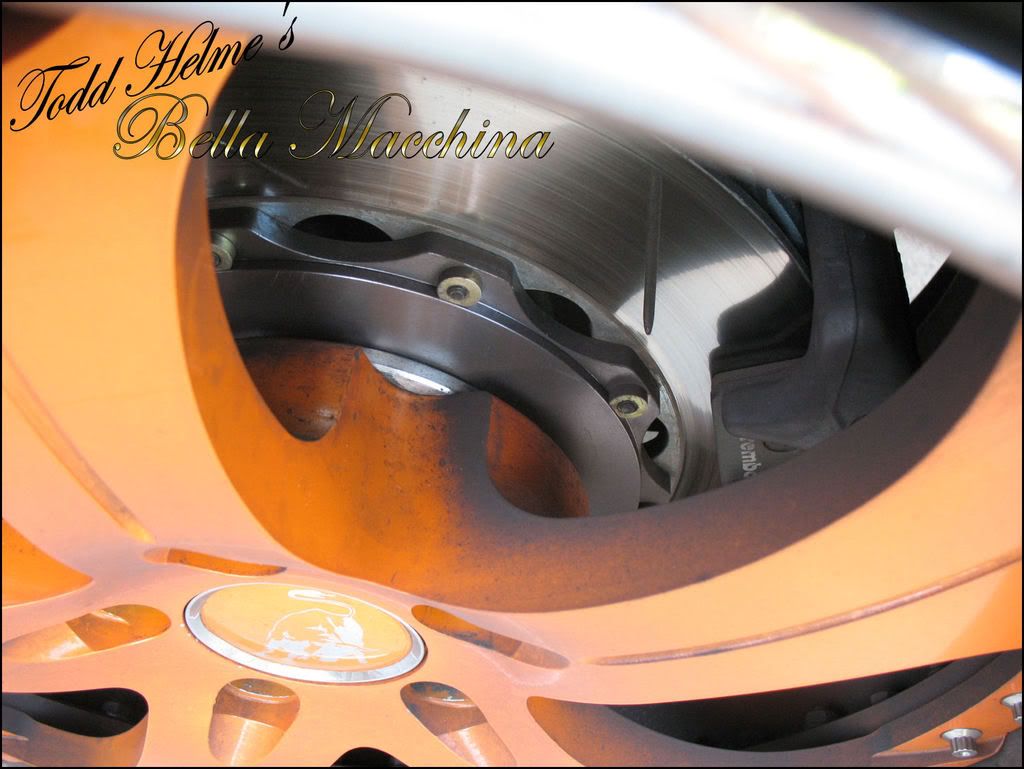
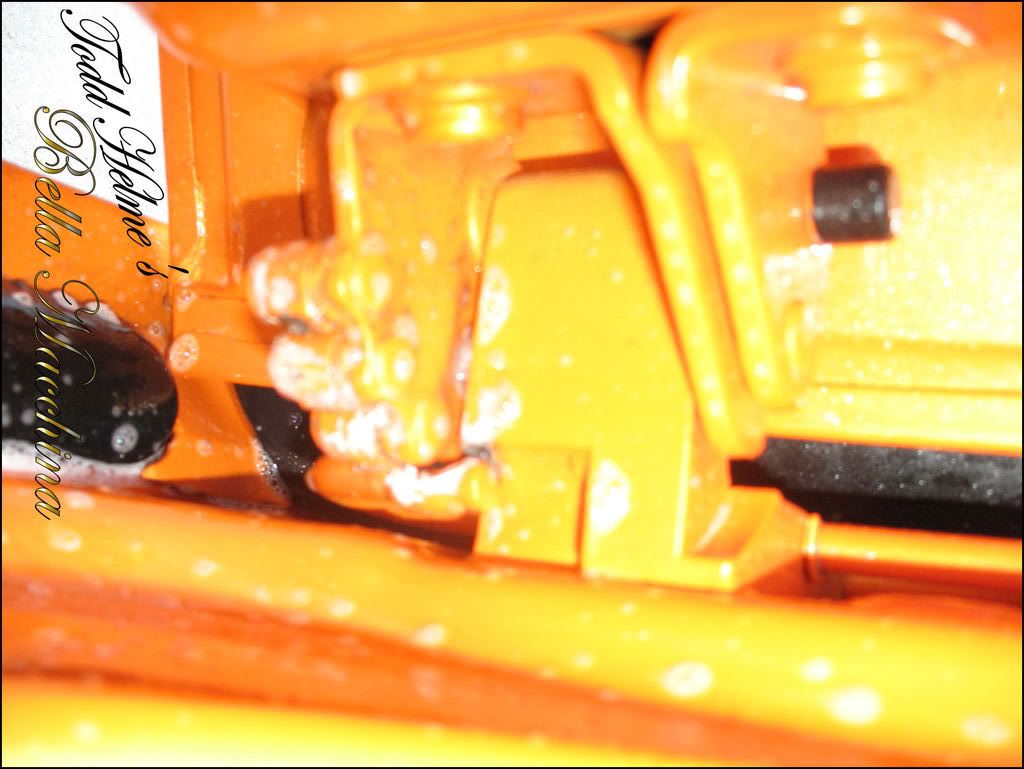
Up until this point I hadn`t touched the wheels/tires or wheel compartments as they were terribly dirty. The only way to thoroughly detail these parts was going to be to remove them one by one.
While still outside, work began on the drivers side front tire.
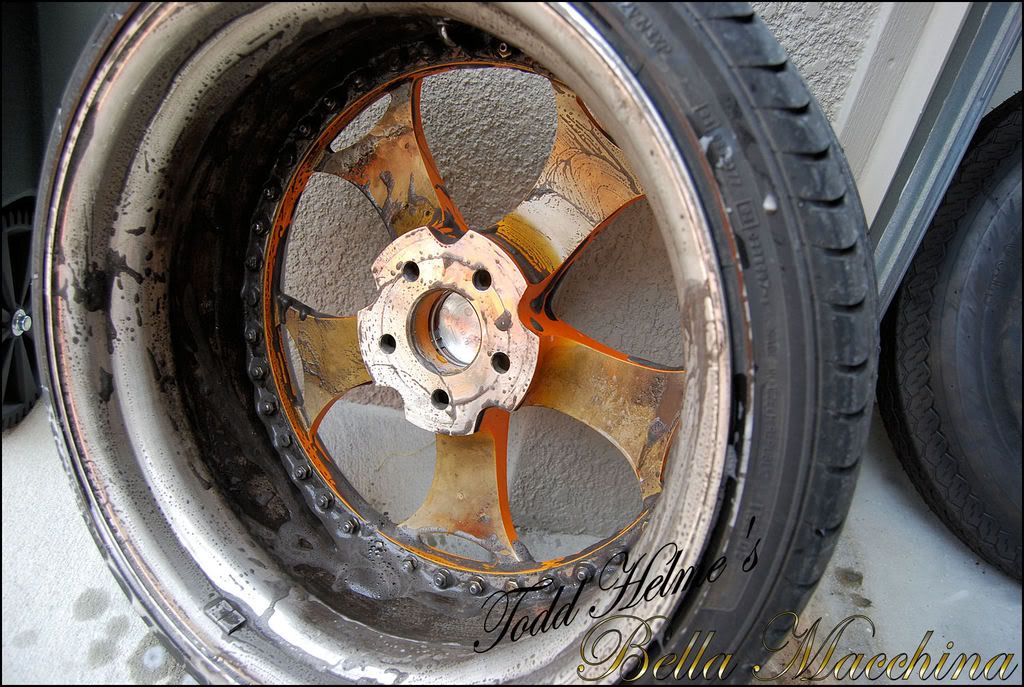
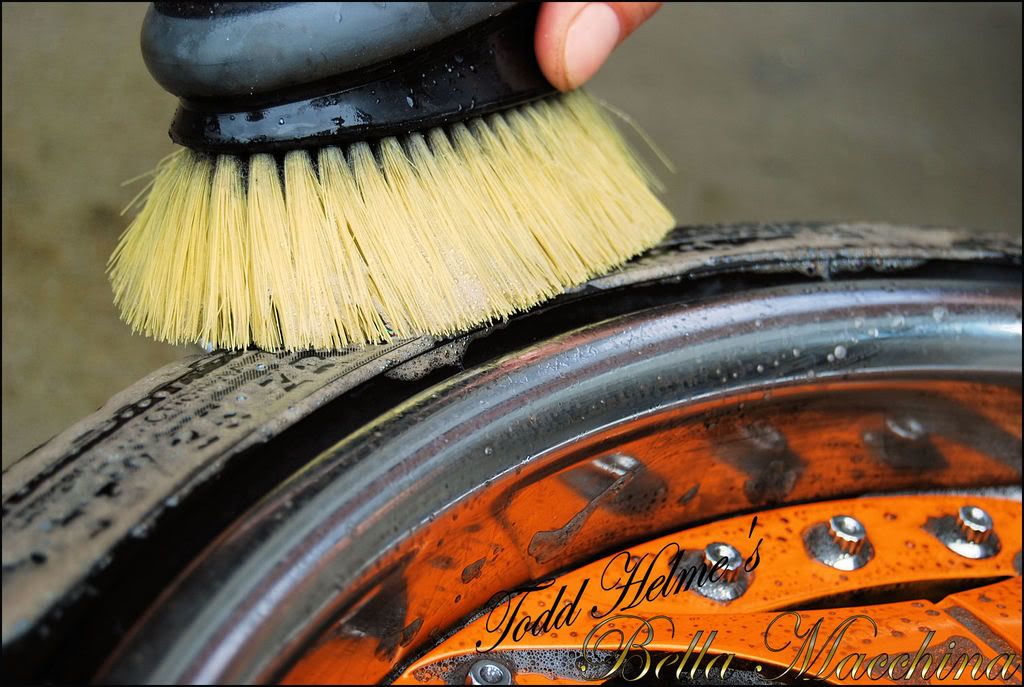
The wheel was sprayed with P21s Wheel Gel and agitated with a Swiss-Vax wheel brush on both sides and left to dwell while the wheel compartment was cleaned.
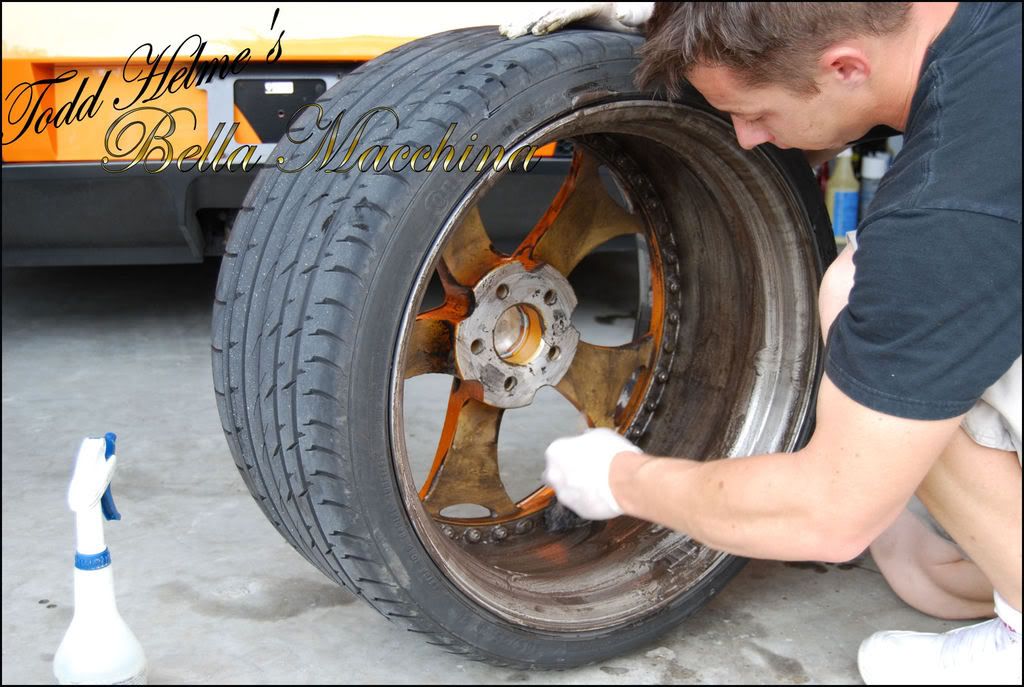
The inside of the front wheel was particularly bad. Brake dust soup.
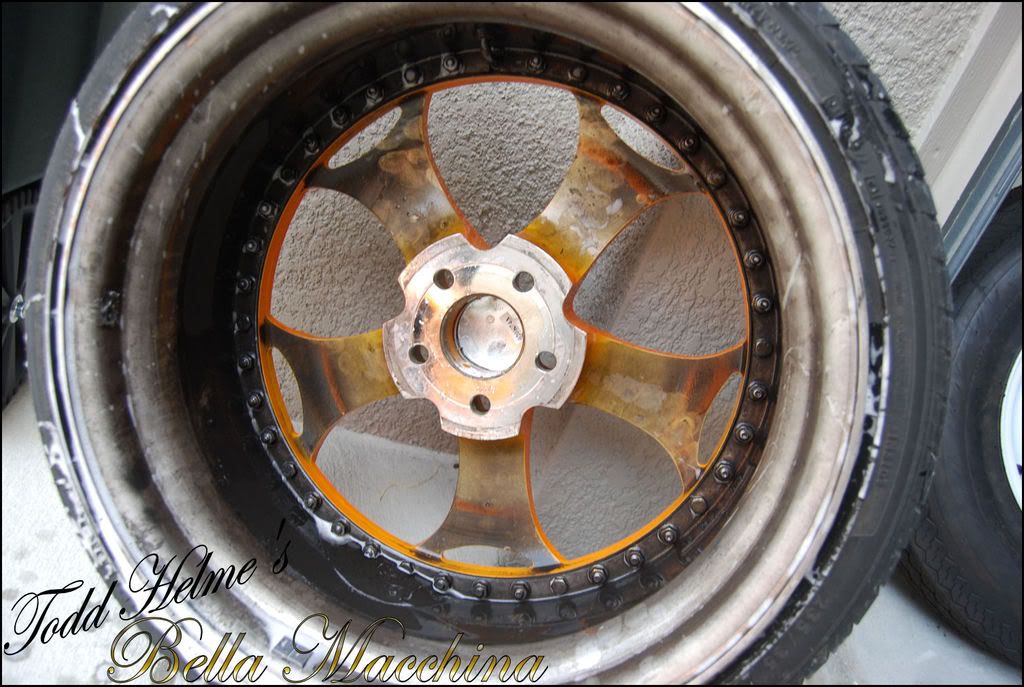
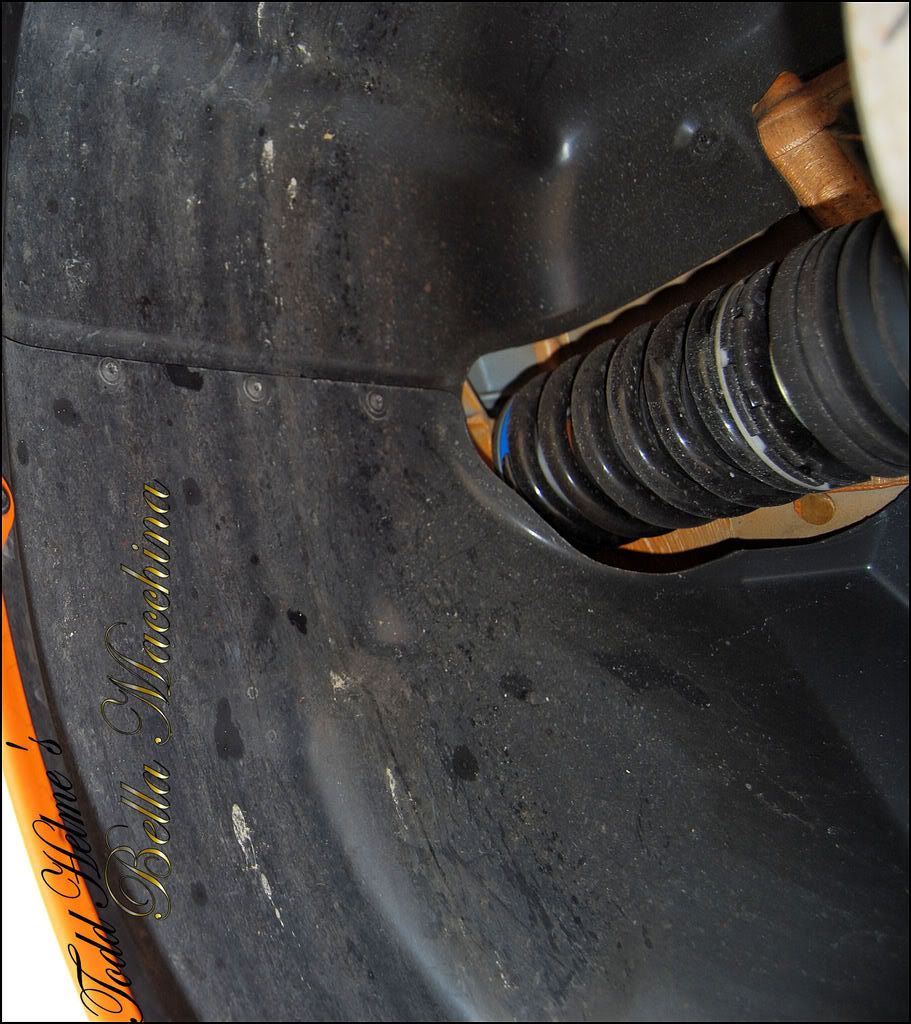
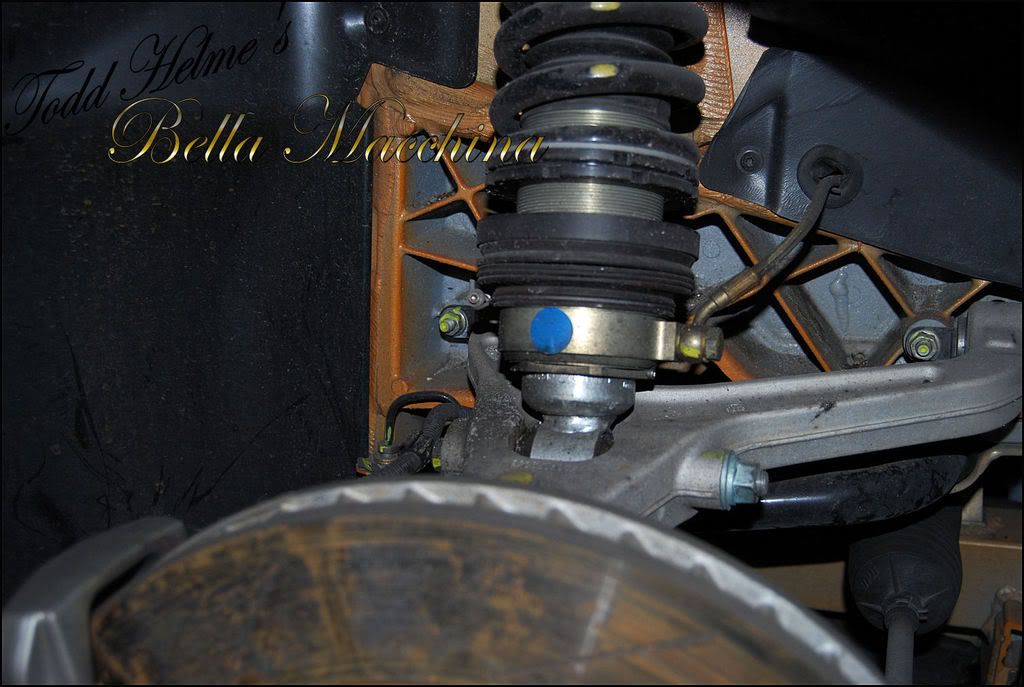
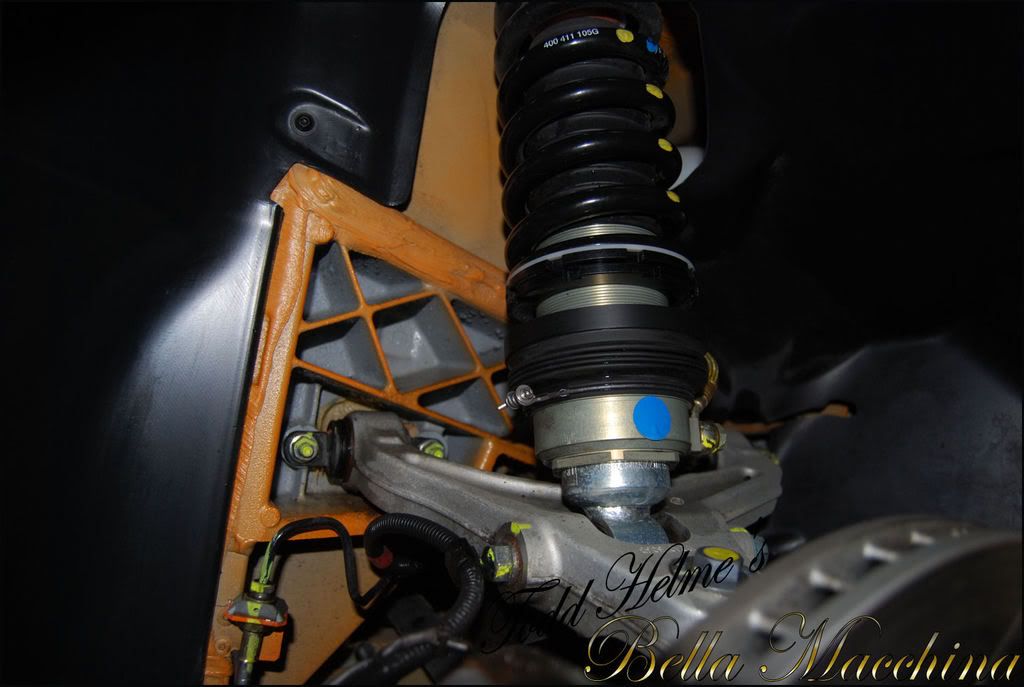
The arches were in particularly bad shape, plastered with tar and covered in dirt and brake dust.

First the compartment was sprayed with Wheel Gel and agitated with the Swiss-Vax Brush.
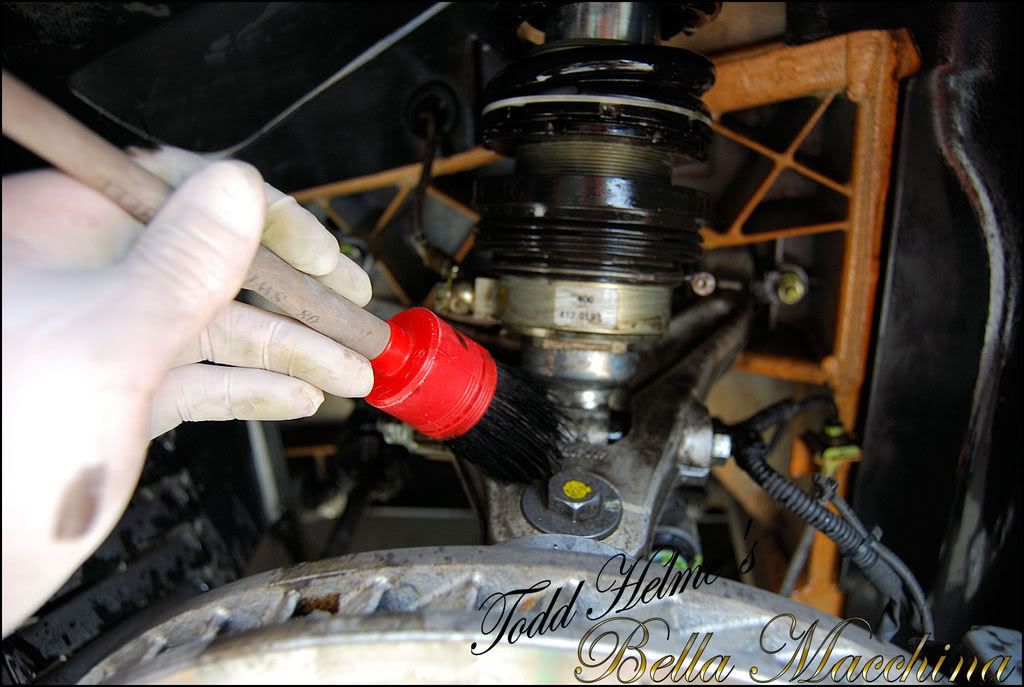
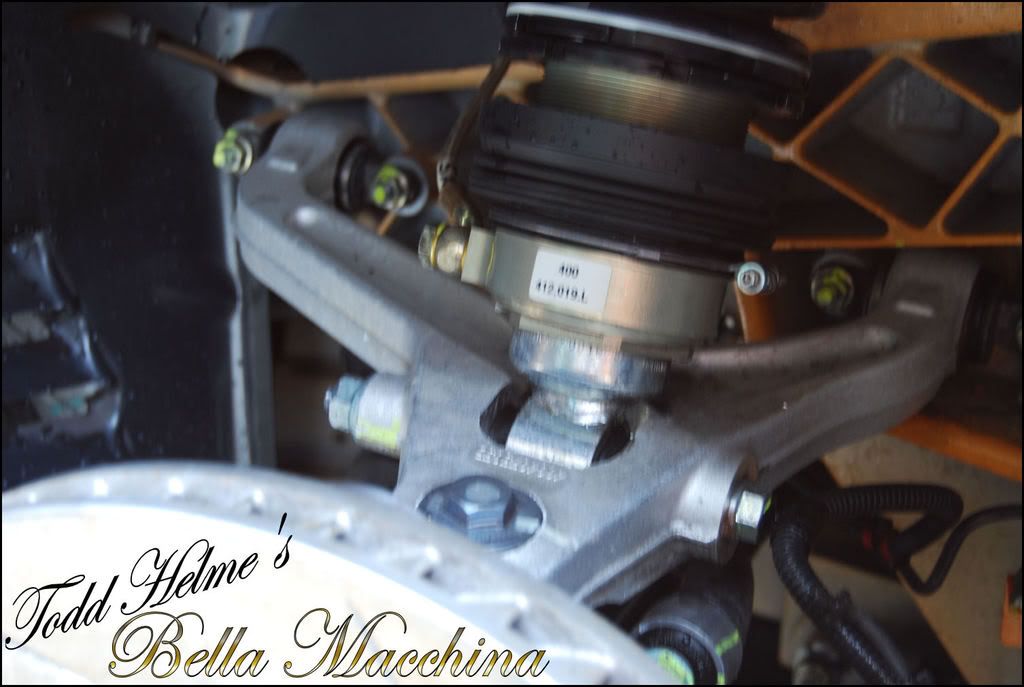
The wheels where then rinsed clean and sprayed with Surf City Garages Road Grime Remover and agitated with a tire brush before being pressure washed clean. A final wipe down with Optimums Power Clean and final rinsing left the arch and compartment clean. Unfortunately the weather turned and rain was fast approaching so I didn`tt have time to take pictures of the compartment fully dressed.
After rinsing off the Optimum Power Clean.
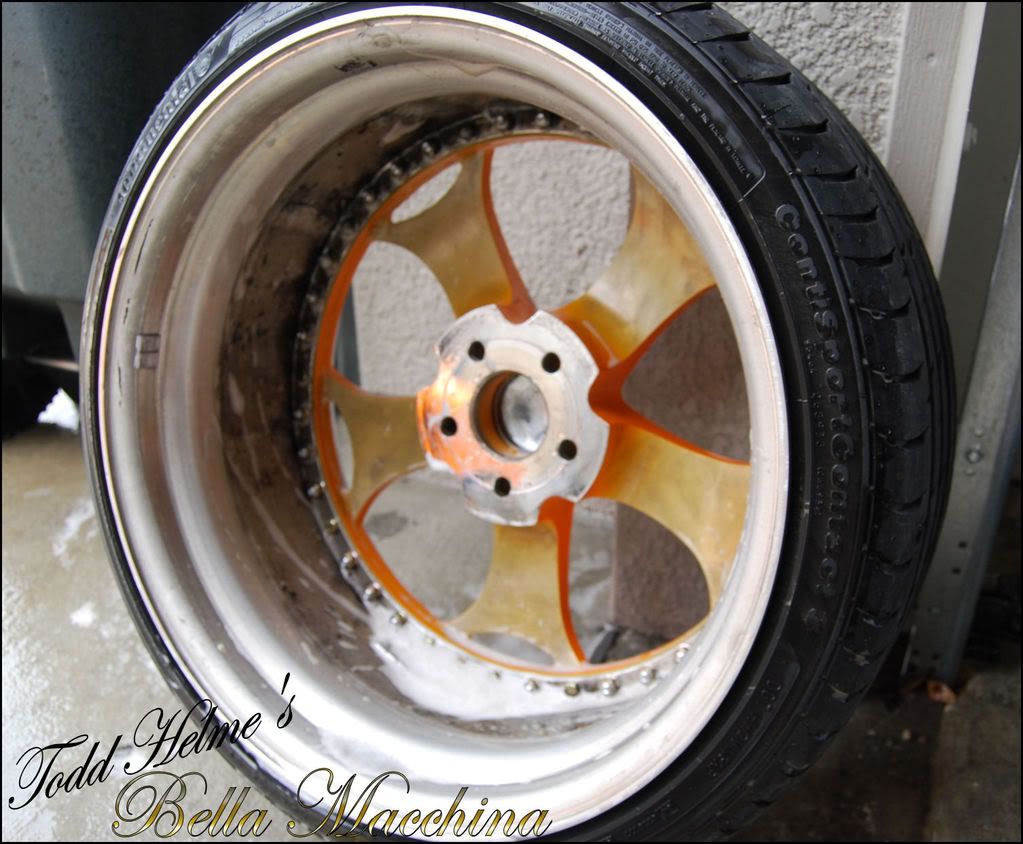
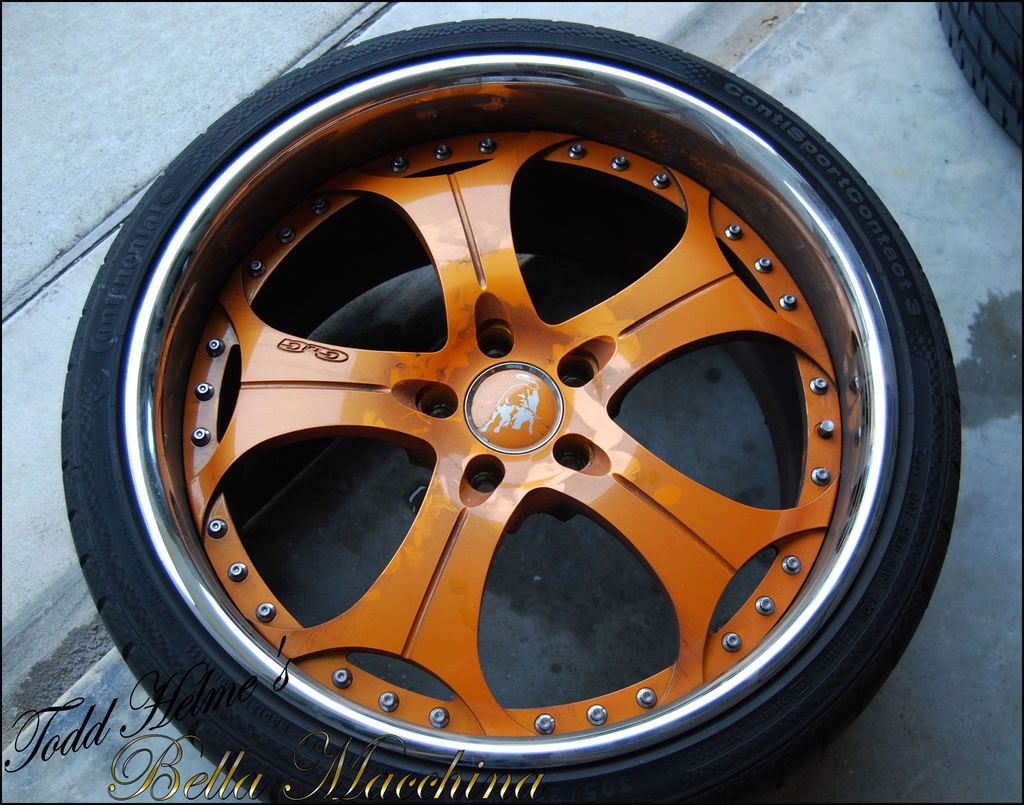
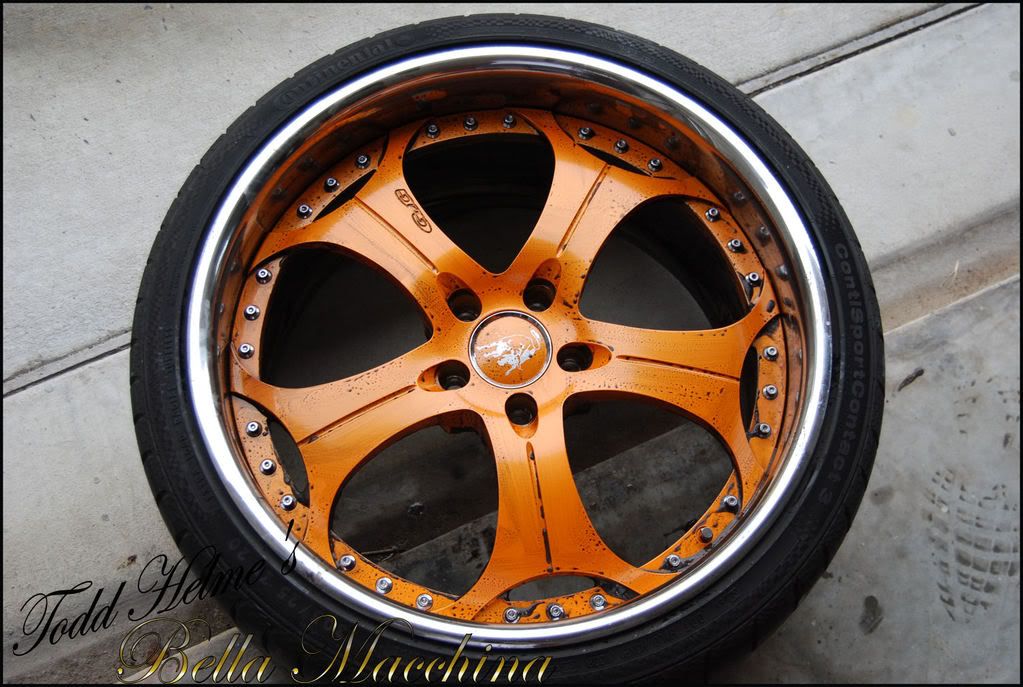
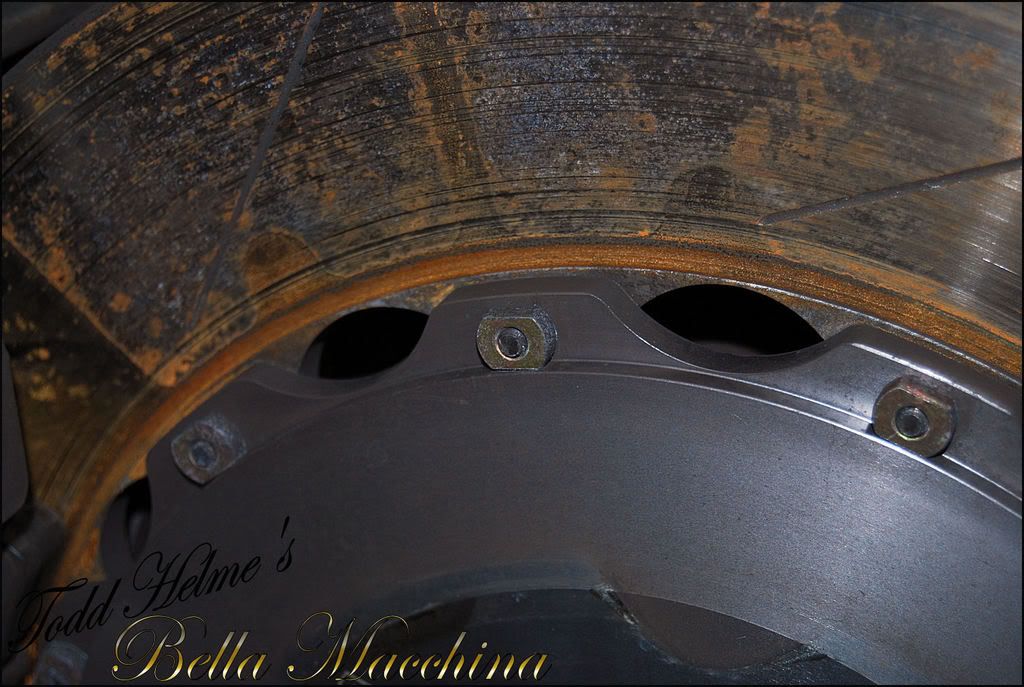
The inside of the rims cleaned up very well but still had some very light pitting.
-
08-02-2011, 03:30 PM #3Just a regular guy
- Join Date
- Feb 2009
- Location
- Oviedo/Stuart Florida
- Posts
- 15,278
- Post Thanks / Like
Re: Lamborghini Gallardo -330 pics- 5 day detail
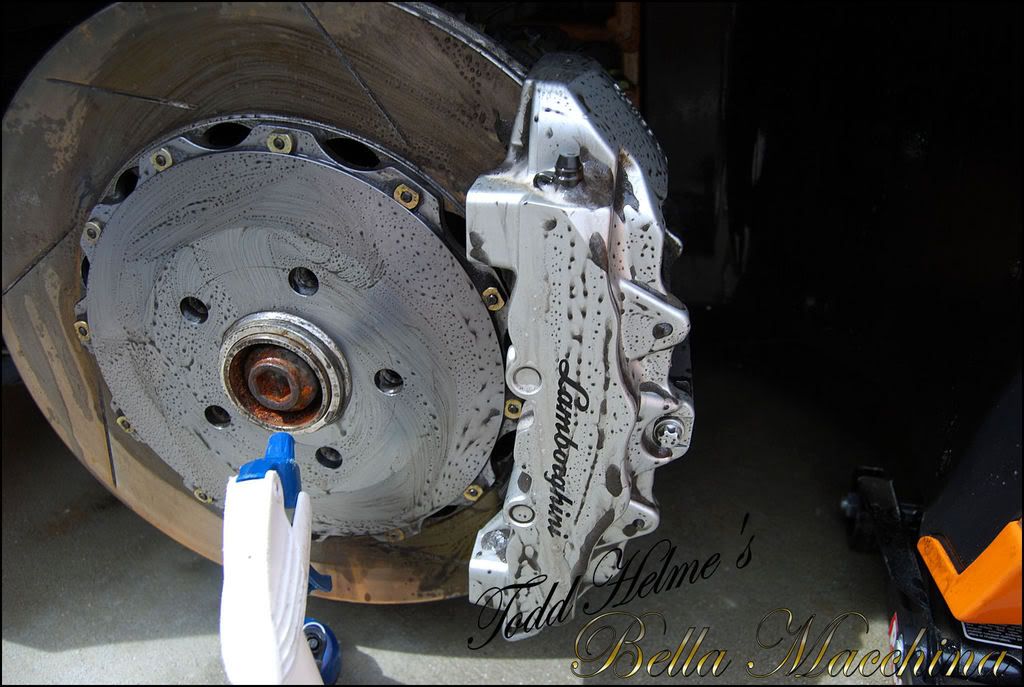
With a light rain starting, the wheel was dressed with Meguiars` Hyperdressing and the brake caliper received a coat of Rejex Sealant. The the tire and wheel where quickly mounted and the Lamborghini brought into the garage. Once inside, the rear section was lifted and both rear tires where removed. Luck was in my favor as Brian Brice from Finer Finish, LLC was in the area detailing a Ferrari F599 and stopped by to lend a hand for several hours.
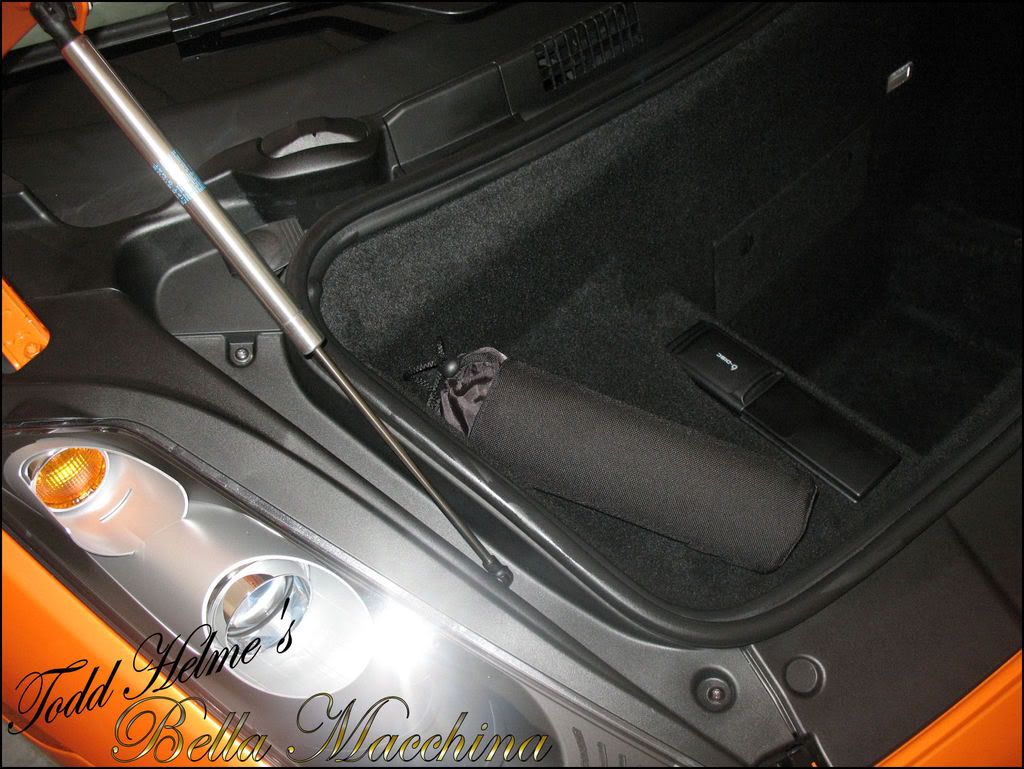
The passenger side rear compartment pictures before detailing.
The rear drivers side was not any better.
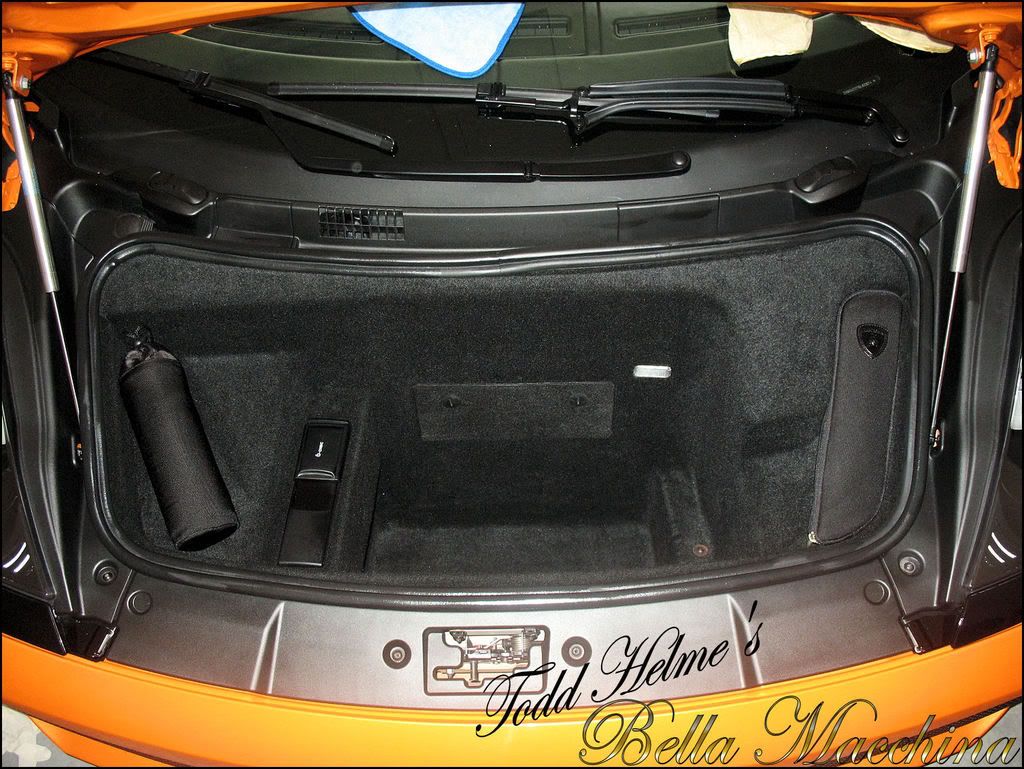
Here are some pictures after the rear compartments have been detailed using the same process as the front. Note that while some areas look dirty it is actually lack of paint coverage on the frame rails that give this appearance. About 45 minutes where spent ensuring all dirt was removed and the Meguiars HyperDressing (mixed 3:1) was applied evenly.
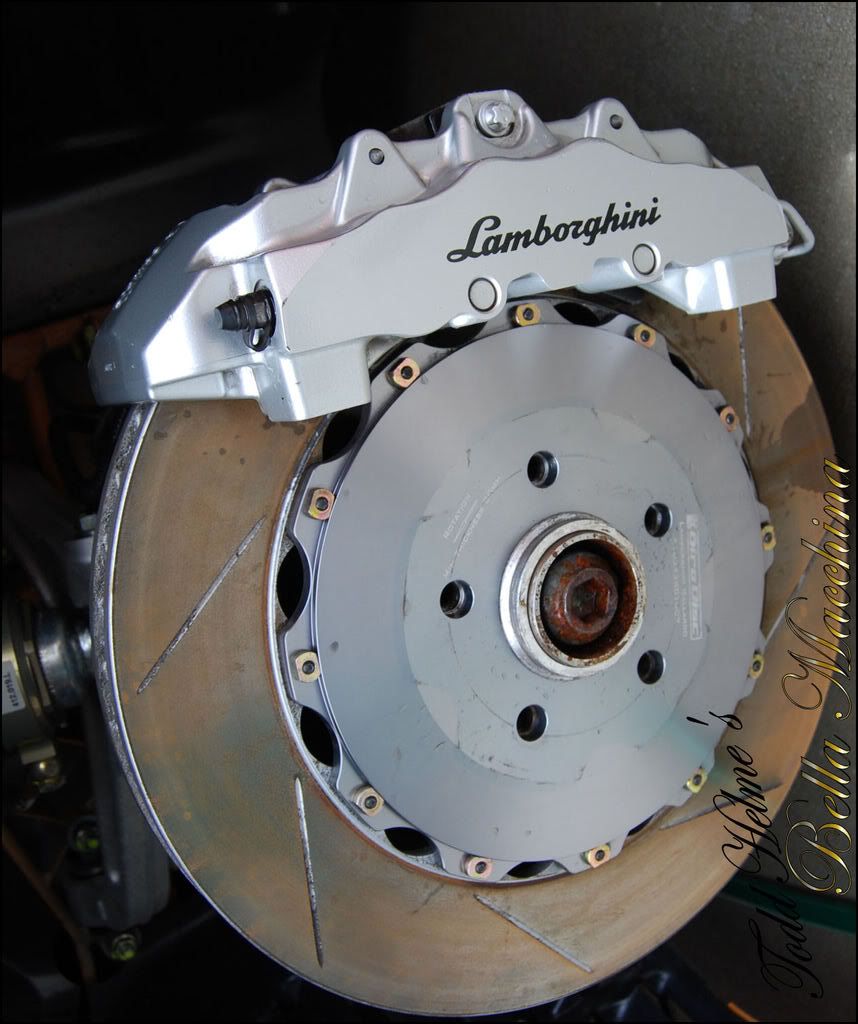
The brake calipers where sealed with Rejex Sealant.

The rear wheels where sprayed with P21s Wheel Gel and agitated.
Finally the passenger side front wheel/tire and wheel compartment received the same treatment.
After detailing the compartment.

Brian handled the last wheel, spraying with Wheel Gel and getting to work.
-
08-02-2011, 03:32 PM #4Just a regular guy
- Join Date
- Feb 2009
- Location
- Oviedo/Stuart Florida
- Posts
- 15,278
- Post Thanks / Like
 Re: Lamborghini Gallardo -330 pics- 5 day detail
The rubber on all four tires was cleaned with Emmin Fabrik Tire Cleaner. Despite being newer rubber and looking clean, a little pressure from a Meguiars Gold Class Tire brush had the tires bleeding brake dust and grime.
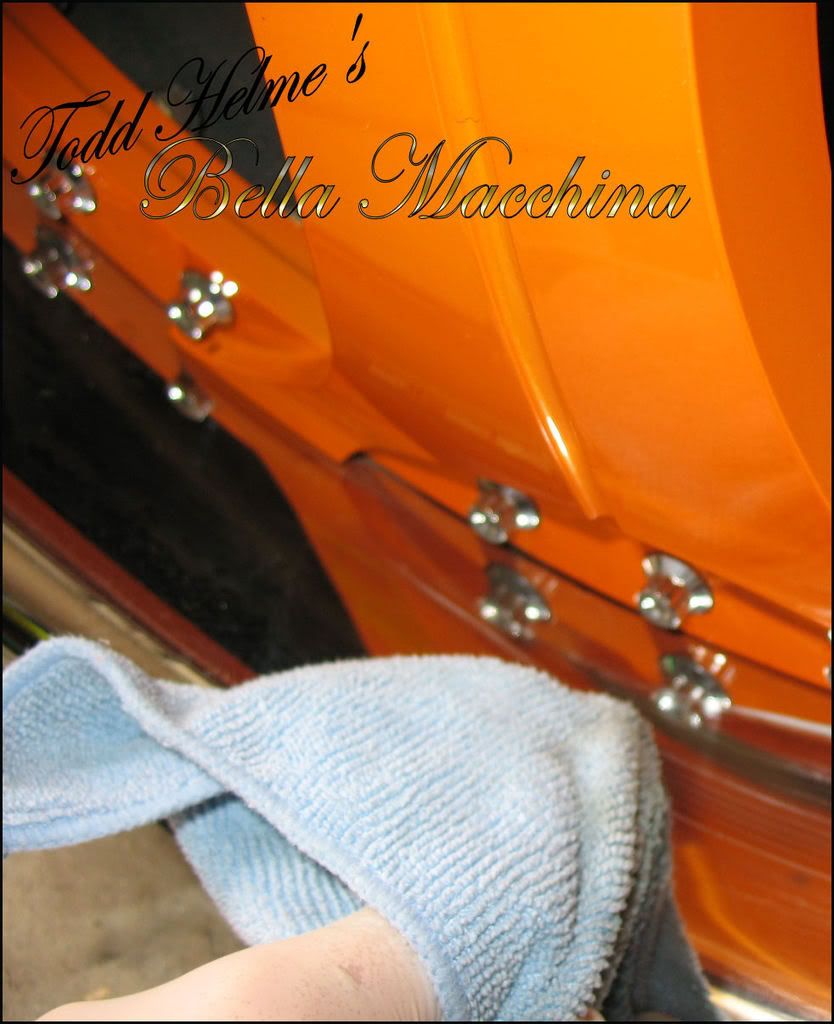
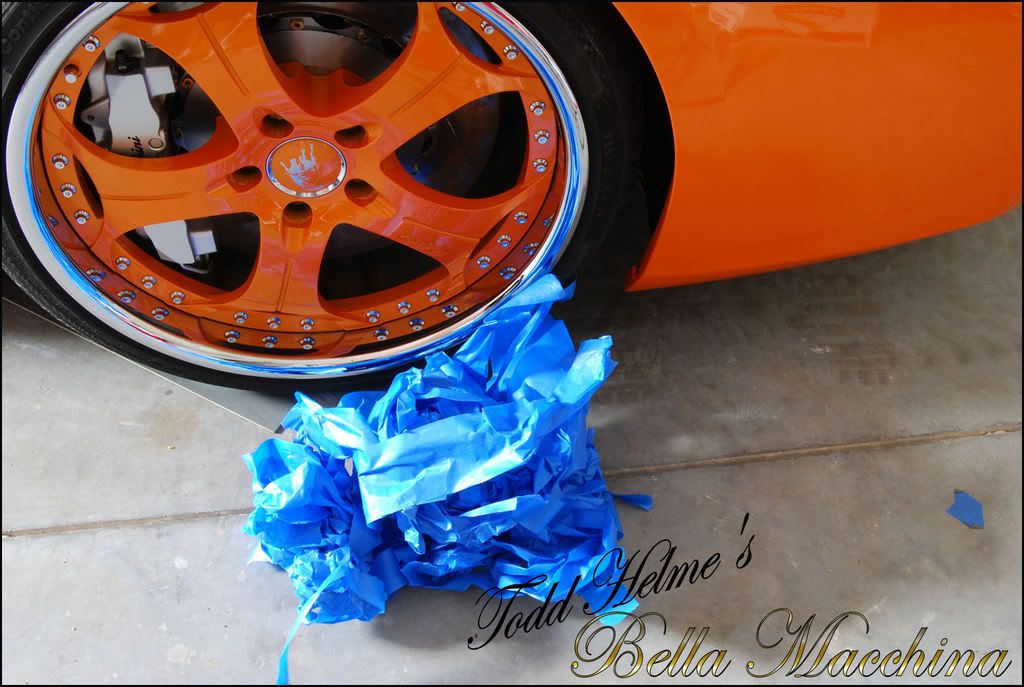
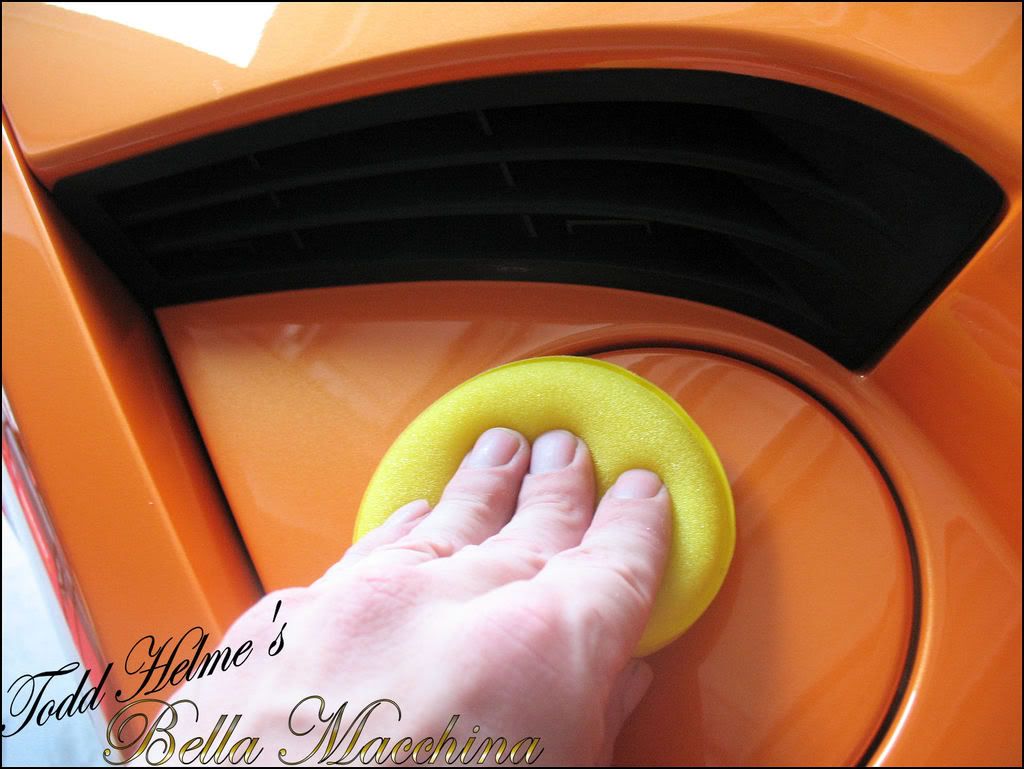
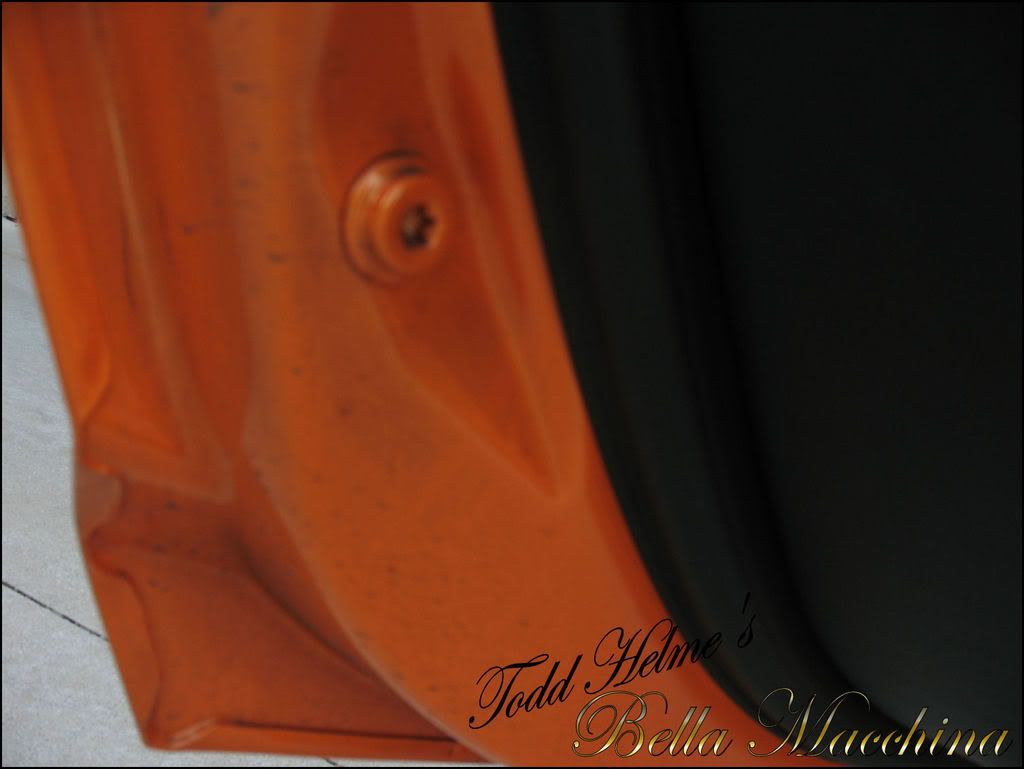
With all four tires mounted the Lamborghini was set back to riding level. The faces of the wheels and lips received a coat of Zainos All-In-One, lightly worked in, to chemically clean and prepare the surfaces for the layers of sealant and wax to follow.
With the exterior surfaces fully cleansed and detoxified I worked to address the problem I had noted earlier of the convertible top showing no protection. One coat of RaggTopp Convertible Top protectant was applied and left to dry for 30 minutes.
Which was followed by a second coat.

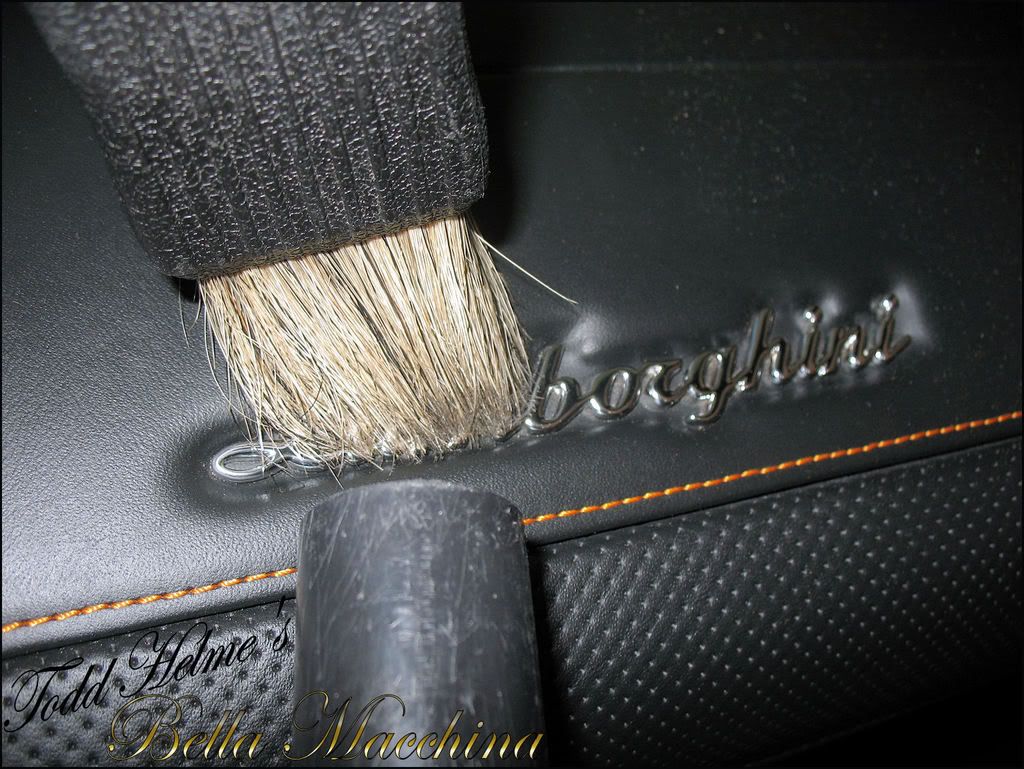
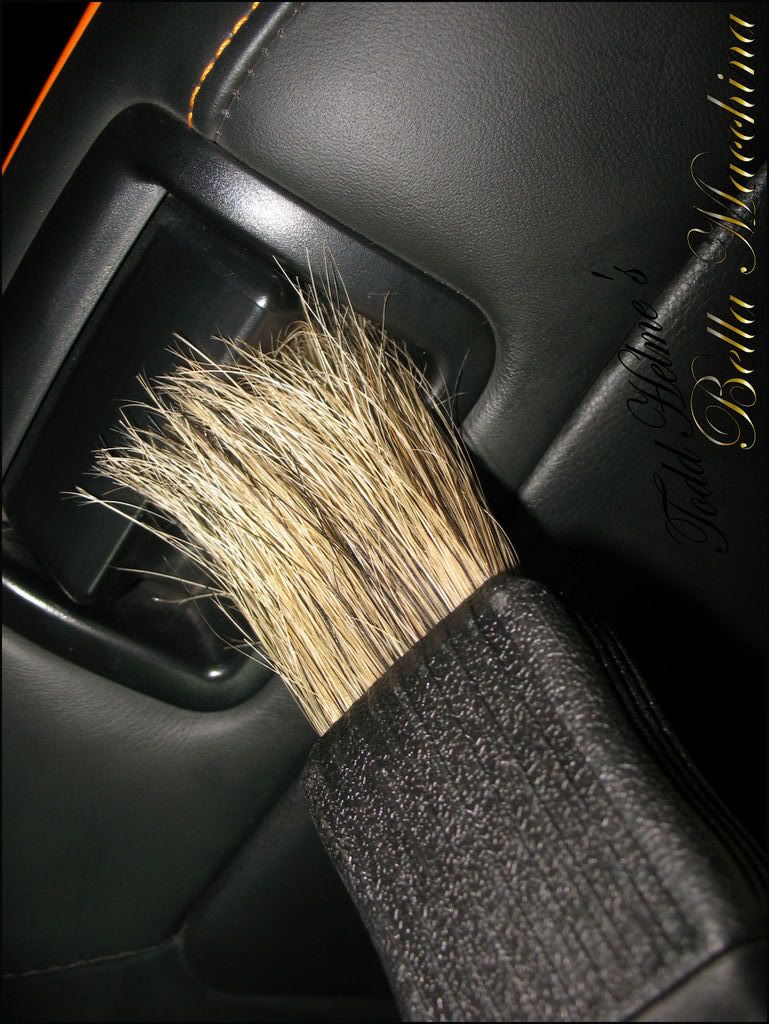
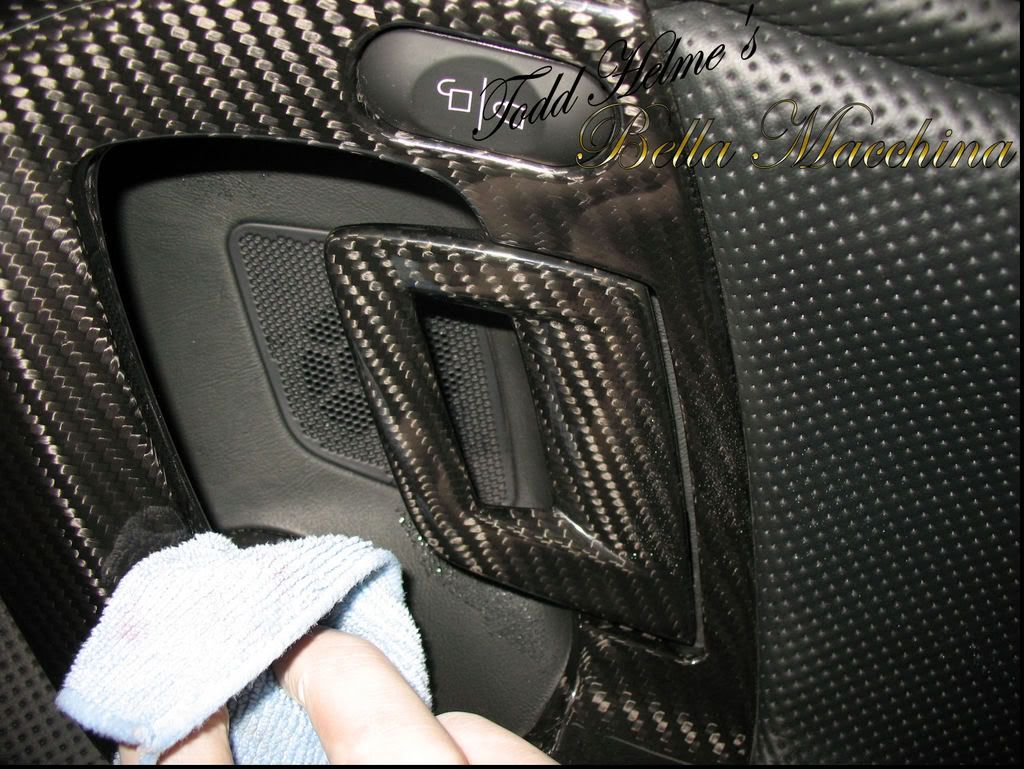
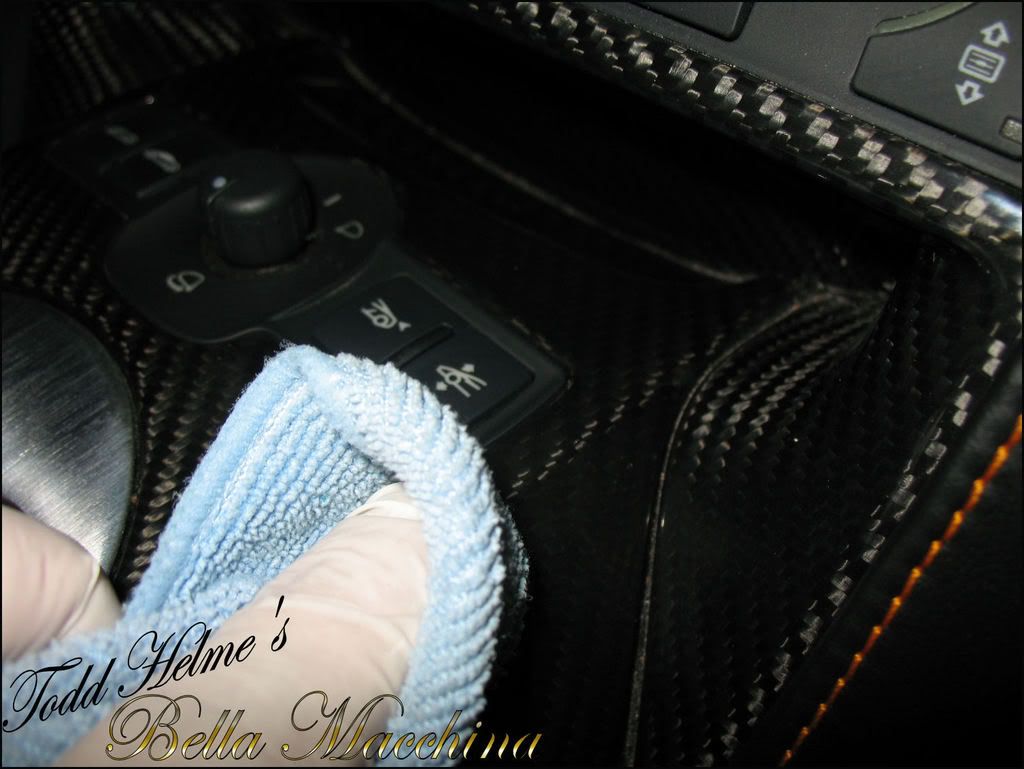
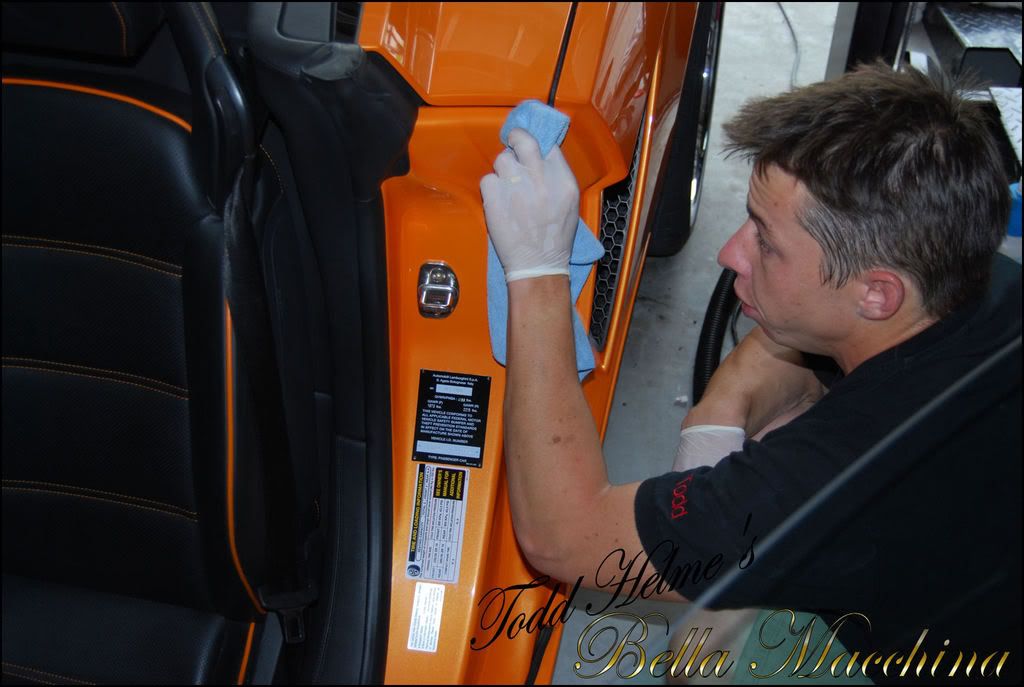
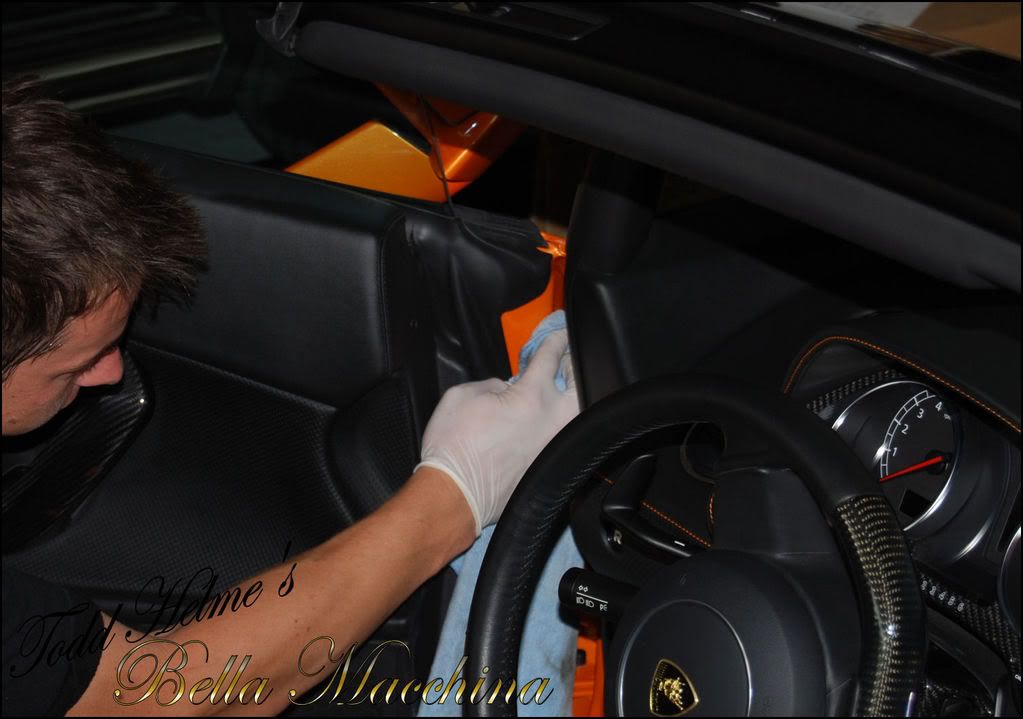
Attention then turned towards the interior, which desperately desired it. At this time nearly 8 hours had gone into the detail. Brian started by vacuuming all loose particulate from the carpet, dash, and surfaces.
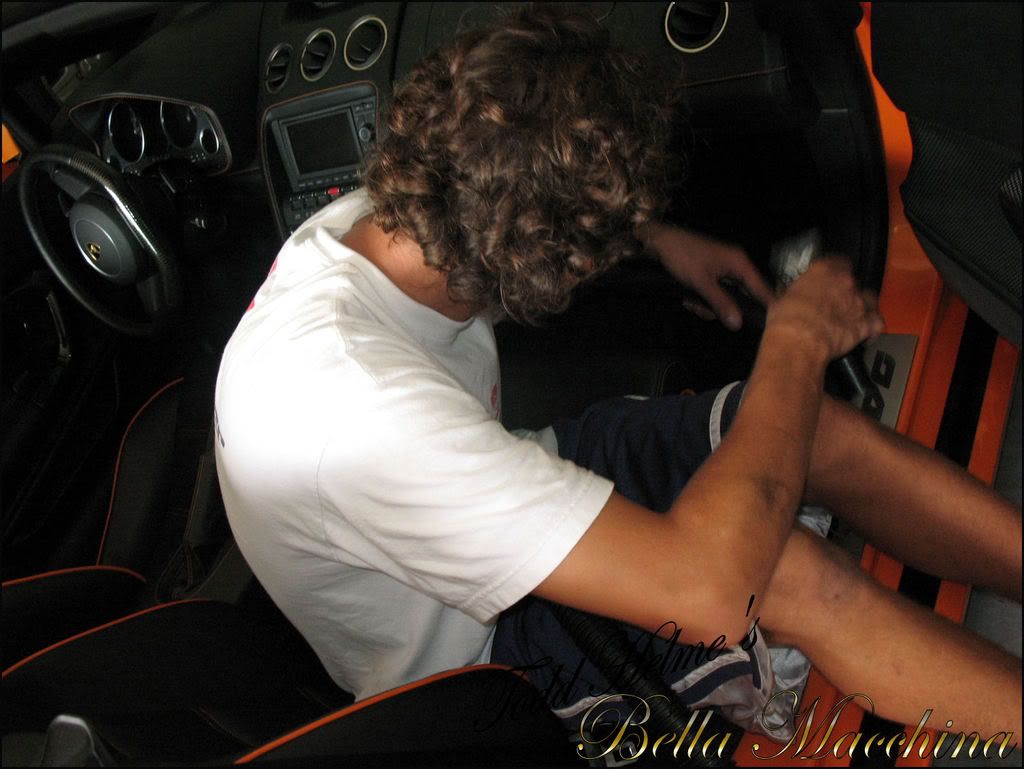
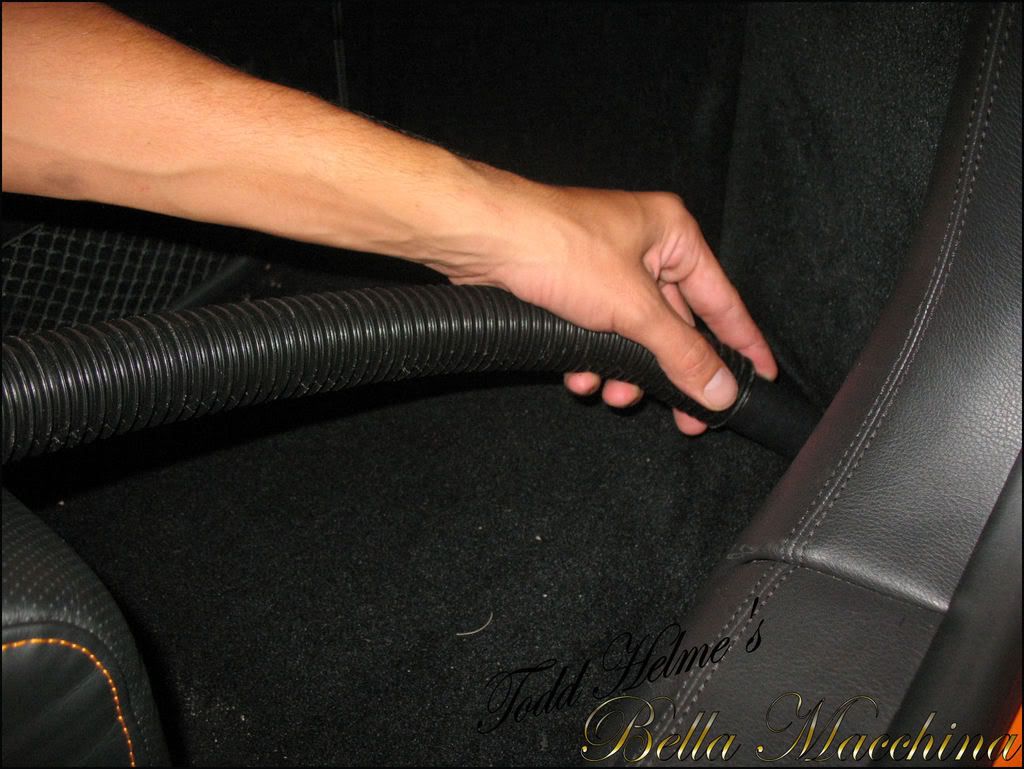
A Meguiars Slide Lock Brush was used to sweep dirt and dust from tight spots, and the vacuum used to remove it.
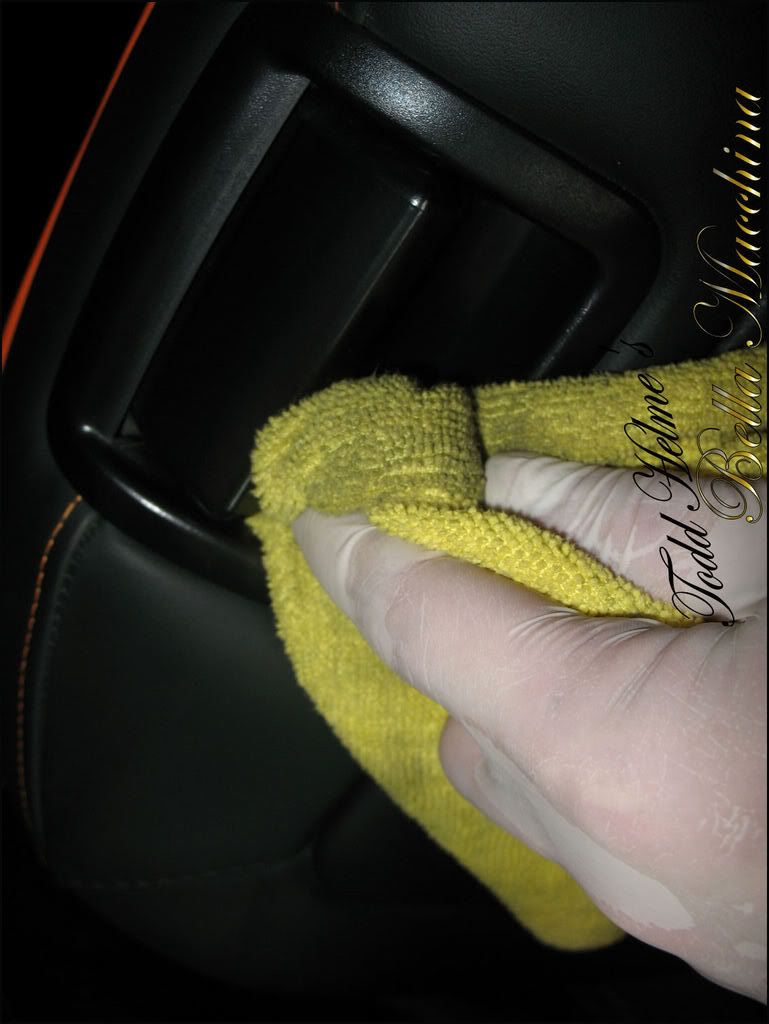
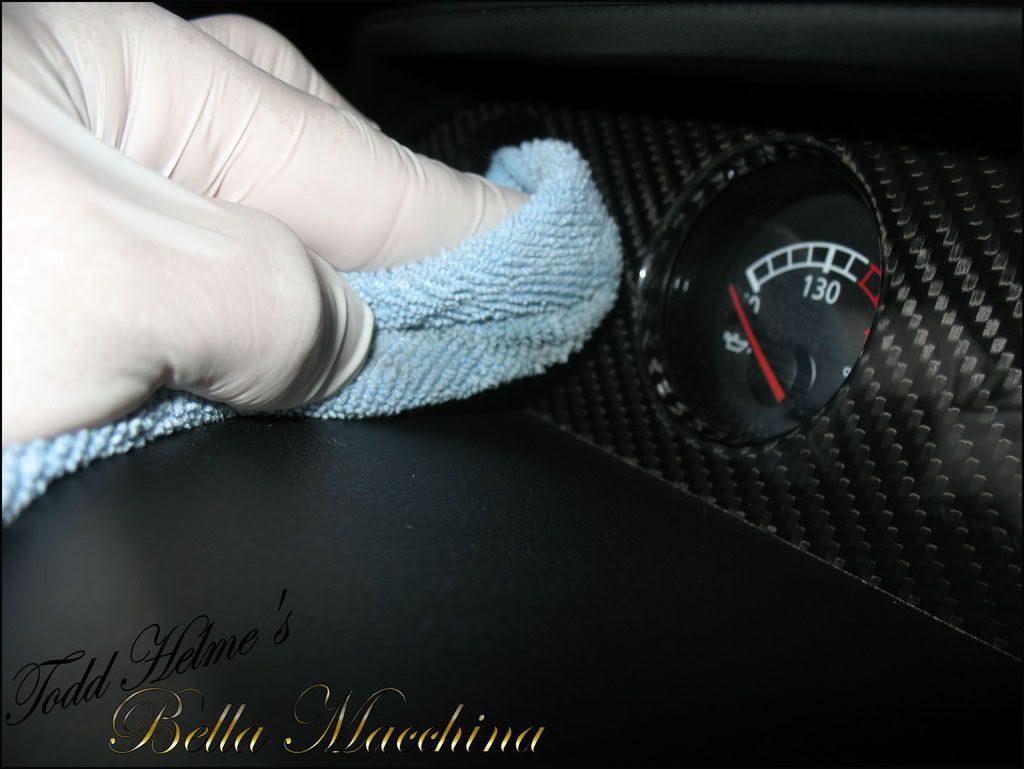
Finally all interior surfaces were wiped down with a microfiber cloth and de-ionized water.
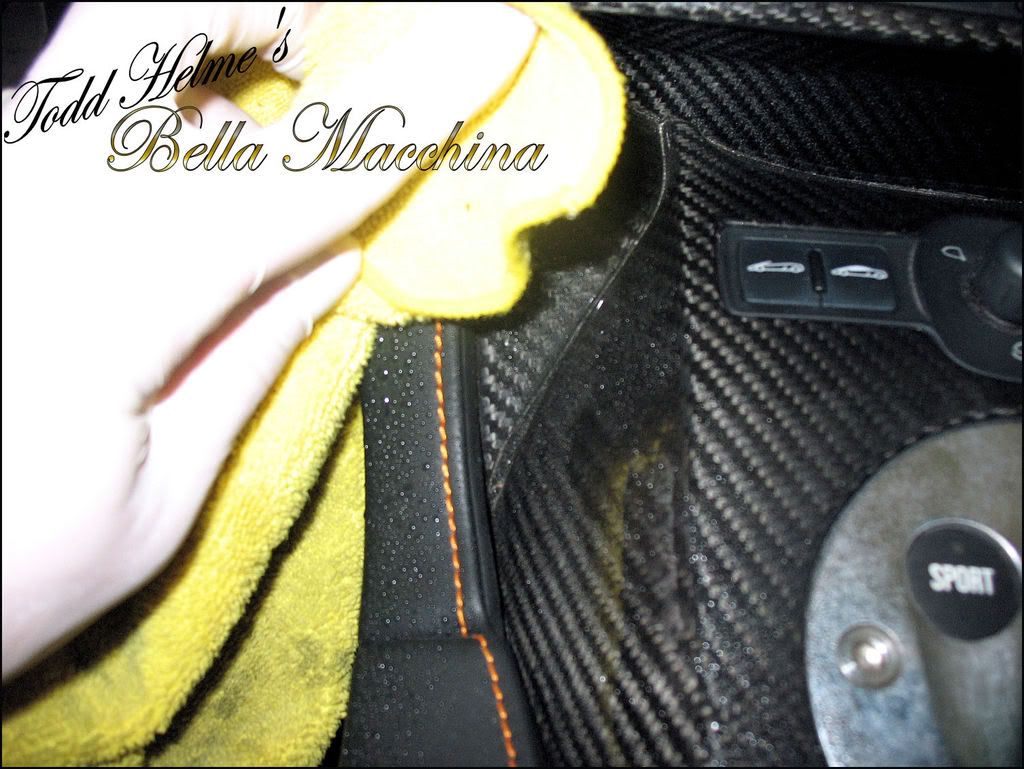
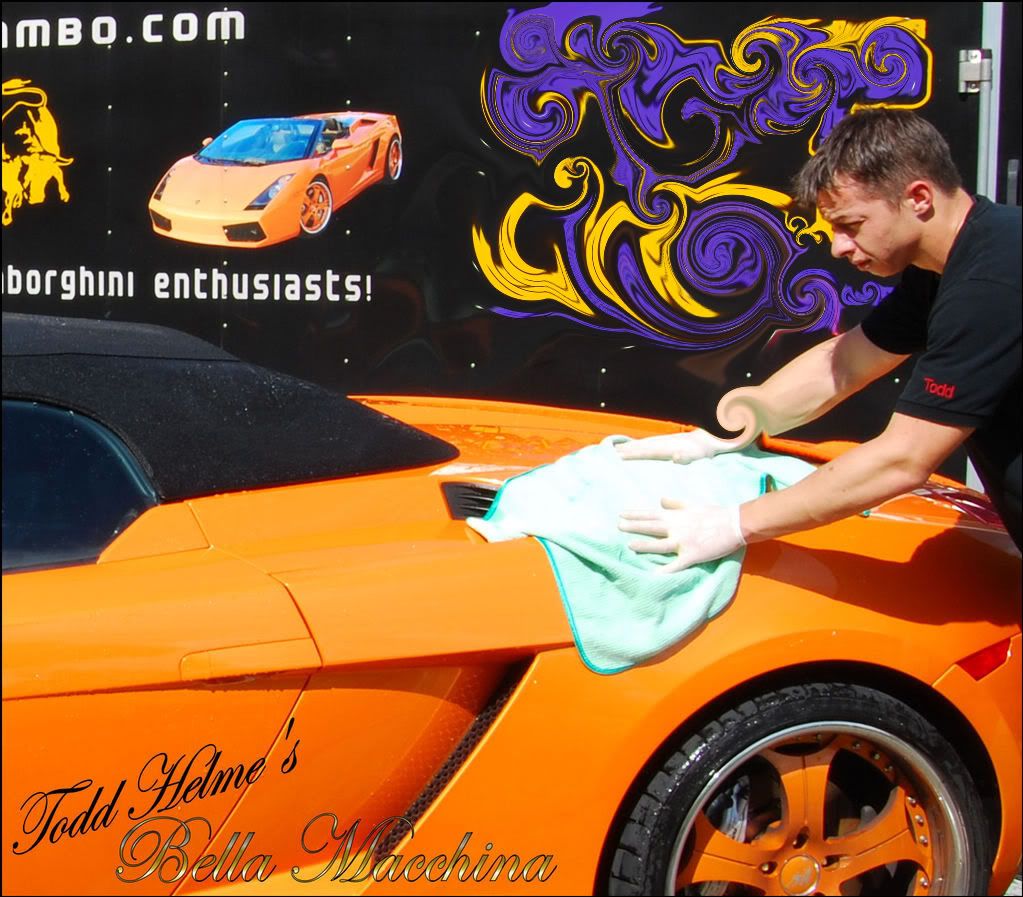
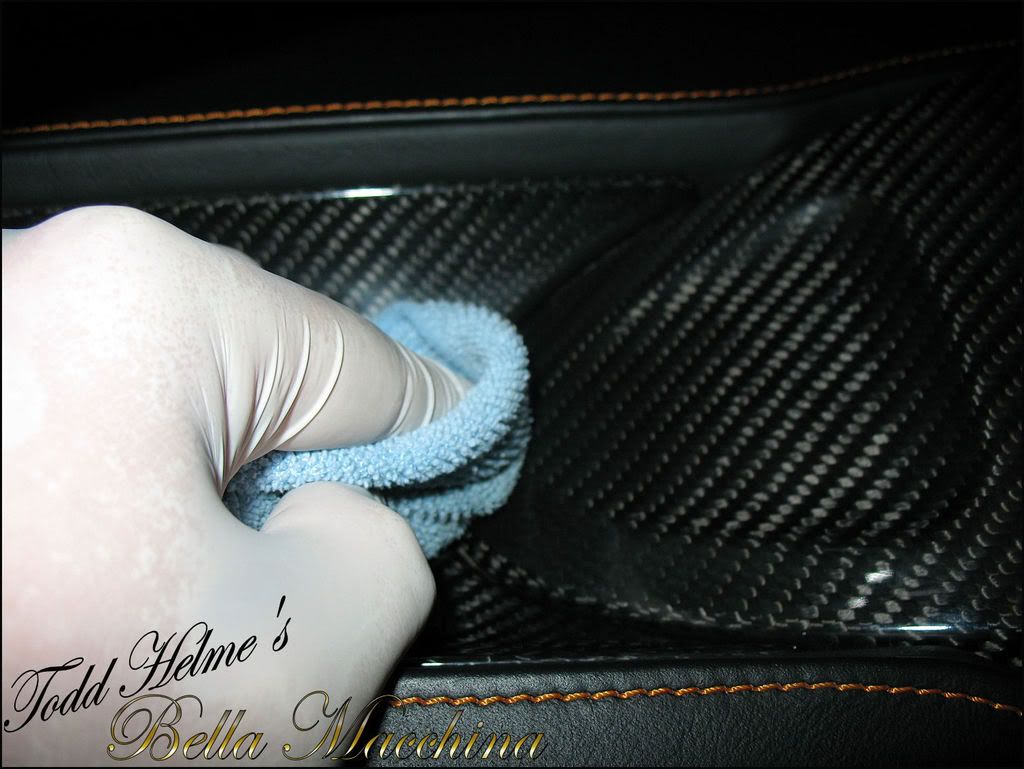
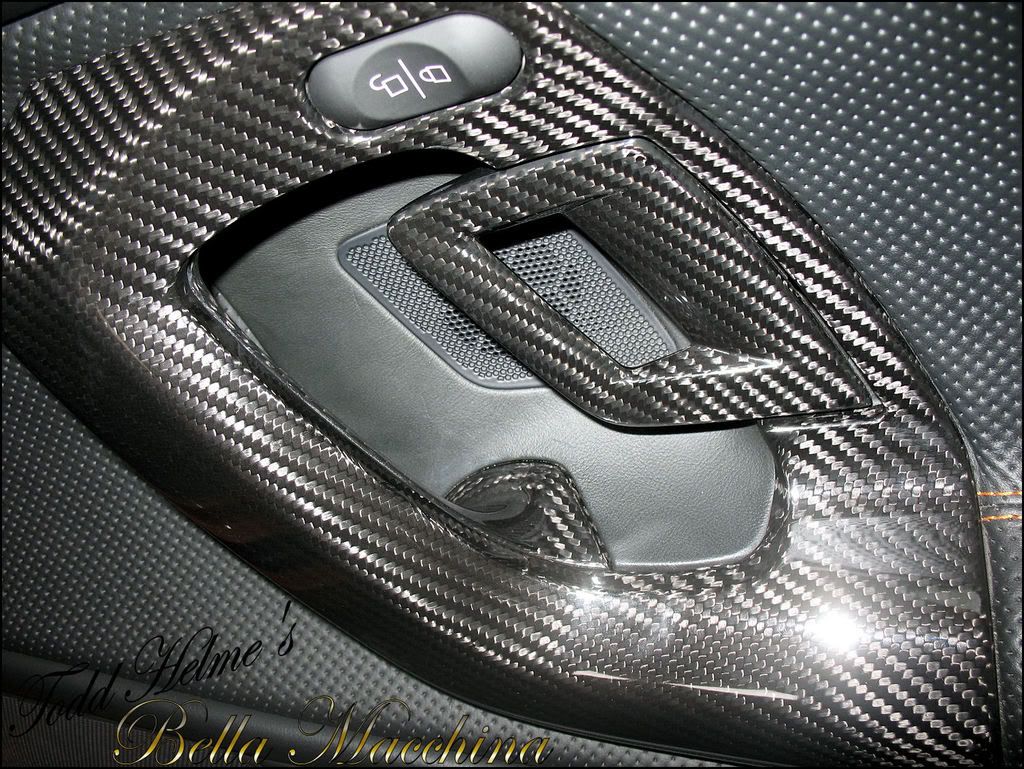
Zainos All-In-One was then lightly worked into the carbon fiber trim to hand polish it and restore clarity and gloss to the pieces.
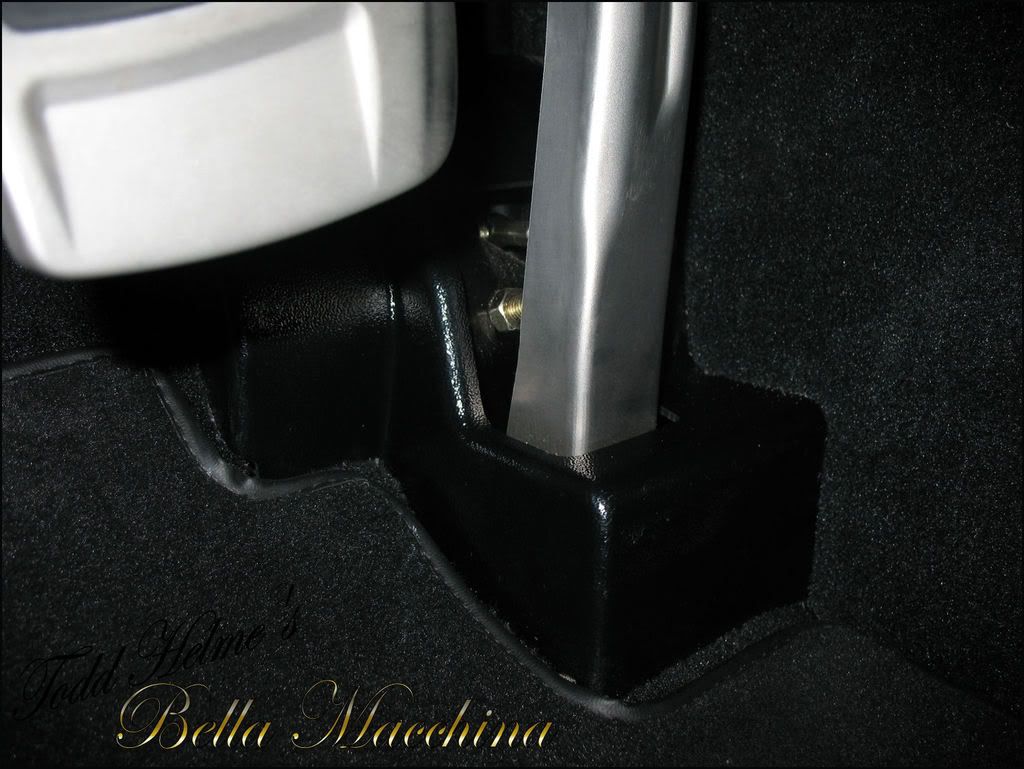
The pedals required slightly more attention as they where scared by numerous scuffs and light scratches. Menzerna PO106ff was worked aggressively with Lake Country Orange Foam to polish the metal and remove the damage. This was followed by a coat of Zainos All-In-One to restore the satin shine of the coated metal. The plastic was dressed with 303 Areospace Protectant. This improved the area and looked much better then in the before picture.
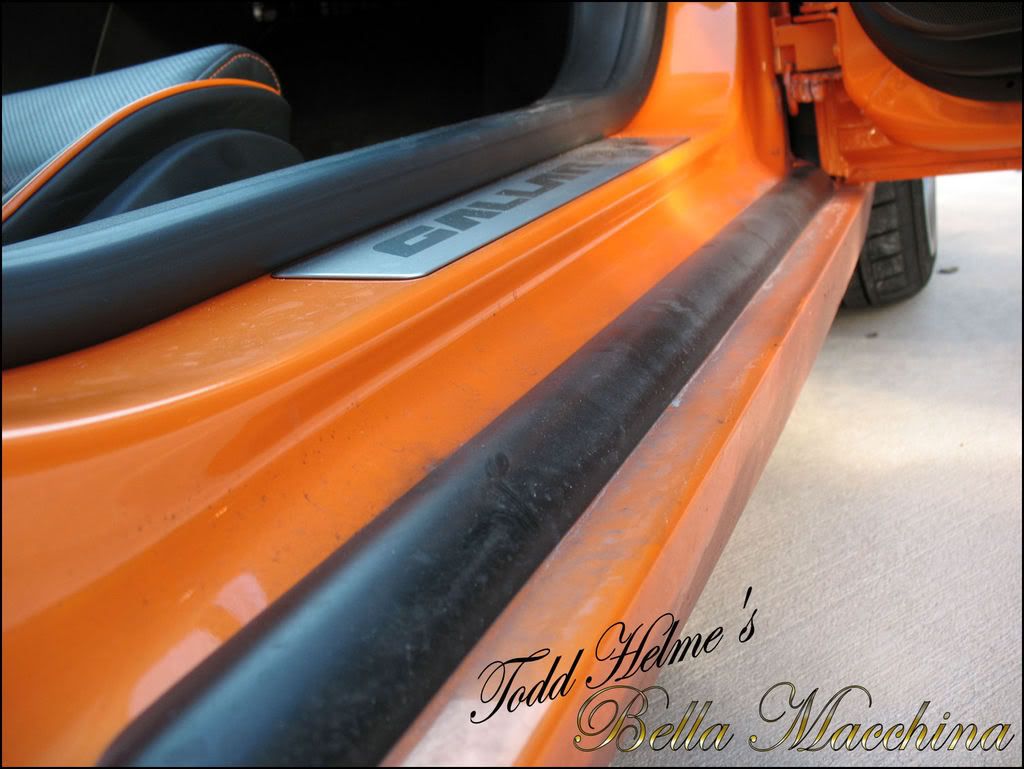
Work continued by applied Zaino AIO to the door shuts, on both the body side and the door side. Care was taken to make sure all areas where lightly hand polished and covered.
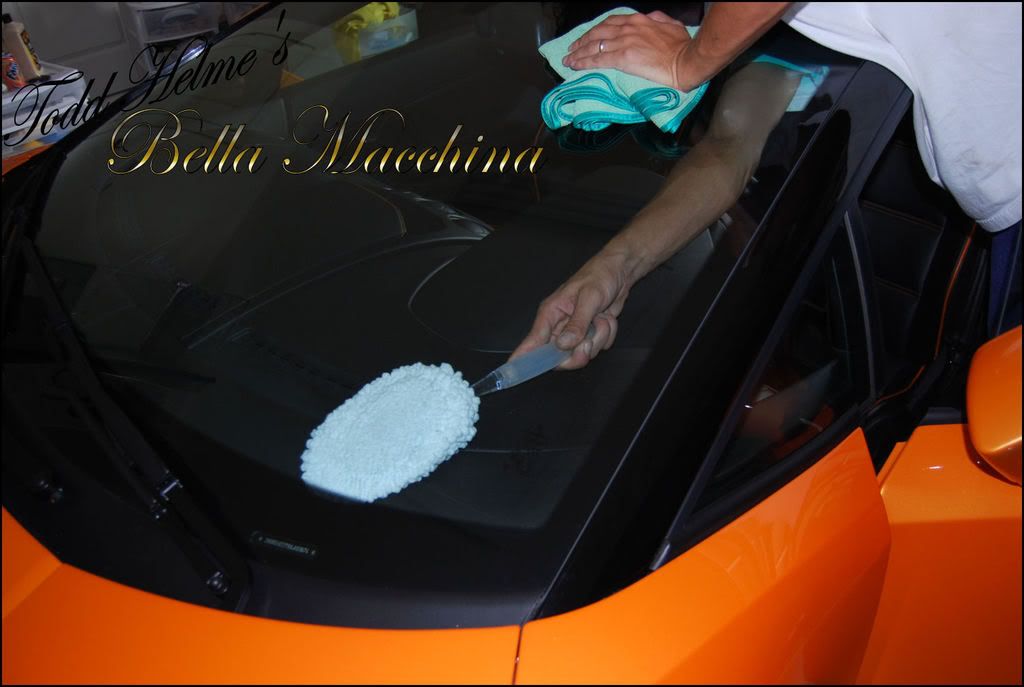
The day was running late but Brian stuck around to help clean all the interior glass using Meguiars Glass Cleaner, some unique tools, and a Ultimate Microfibers Glass Polishing Cloth.
The last surface to be deep cleansed and cleaned was the large amount of black leather hide in the interior. Leatherique Rejuvinator Oil was hand applied to the hide and worked in. The oil would be allowed to set for two days to fully saturate the thickness of the hide and clean it from the inside out, gently floating out harmful human body oils and other damaging impurities.
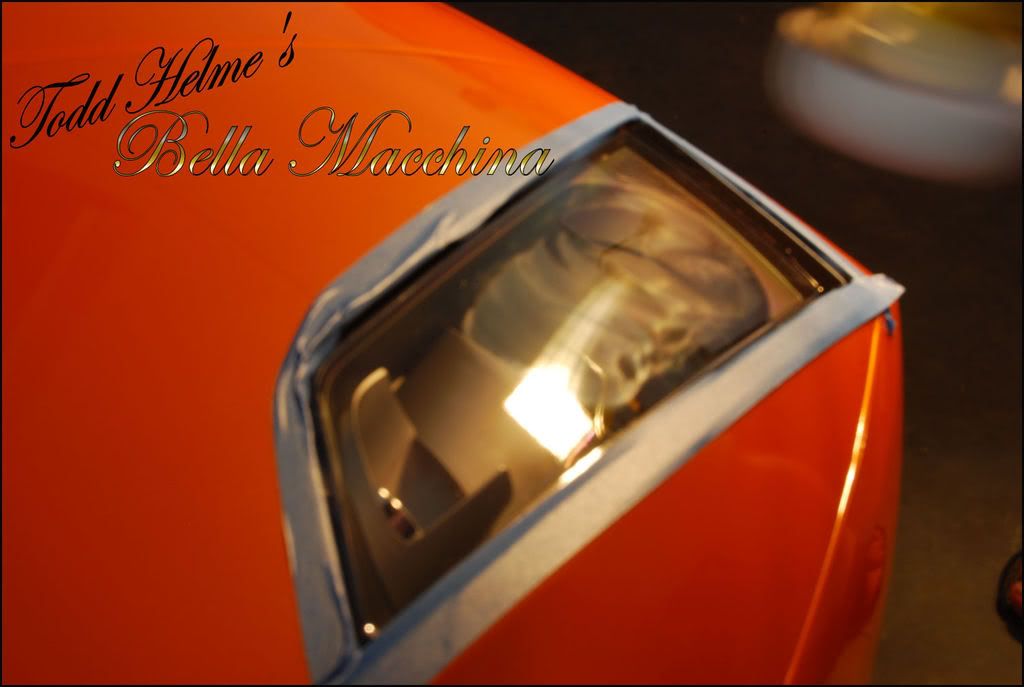
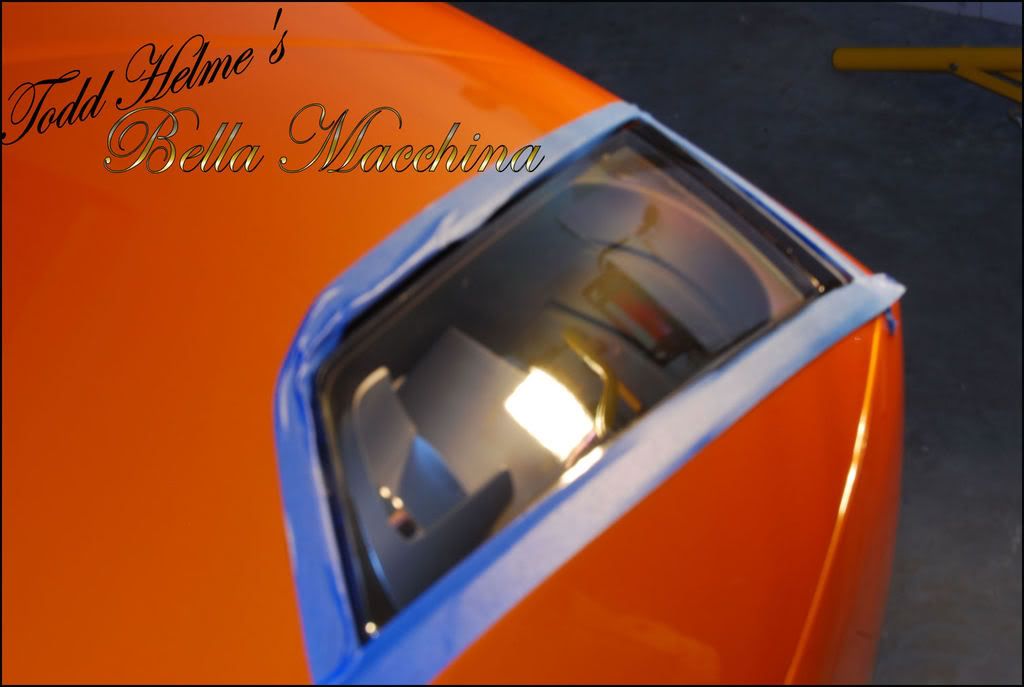
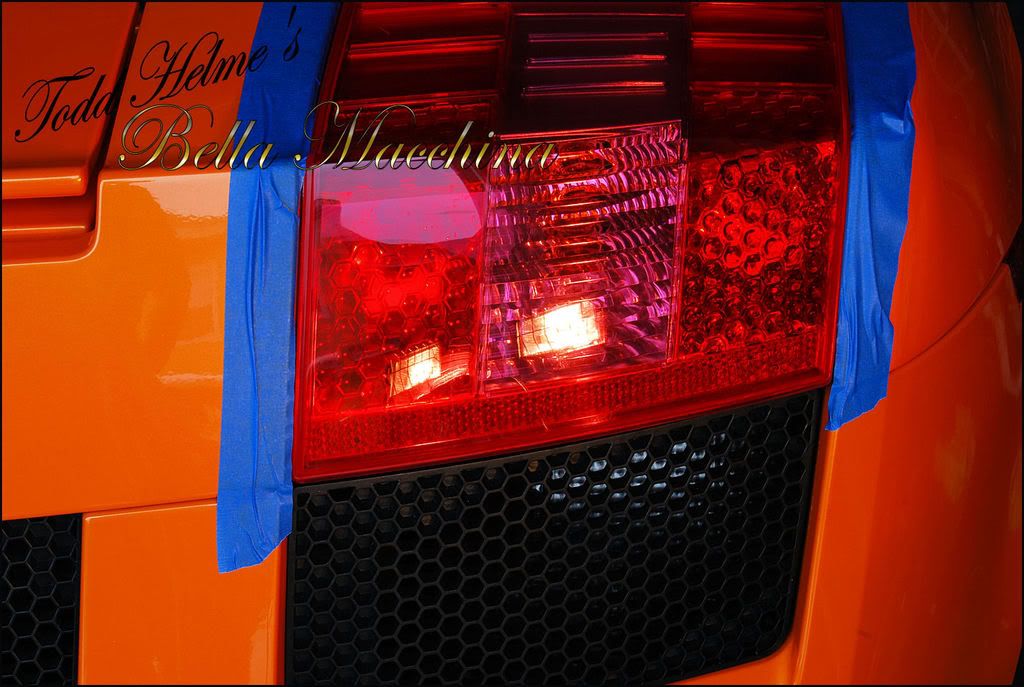
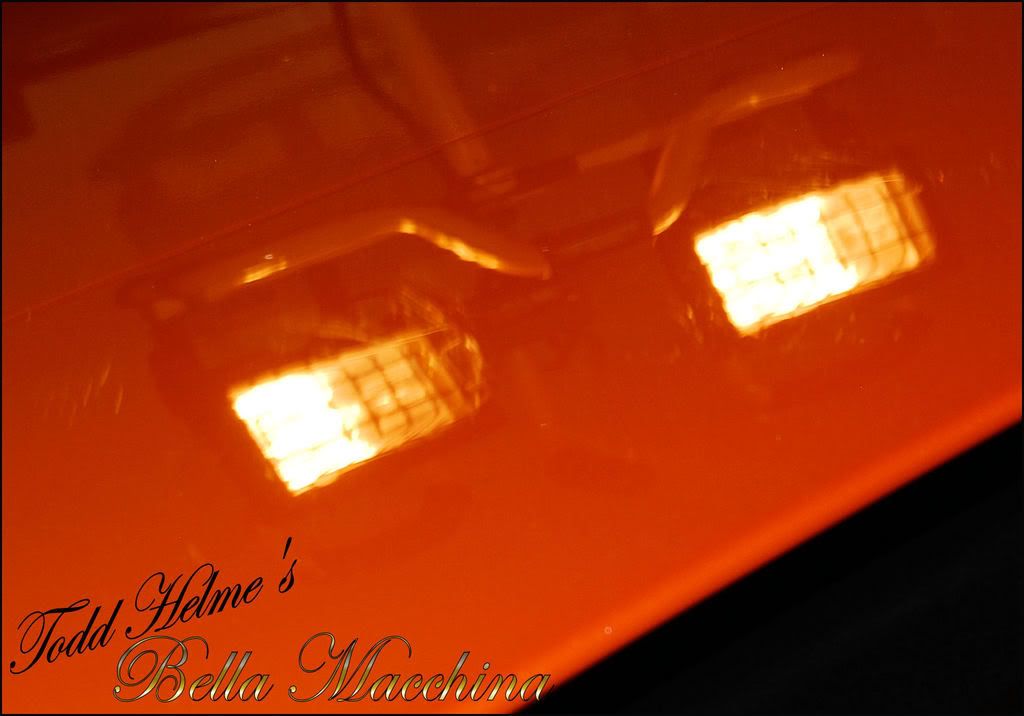
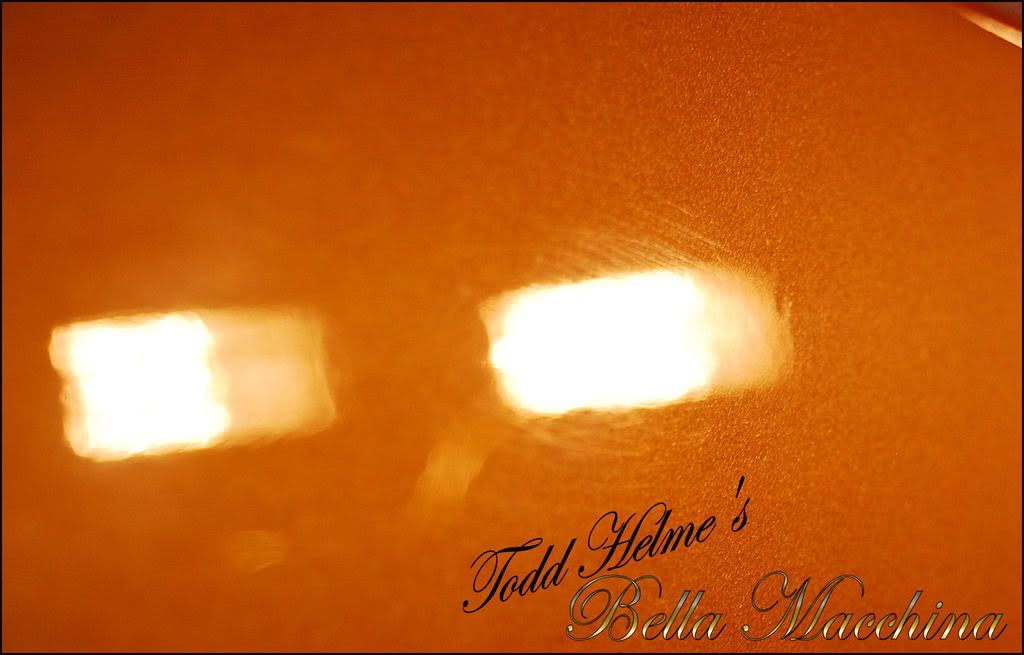
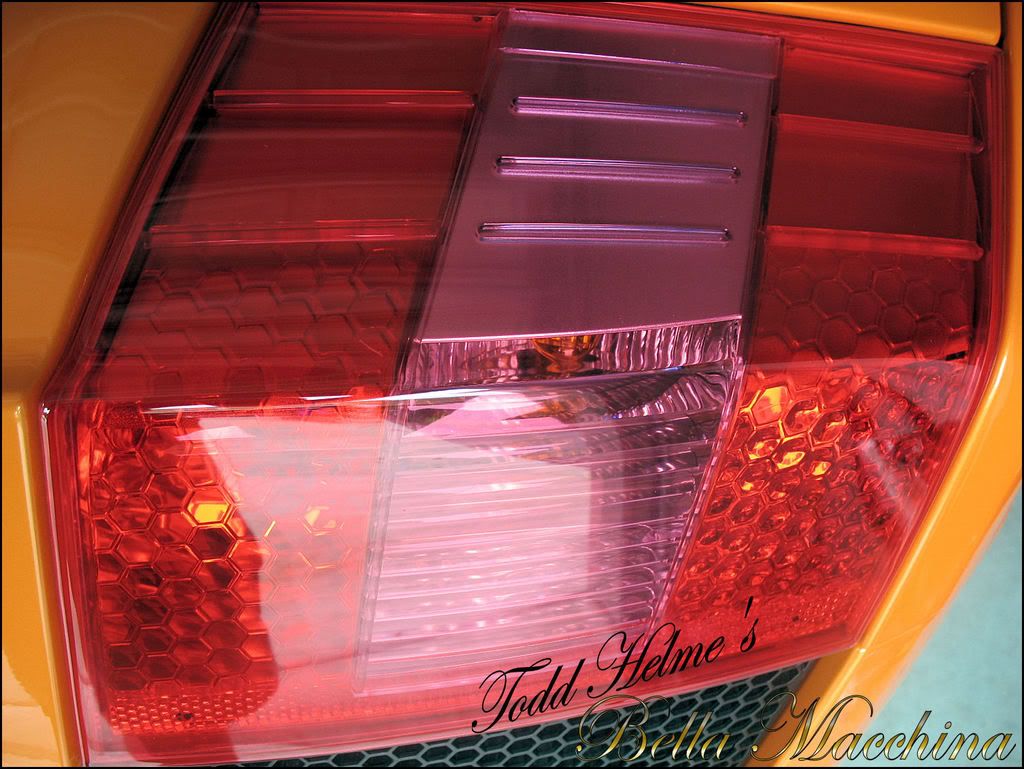
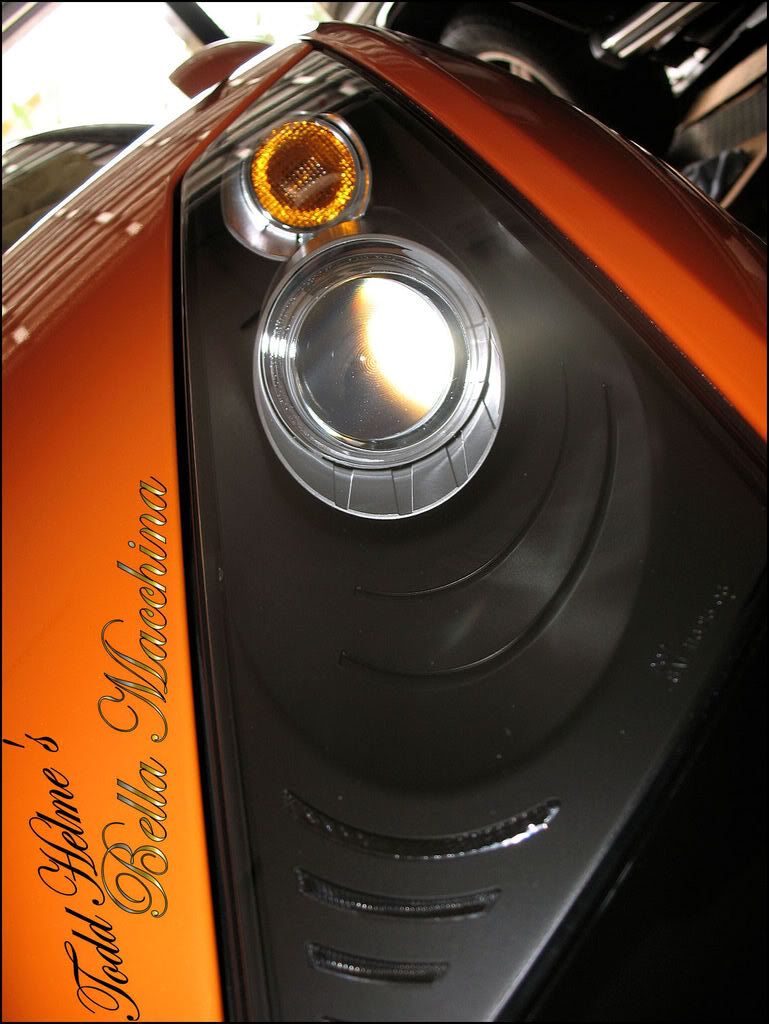
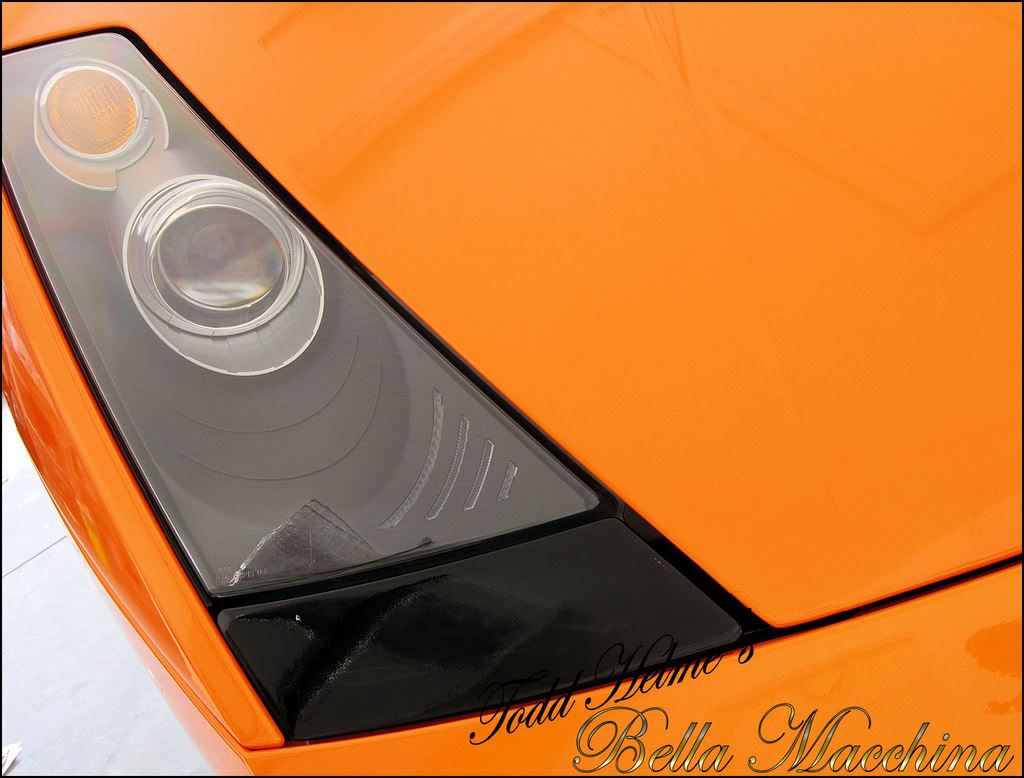
The plastic lenses of the headlamps and taillights where slightly hazed from micro scratches. The headlamps also had light scratching from days at the track. Menzerna PO106ff was used with a 4 inch beveled edge Lake Country Pad in white foam for multiple passes to remove the surface damage and restore clarity.
The taillight had hazing and what looked like rotary trails.
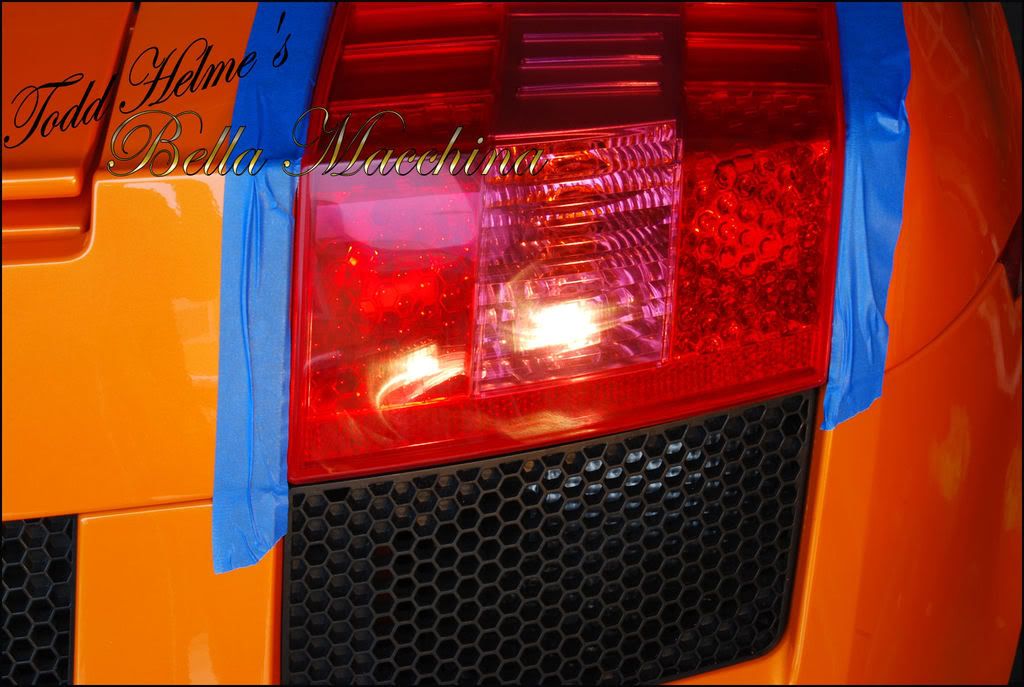
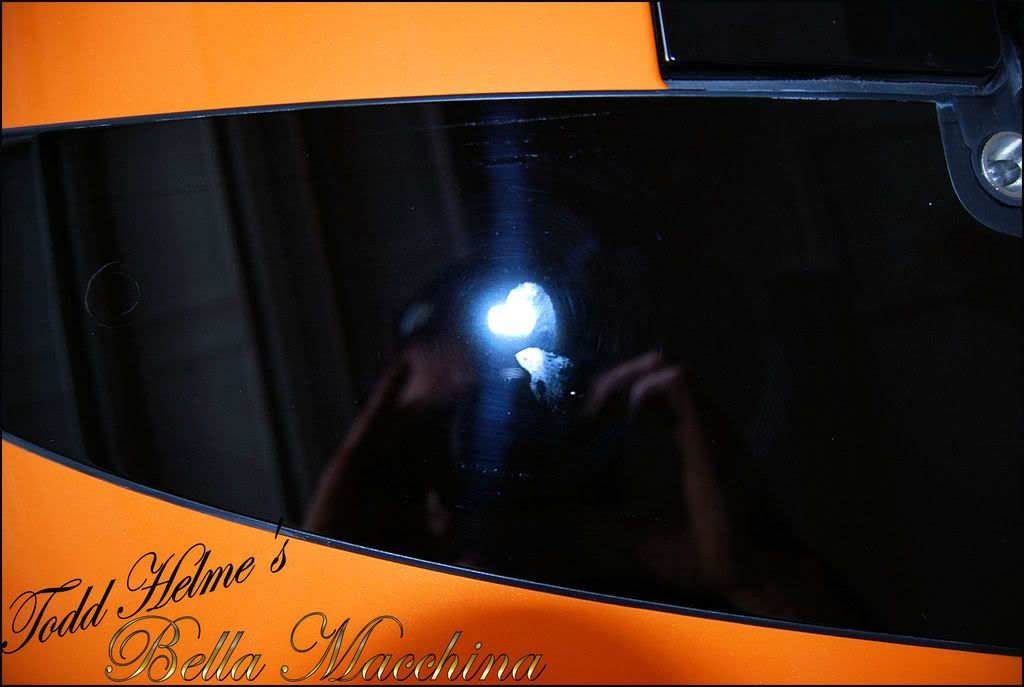
Light polishing for several applications improved the surface considerably as evidenced by the tightening of the reflection of the halogen lights reflection.

-
08-02-2011, 03:34 PM #5Just a regular guy
- Join Date
- Feb 2009
- Location
- Oviedo/Stuart Florida
- Posts
- 15,278
- Post Thanks / Like
Re: Lamborghini Gallardo -330 pics- 5 day detail
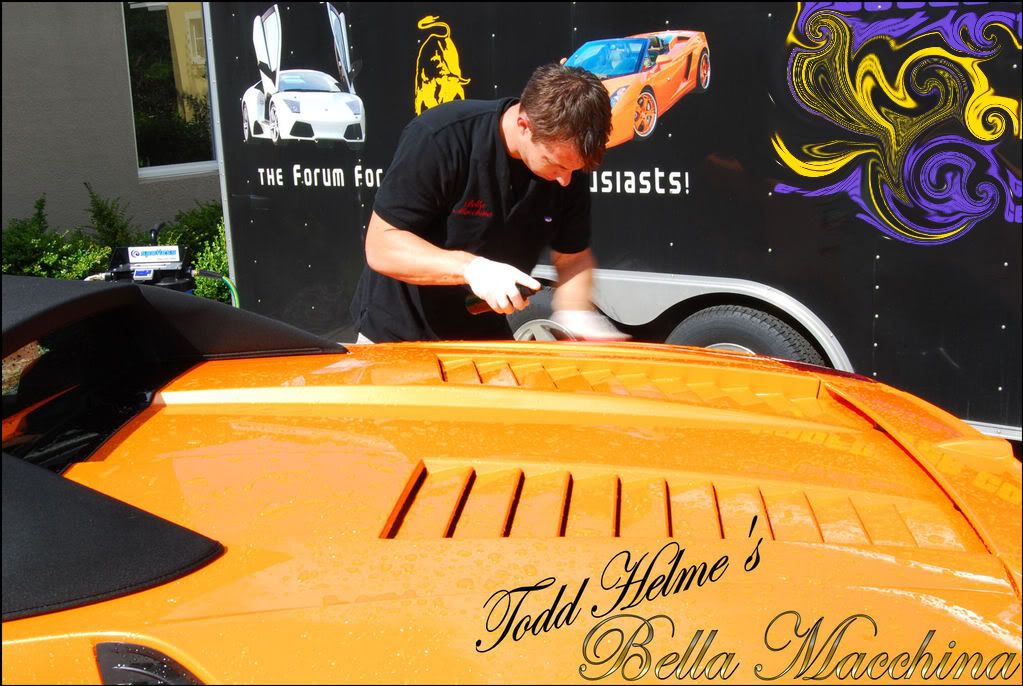
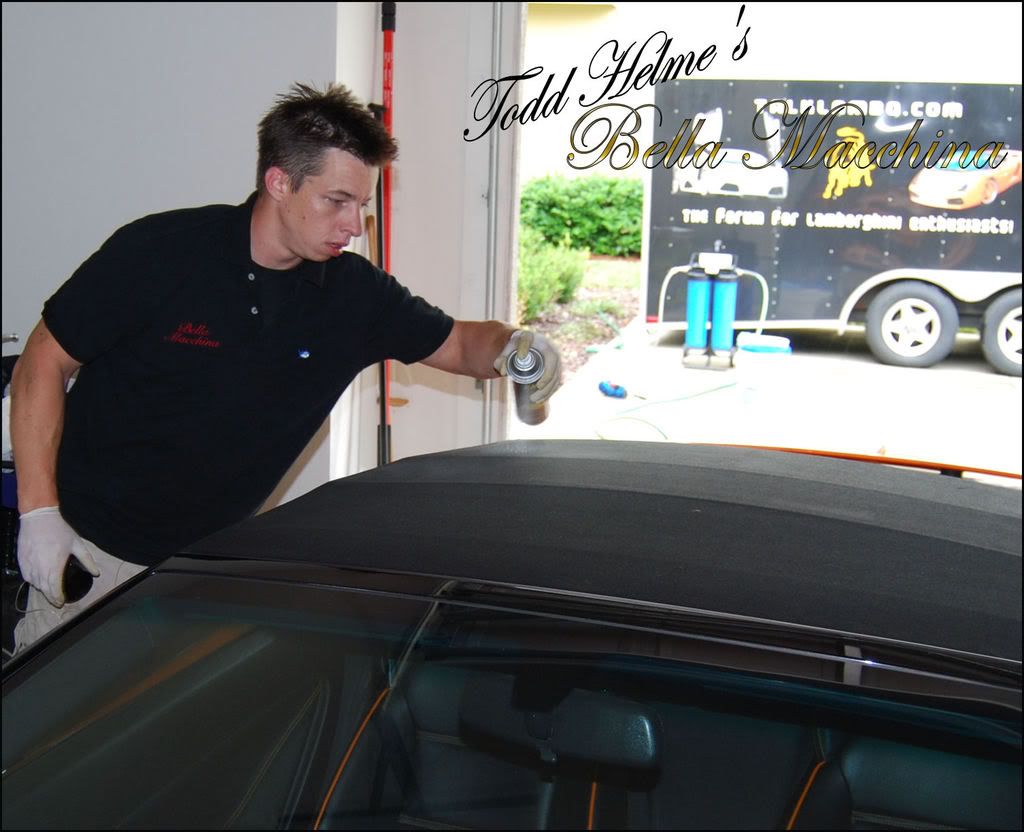
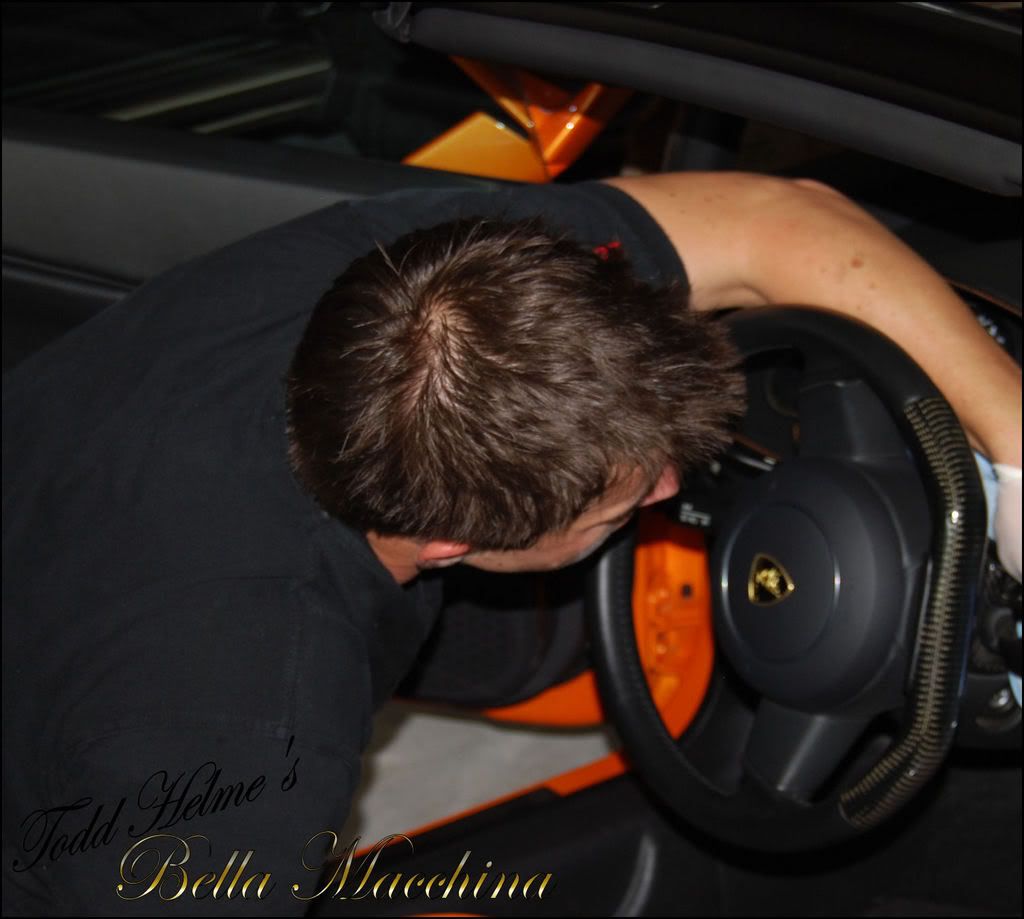
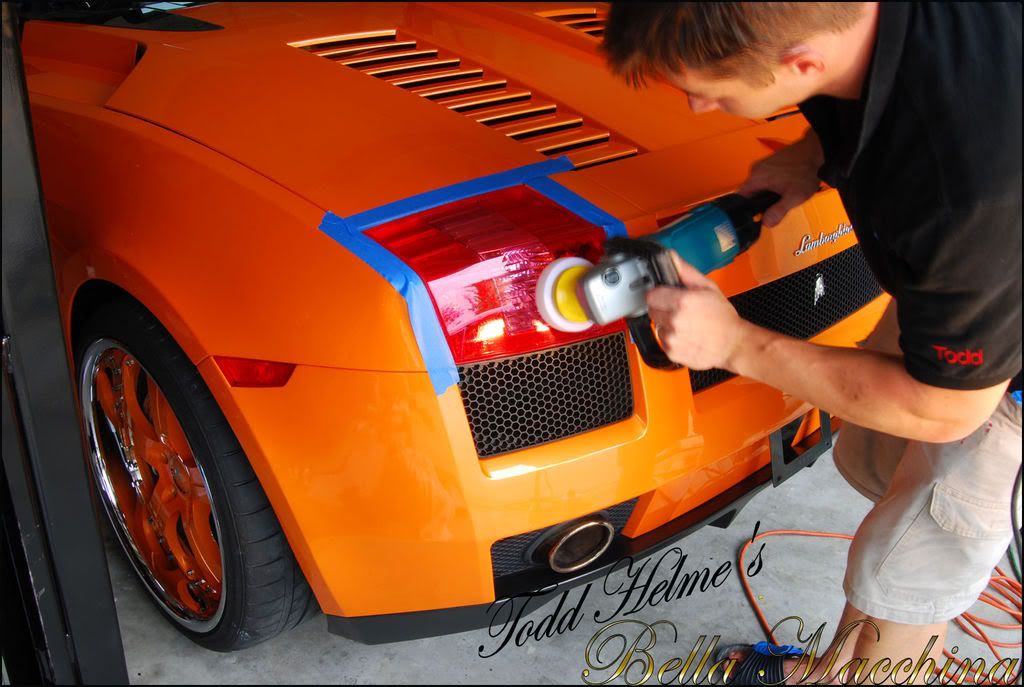
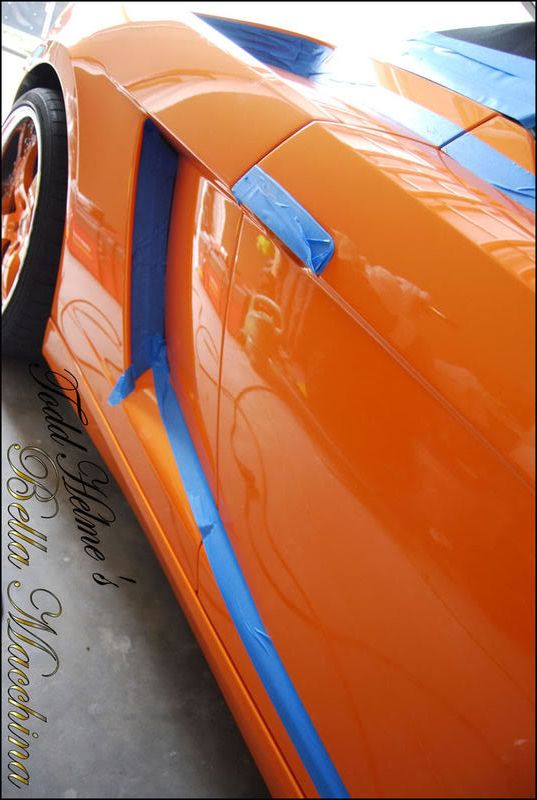
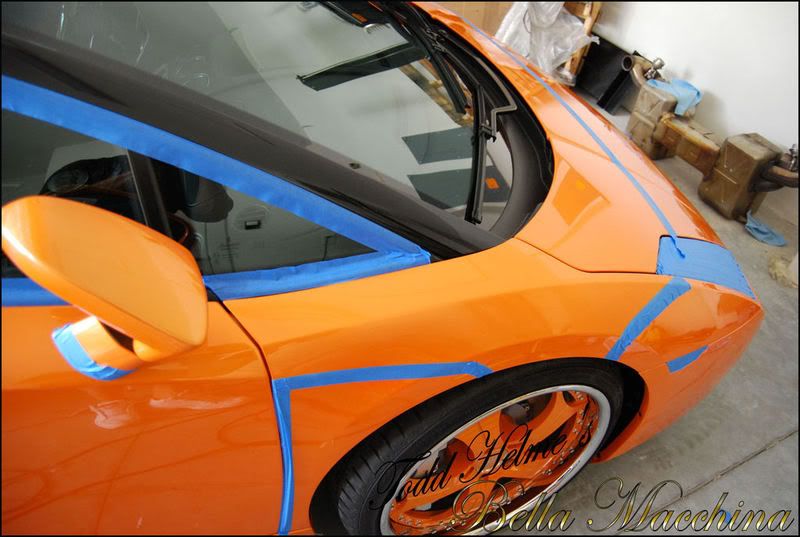
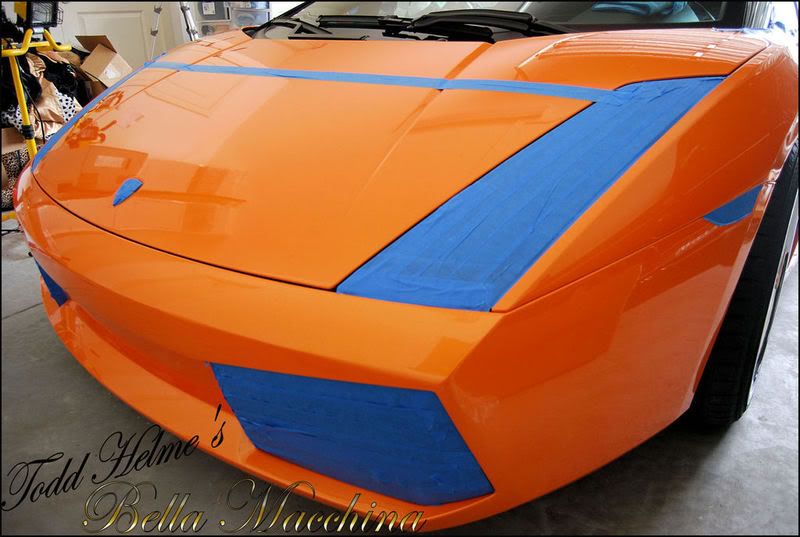
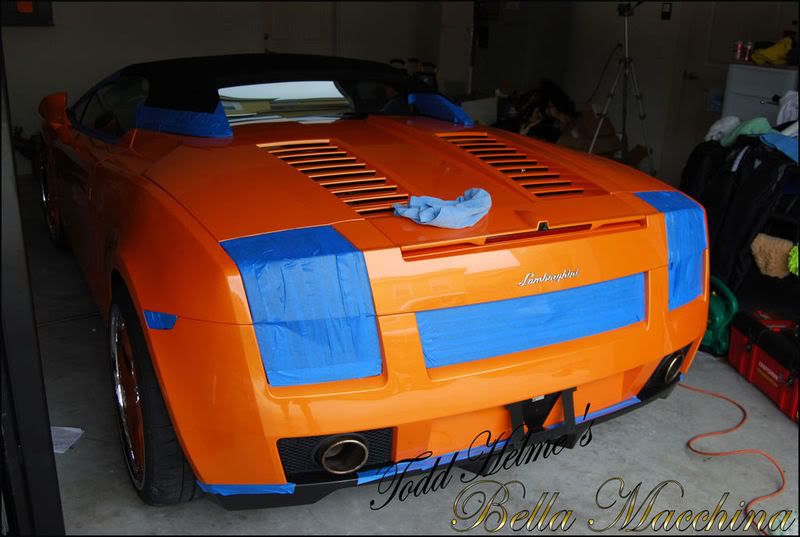
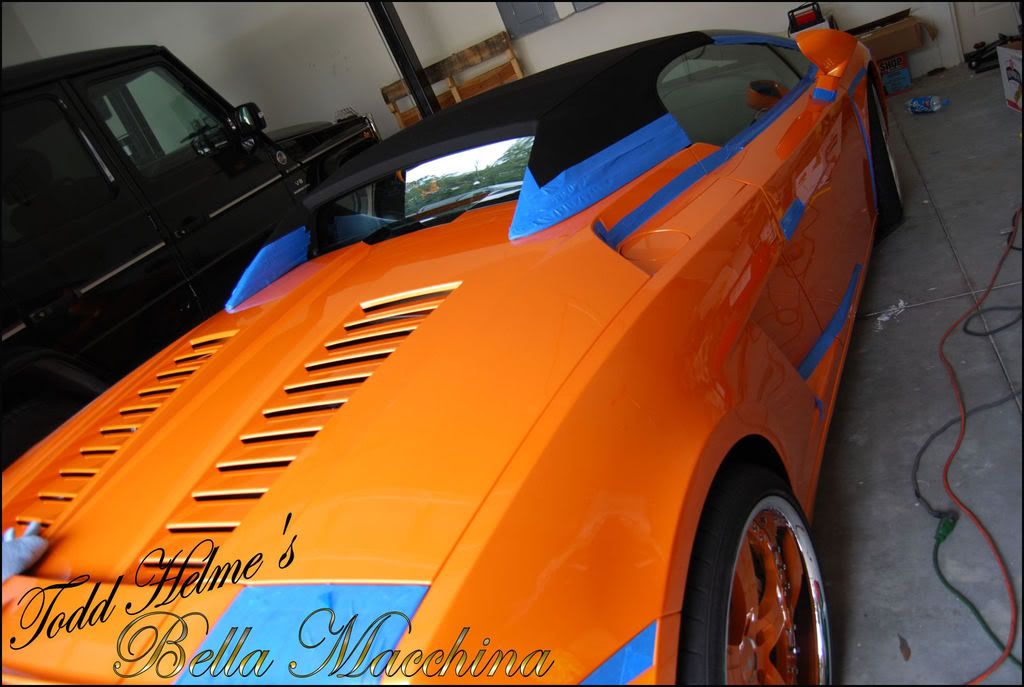
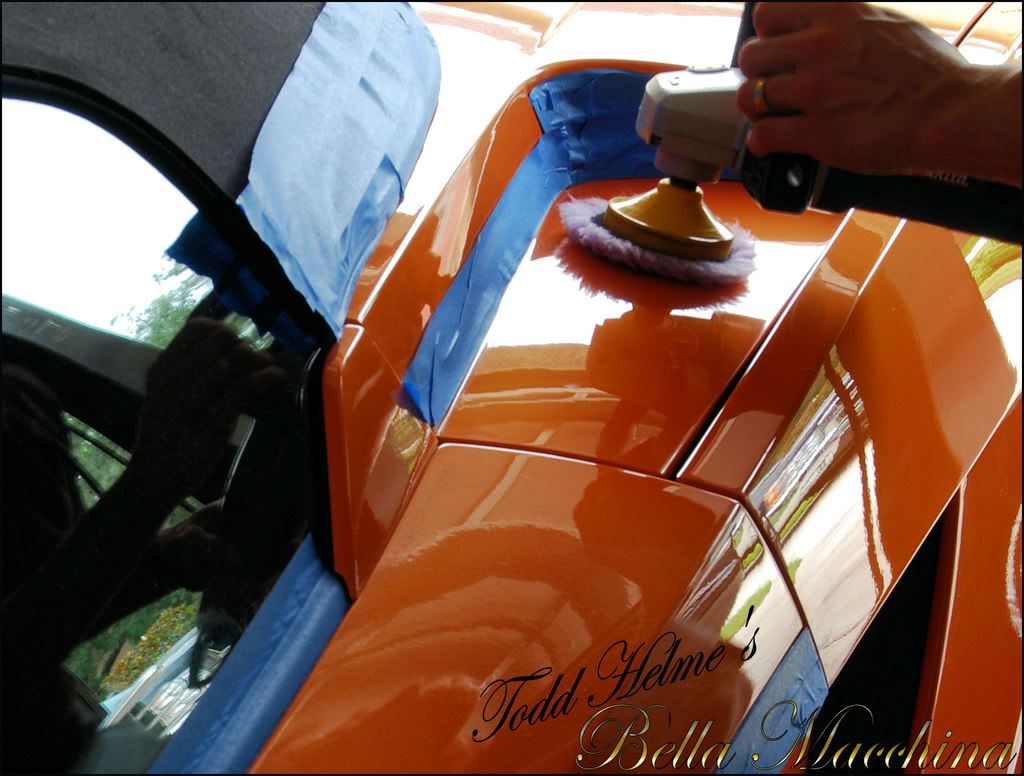
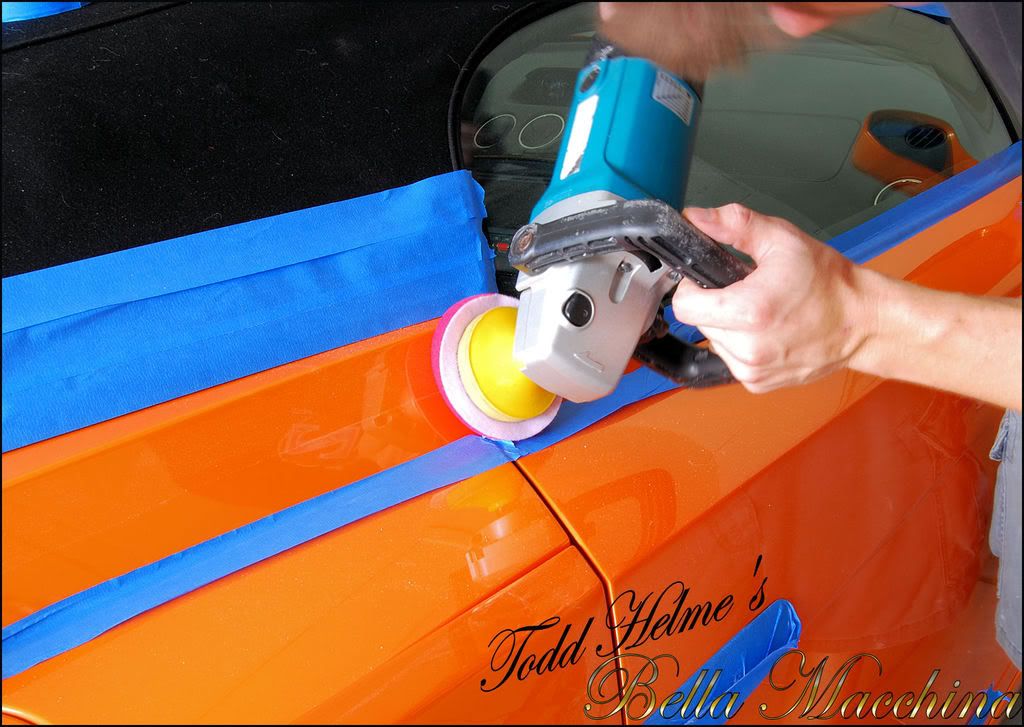
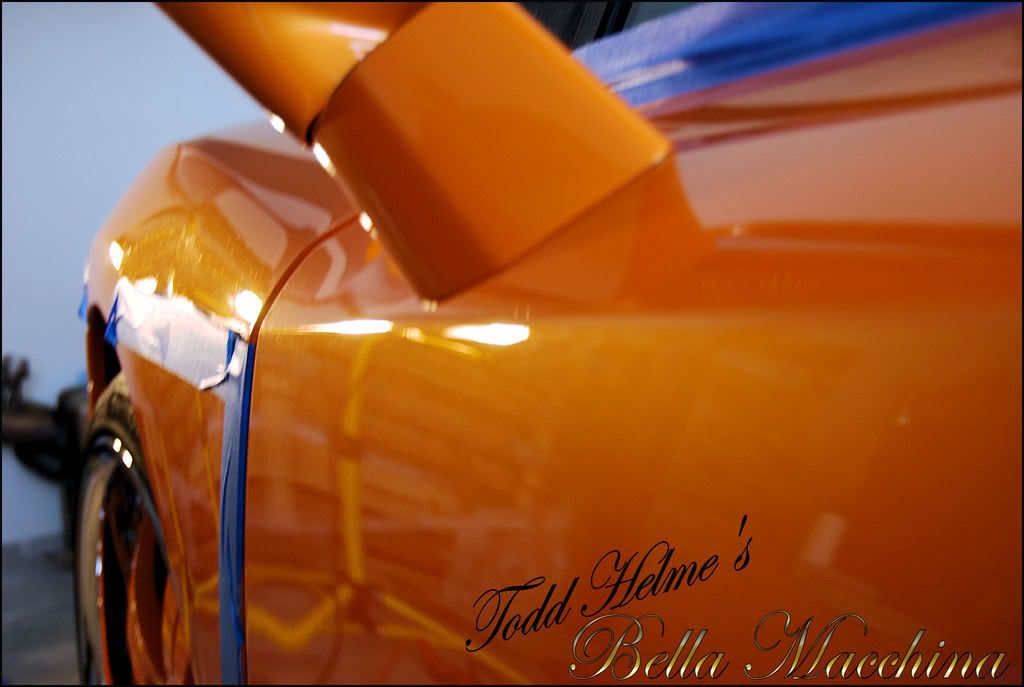
After polishing the lights, it was time to end the day by masking the Gallardo for the next several days surgery. 3M masking tape (2 rolls) was used to cover all areas that could be damaged by incidental contact with a high speed polisher.
Day one started on 8:20 AM and finished just shy of 9:00 P.M. Counting Brians 4 hour contribution meant that slightly under 17 hours of time had been dedicated to the first day.
Day Two. Day Three.
Paint Defect Removal. Paint Re-Leveling. Paint Jeweling.
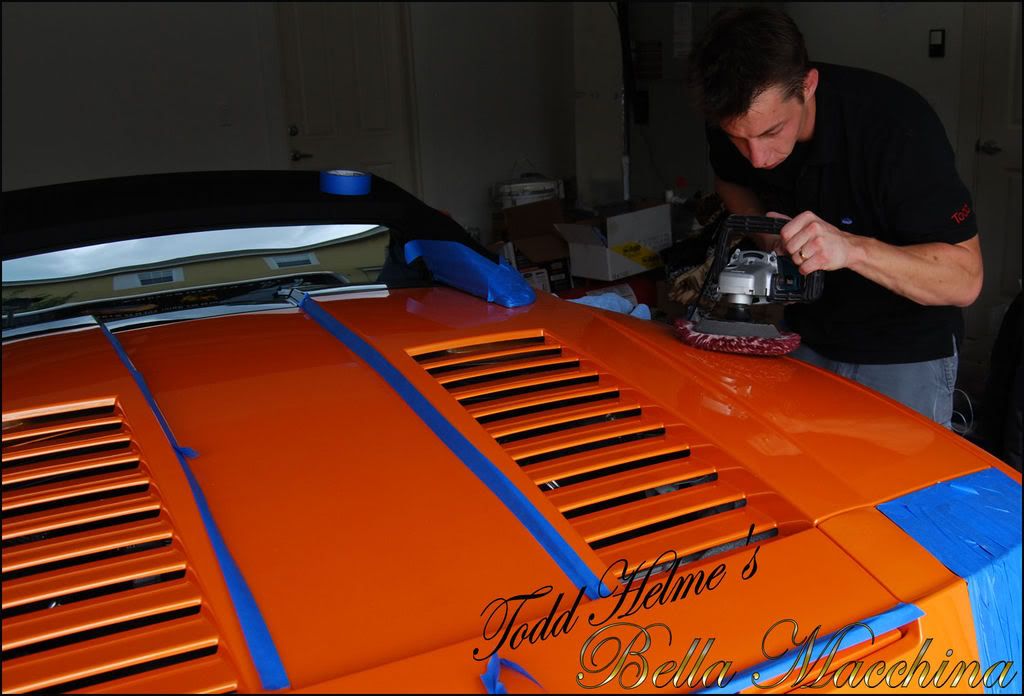
Day two started at slightly after 8:30 AM and ran until 8:30 PM. Using 500W halogen lamps and handheld L.E.D. lights the paint was inspected for all defects that could rob the gorgeous color of its natural shine. Given the pearl accent and metal flake, the defects where hard to see and harder to photograph.
The paint on this particular Lamborghini was EXTREMELY hard, much harder then modern Corvettes and Audis.
Process- larger flat panels.
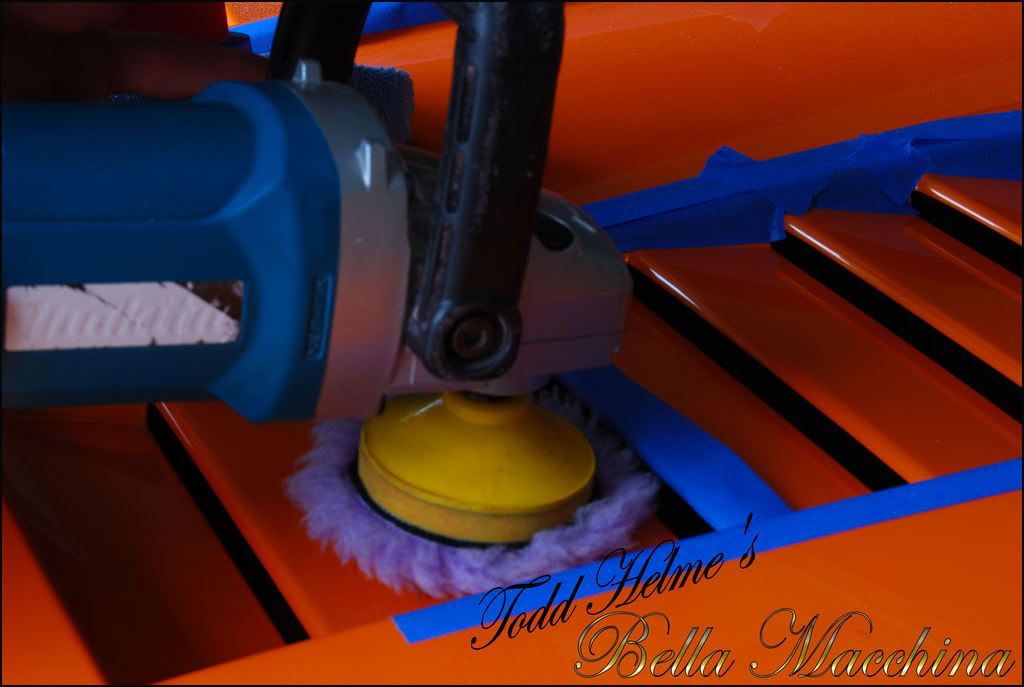
The larger panels (which allowed me to use full sized pads) received a four step process. First Meguiars` M105 Ultra Cut Compound was applied with on a Meguiars` So1o Full Cut Wool Pad for 3-5 applications to remove random scratches and surface marring from the paint.
This was followed with Menzerna PO83 on a Meguiars` So1o Medium Cut Wool pad for one pass to begin refining and nursing the shine back into the paint.
Menzerna PO83 was once again applied, this time with a fine cut Lake Country Green Euro foam pad and worked long to remove any marring from the wool pads and increase the gloss dramatically. This left the paint 100% defect free and it looked amazing.
Final gloss enhancement came from Menzera PO85rd applied with a Meguiars So1o Finishing Pad. 5 to 6 slows passes where made at 1500 rpm, before reducing the rpm and lighting jeweling the paint for several minutes until I was happy with the gloss.
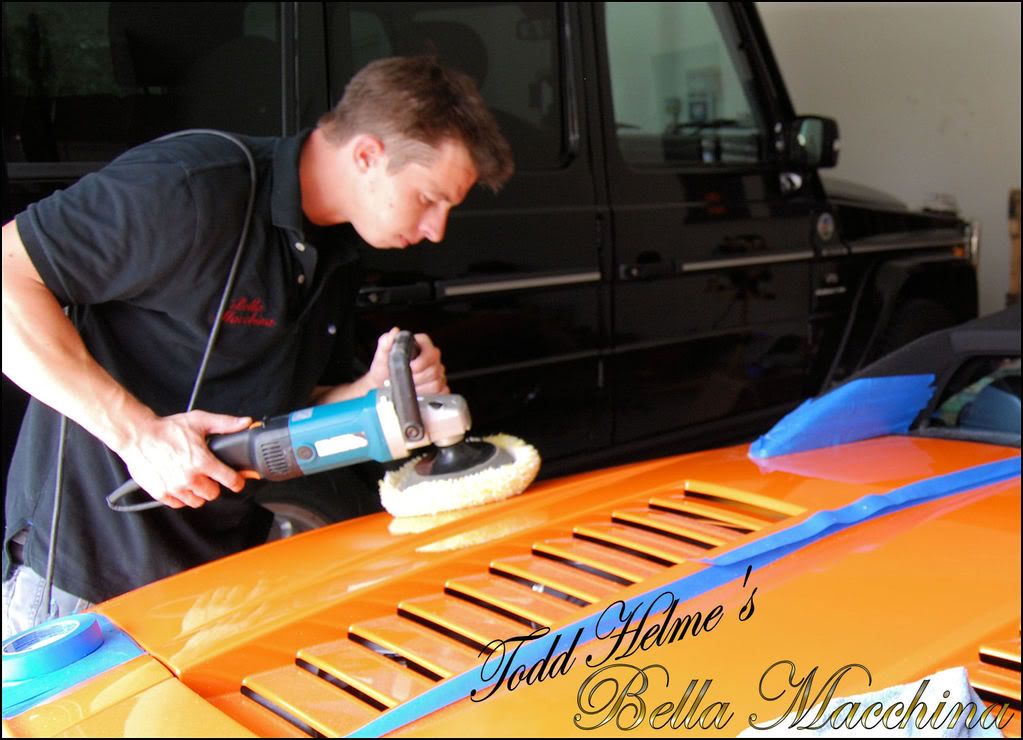
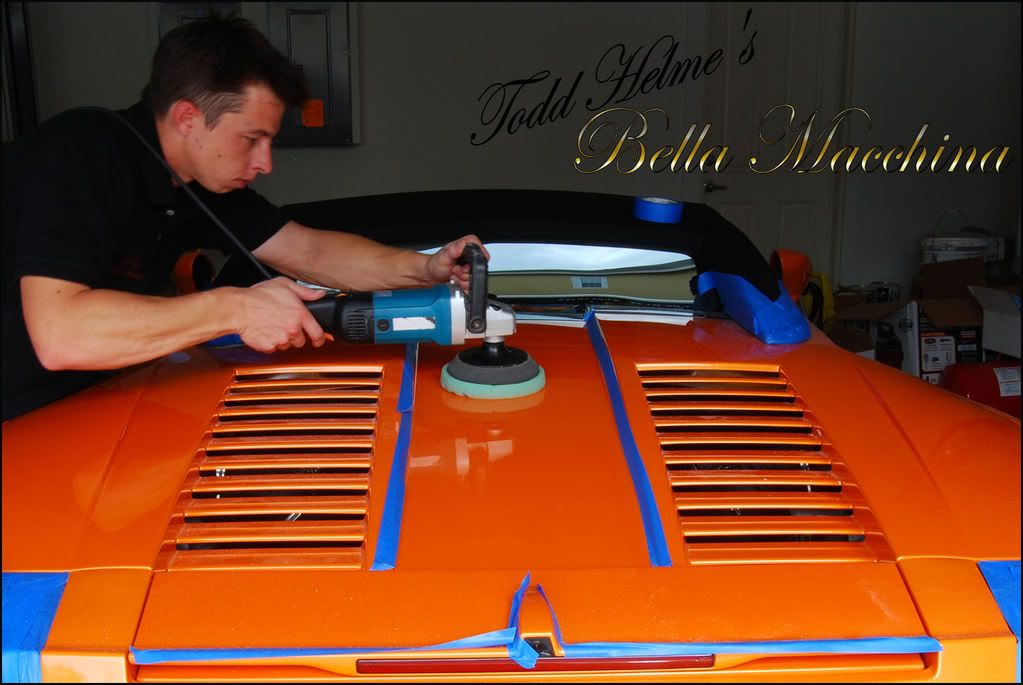
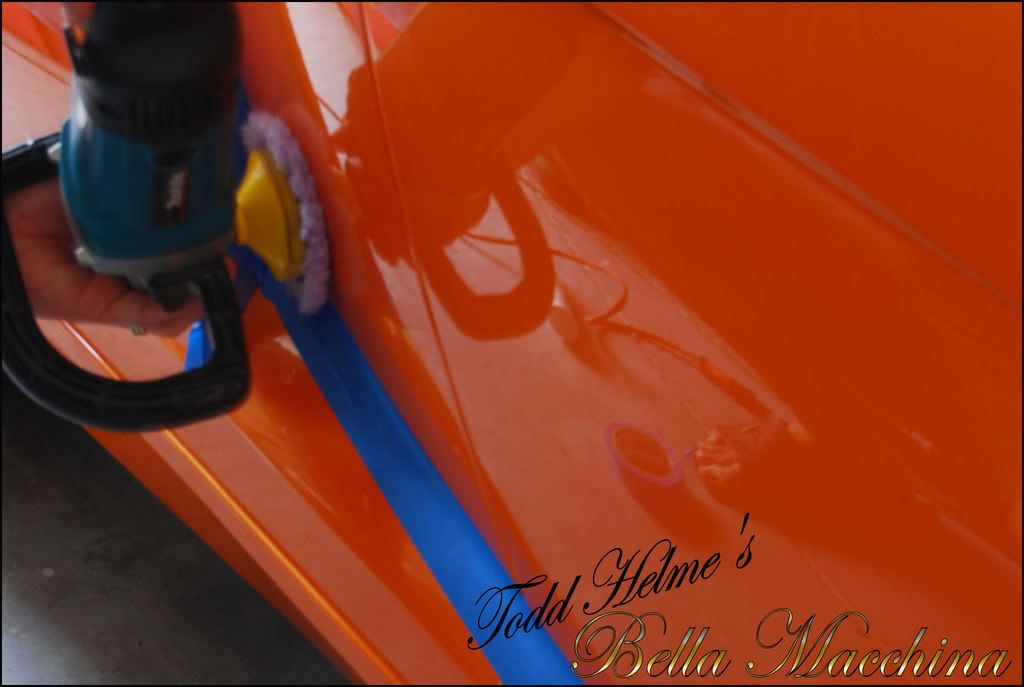
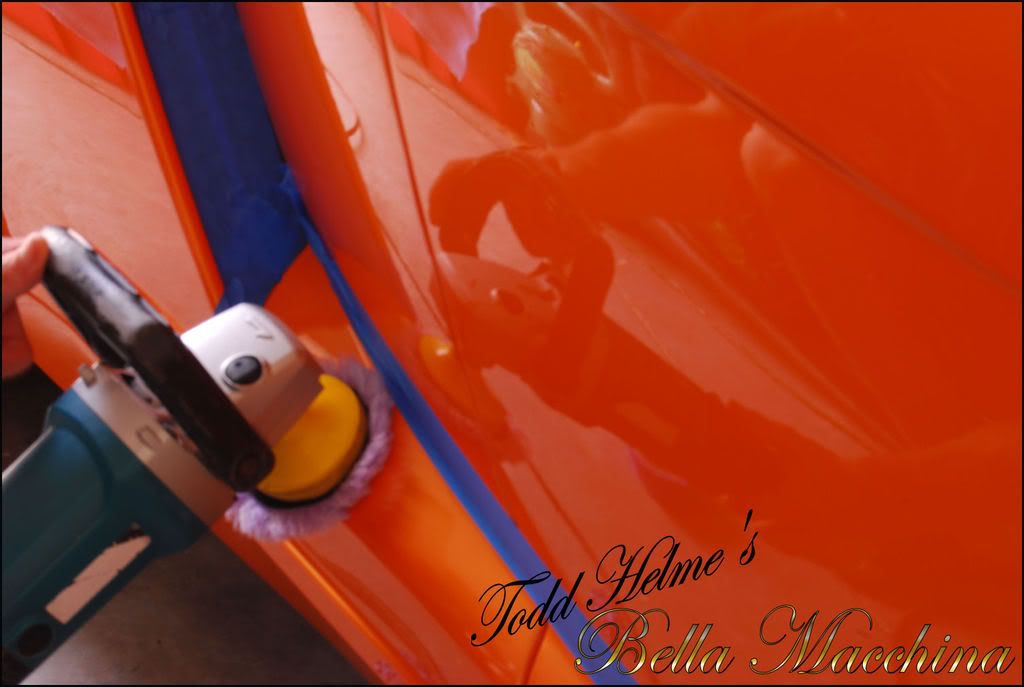
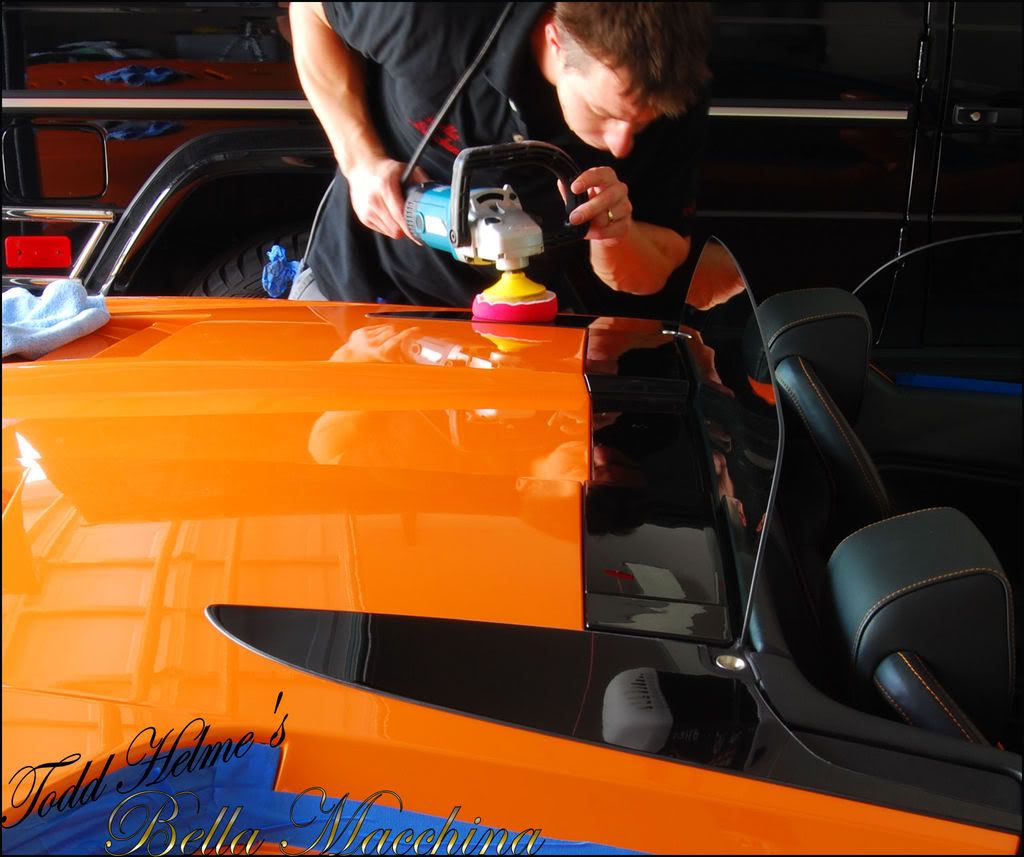
The numerous tight areas designed into the Lamborghinis gorgeous body required that a lot of polishing was done with 4 inch spot pads. Here is the general process used with when these pads were used.
First a Lake Country foamed wool pad was used at high RPM with Meguiars` M105 UCC. 5-6 passes where required to remove light damage from the paint.
This was followed by Menzerna PO83 on a clean Lake Country foamed wool pad with slightly less RPM.
A Lake Country White Polishing Pad with Menzerna PO83 was used to perfect the finish.
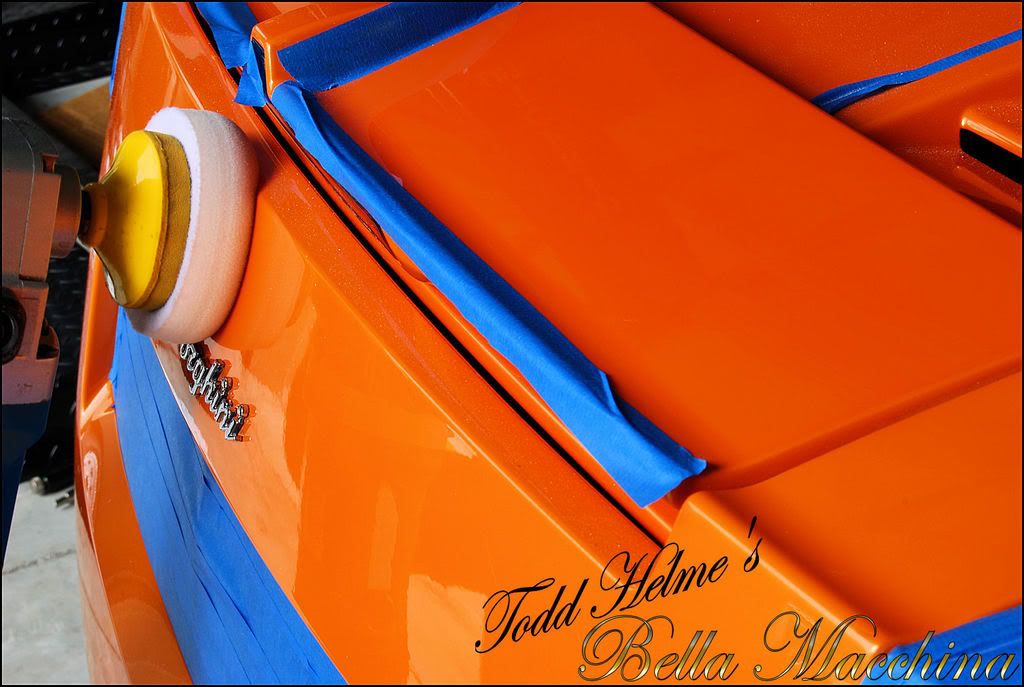
Finally the paint was jeweled with PO85rd and red Lake Country foam at low RPM until the gloss was deep and the paint was perfect.
The numerous tight curves of the body required constanre-tapingng so the various angles could be attackeflatlyey for maximum results without edge burn from the pads.
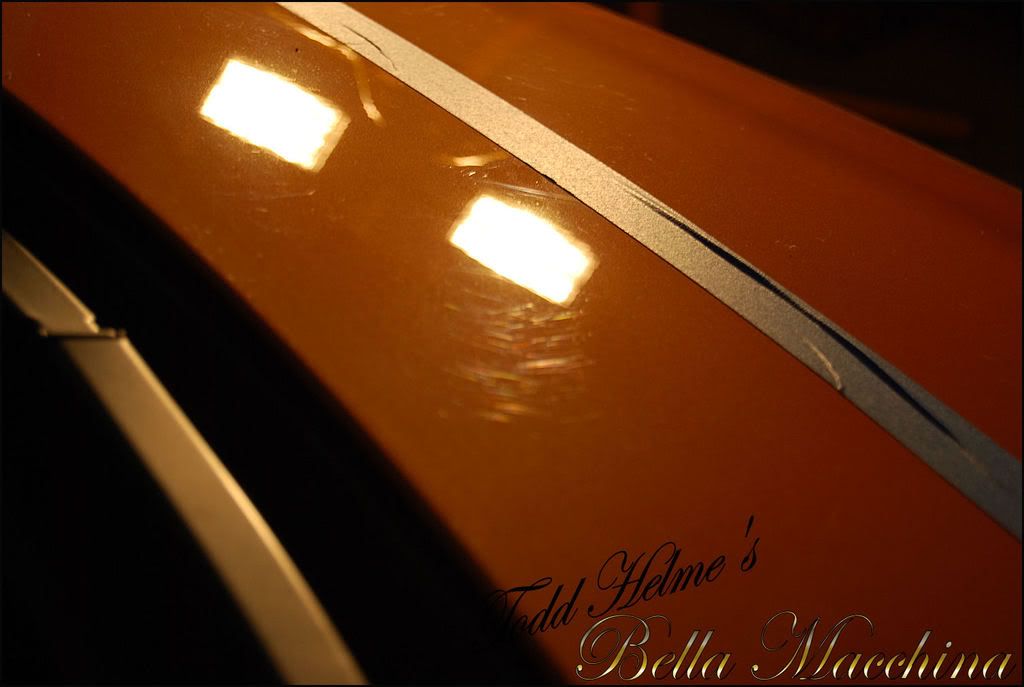
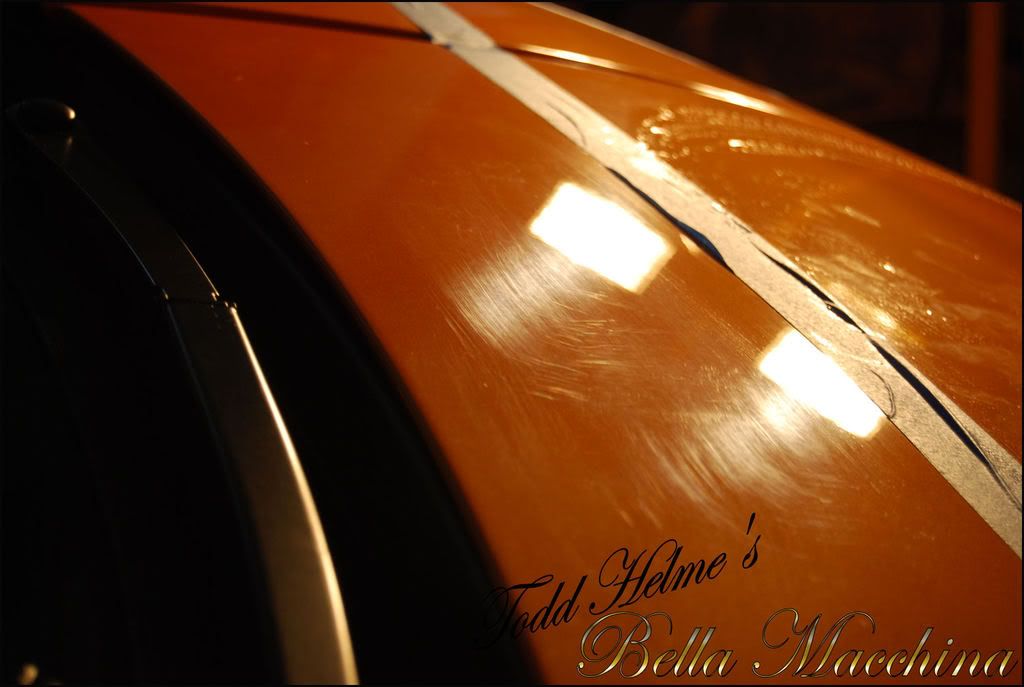
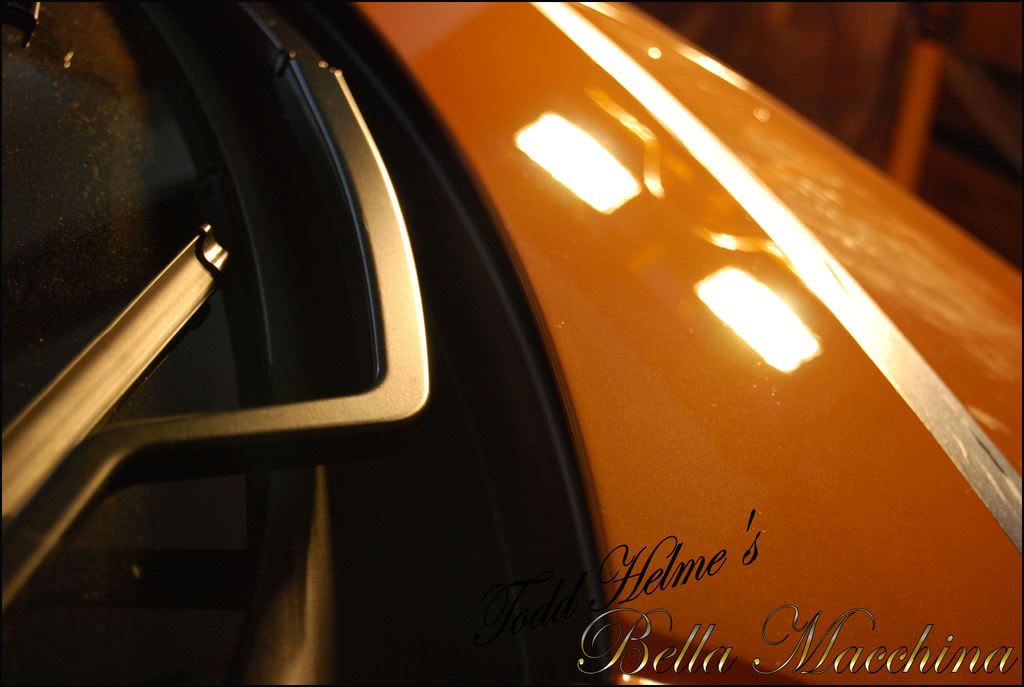
The damage was difficult to photograph because of the color and pearl flake in the paint.
Rear fender before and after picture combination.
Drivers side before.
Drivers side after.
Rear end of the Gallardo being polished with the purple wool pad.
Clarity restored!
Passenger side before.
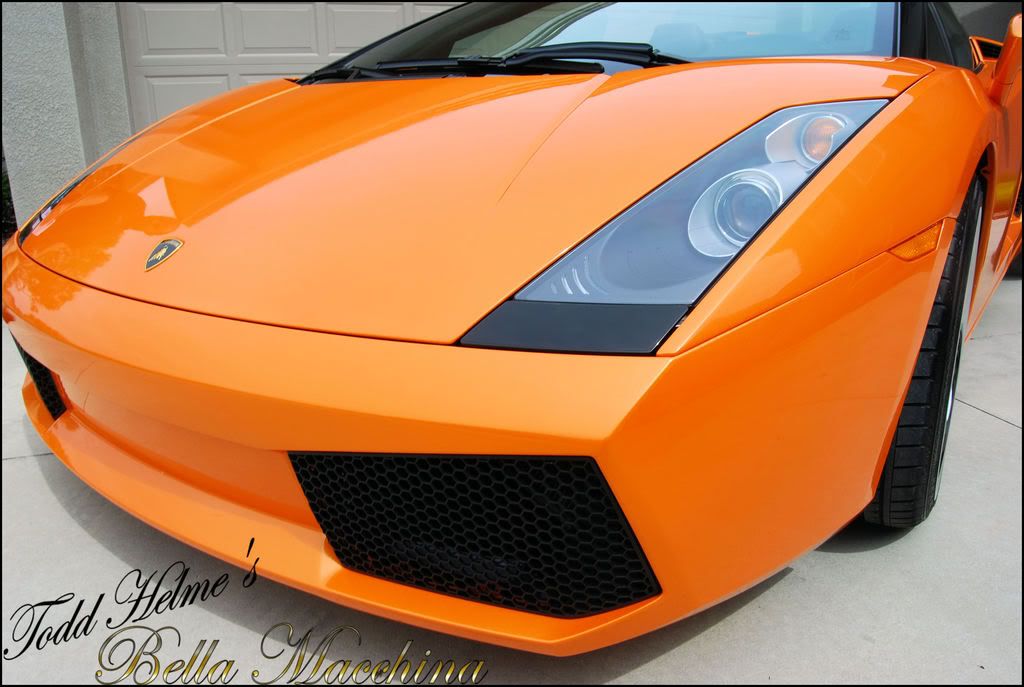
And fully corrected and polished to La Bella Firma by Bella Macchina standard.
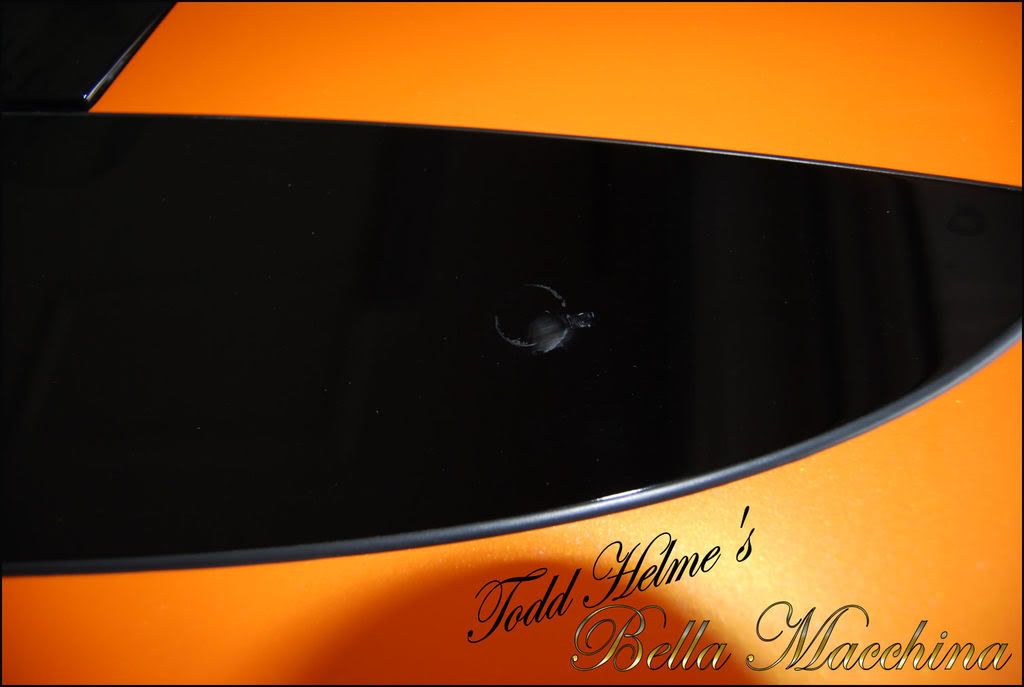
The front trunk had deep scratches running down the center, just above the clear-bra.
A better view.
Given the depth of the scratches and hardness of the top coat, I elected to wet-sand the damaged area with Meguiars` 2500 uni-Grit paper.
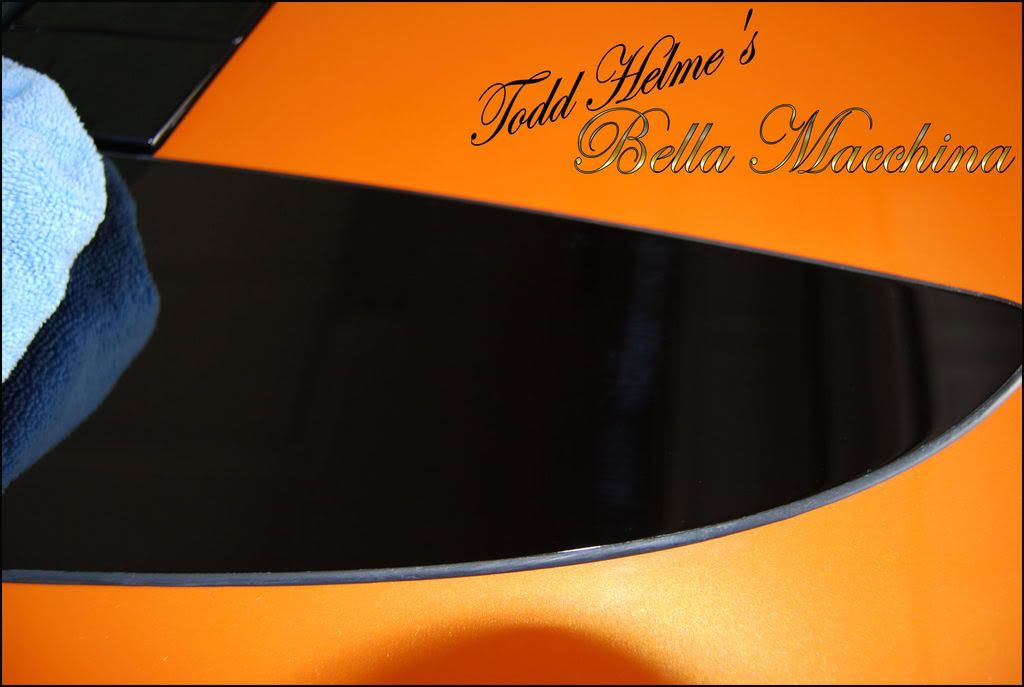
After compounding, polishing, and jeweling
-
08-02-2011, 03:36 PM #6Just a regular guy
- Join Date
- Feb 2009
- Location
- Oviedo/Stuart Florida
- Posts
- 15,278
- Post Thanks / Like
Re: Lamborghini Gallardo -330 pics- 5 day detail
After 12 hours the entire Lamborghini had been corrected yet still needed to be polished, leveled, then jeweled. I elected to call it a day and get an early start on day three. The third day was a rainy and dreary affair outside but inside the garage the Gallardo continued to be worked towards perfection.
The black painted trim around the windshield was heavily swirled and needed to be corrected before the paint could be finally polished and jeweled.
Using the same process as the rest of the paint left the trim perfect.
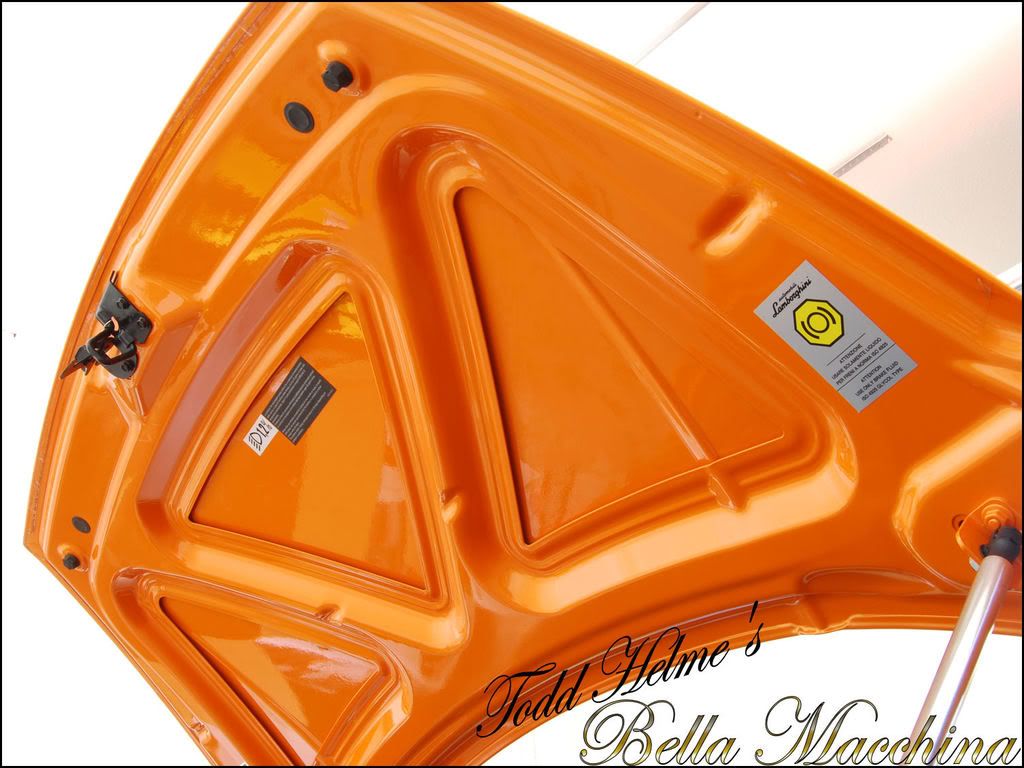
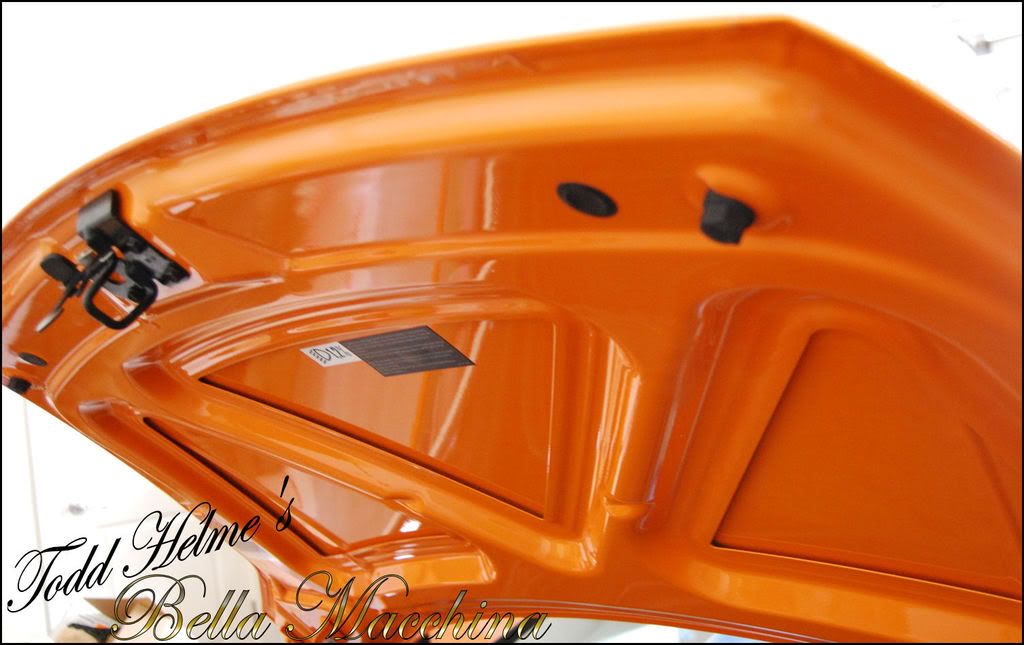
The top was lifted to reveal the black painted panels underneath it. Much the same as the window border, the paint was marred and each side had a light circle from the boot sealing against it.
Circle removed and paint restored.
The the area was jeweled to a perfect shine.
The flash of the camera did commendablele job capturing the defects on the passenger side panel.
Polished and perfect
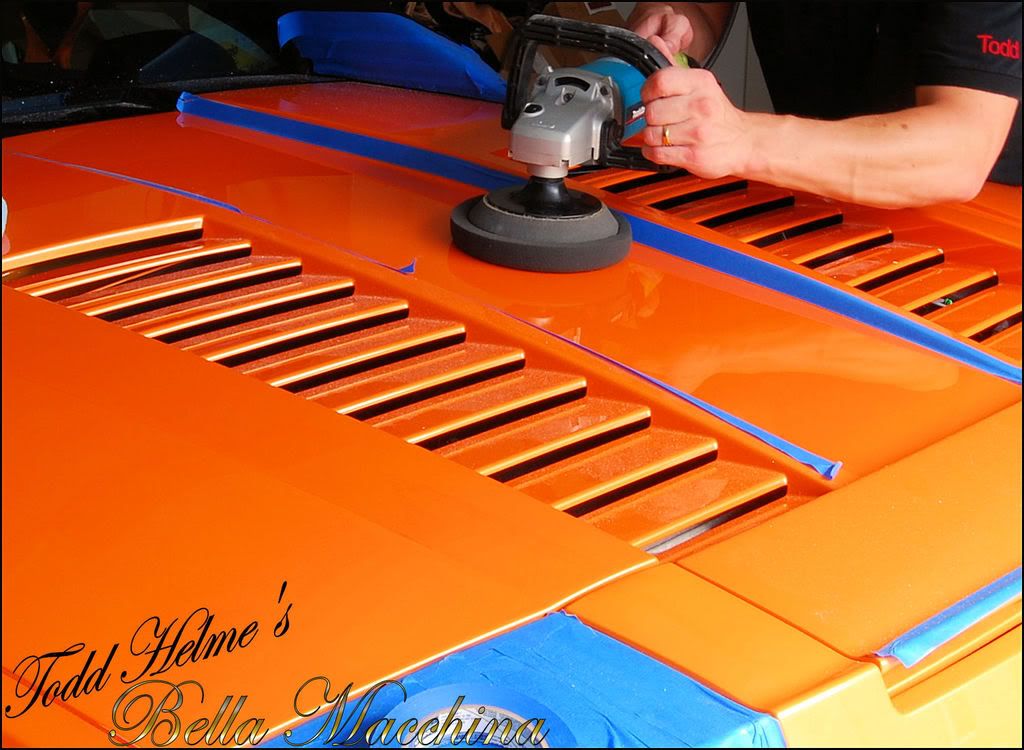
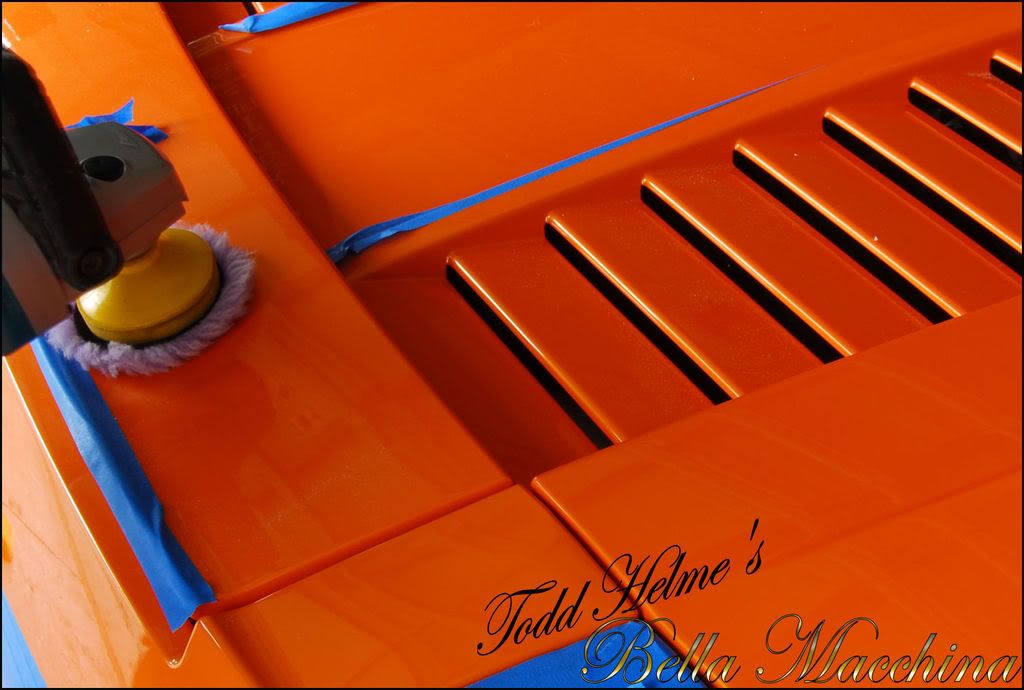
The day grew long as the paint was re-leveled and checked, then jeweled and check. Inch by inch the paint was made perfect. The rear engine cover required a little more work as some water etching had worked its way into the paint. After all was said in done, one more time consuming process wastaringng me in the eyes: The rear vents.
Careful taping prevented anunintentionalal contact with the edge of the pad which cadamageag paint quickly. One by one each vent was corrected, using the same process as used on on the smaller pads.


As the sun started to wane on day three I finished polishing and removed the tape.
The paint was wiped down with Wurths Prep-Solve which is a solvent used to prep panels for repaint. This helped loosen any stubborn oils that could be left behind from the polishing compounds and lead to the appearance of perfect paint. After wiping the paint down and reinspecting (the paint was still perfect) the Gallardo was backed out.
Pressure washing removed all loose dust from body and crevices.
The paint was then cleaned with Meguiars` Super De-greaser (cut 50:1) to completely clean the paint and ensure it is 100% oil free and perfect.
Light aggitation around emblems ensured all dust and particulate from the re-leveling process was removed.
The car was then rinsed again under pressure using de-ionized water.
The car was then blown dry using a 220 mph blower to remove all standing water from the surface, jambs, and creases.
Care was then taken to dry the paint using Zainos Z6 Gloss Enchancing Spray to remove all remaining water. It took over an hour to full dry the Lamborghini properly and ensure no standing water would creep up on the following day when final detailing would take place.
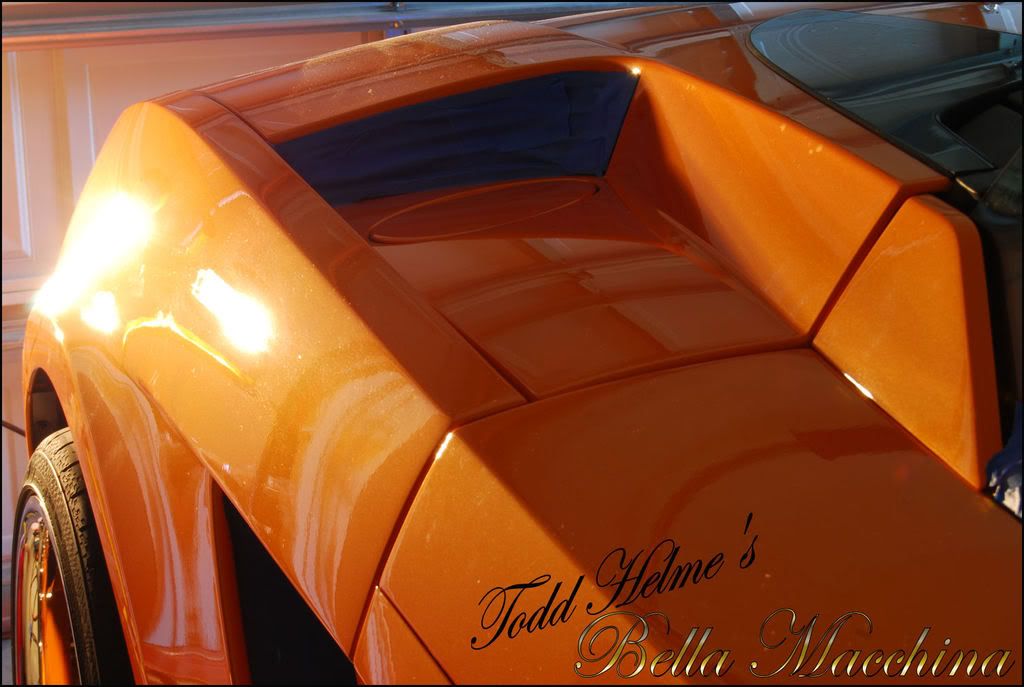
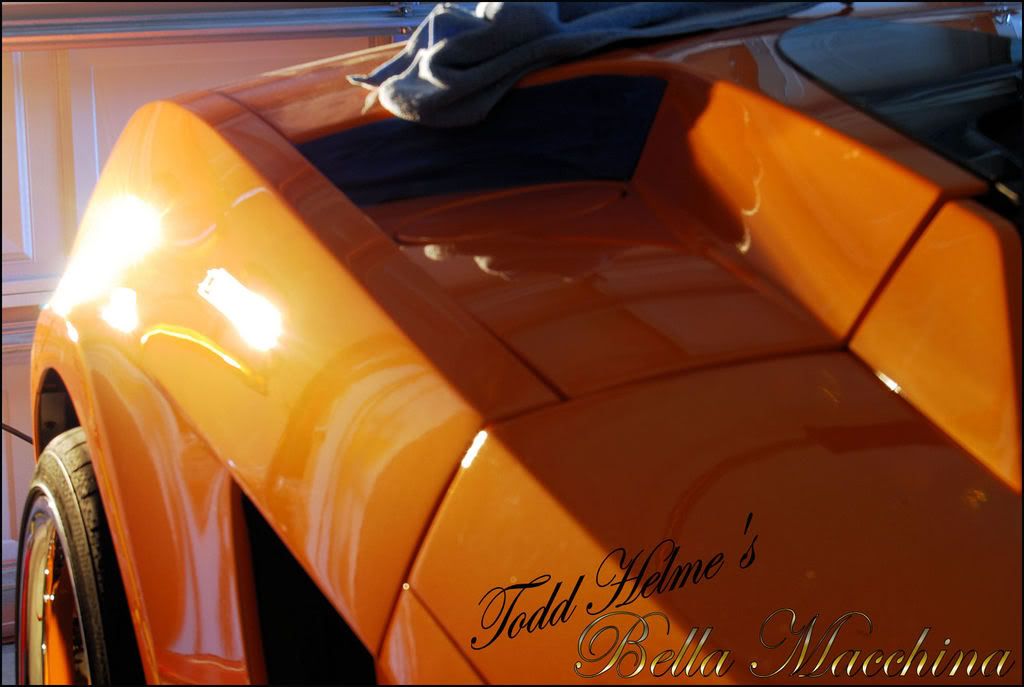
The sun was going down and the sky was getting dark, but I still wanted to take some pictures to show the dramatic improvements that had taken place over the last three days.
-
08-02-2011, 03:39 PM #7Just a regular guy
- Join Date
- Feb 2009
- Location
- Oviedo/Stuart Florida
- Posts
- 15,278
- Post Thanks / Like
Re: Lamborghini Gallardo -330 pics- 5 day detail
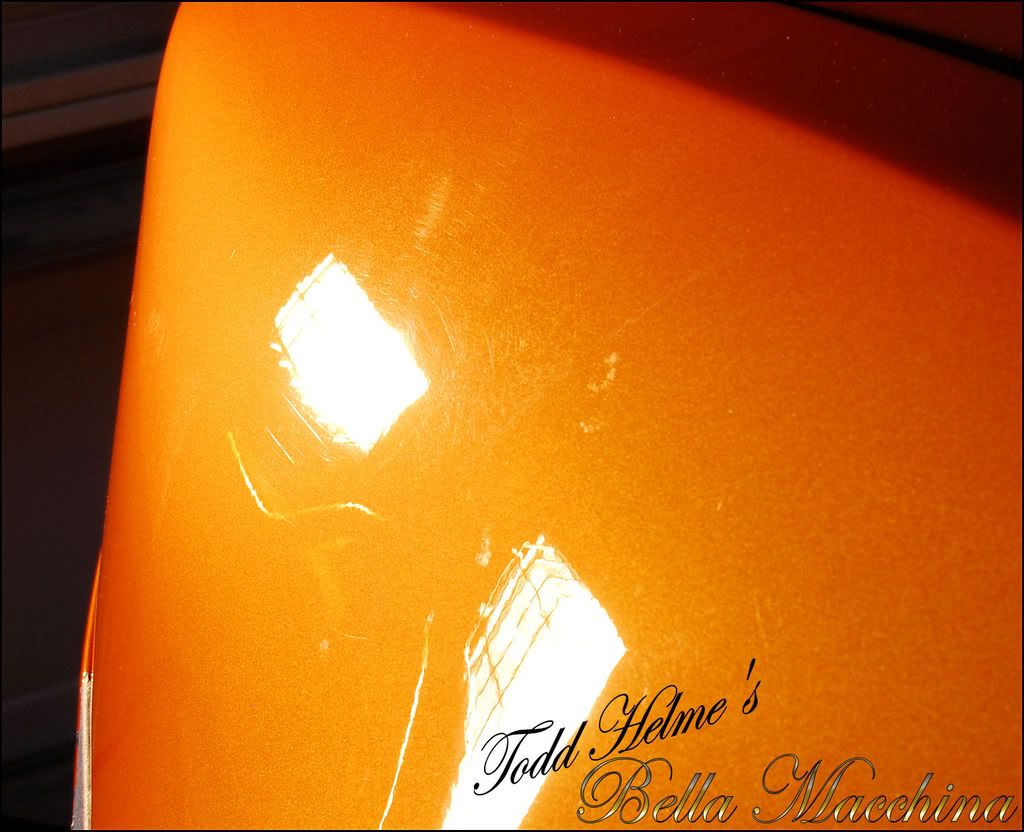
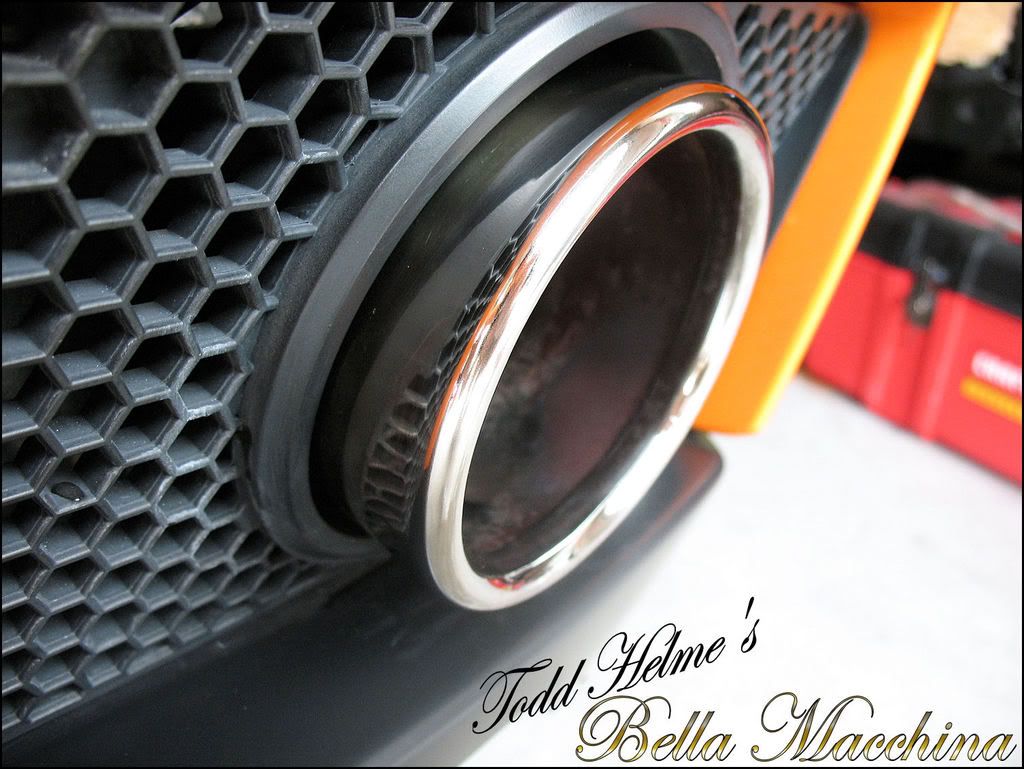
The rear view shows the drivers side trumpet (finished) versus the untouched passenger sides trumpet.
Here is some close ups of the condition of passenger side trumpet. The etching and heat spotting is clearly visible, as well as the tarnished appearance of the metal.
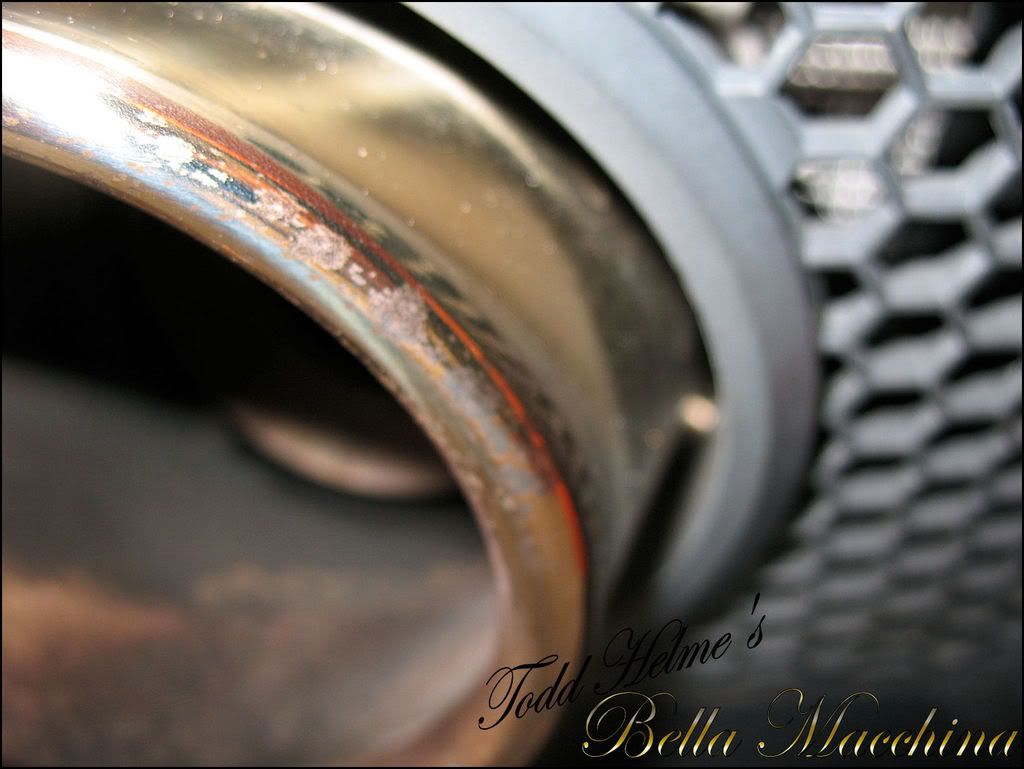
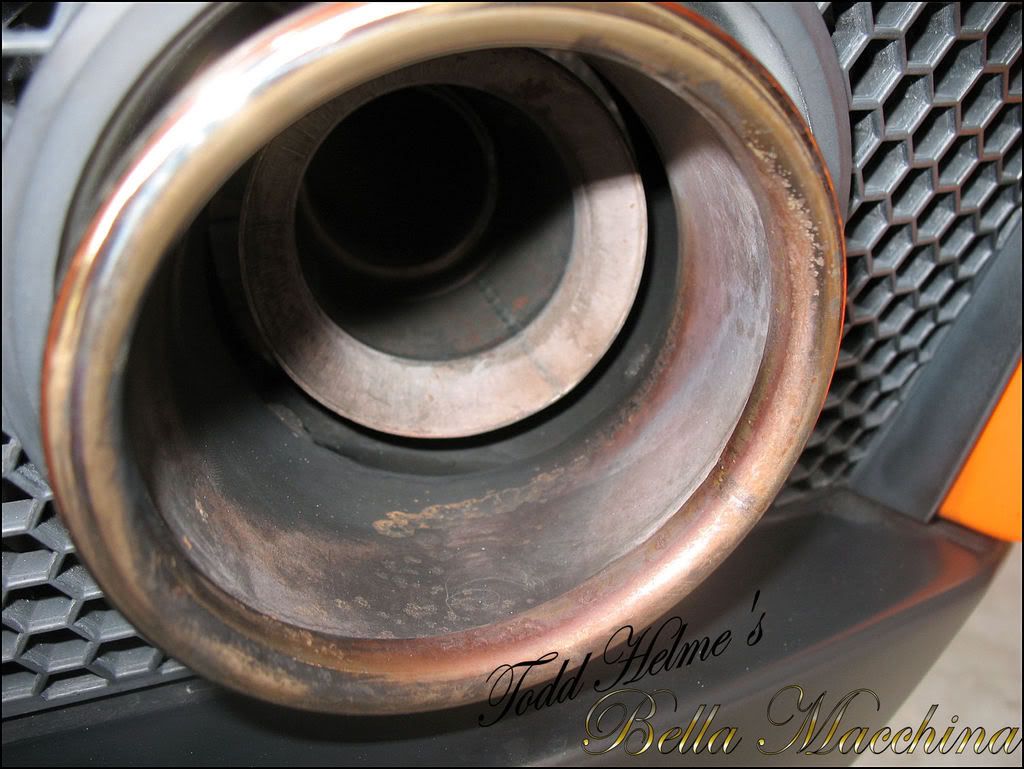
And the after pictures of the same trumpet
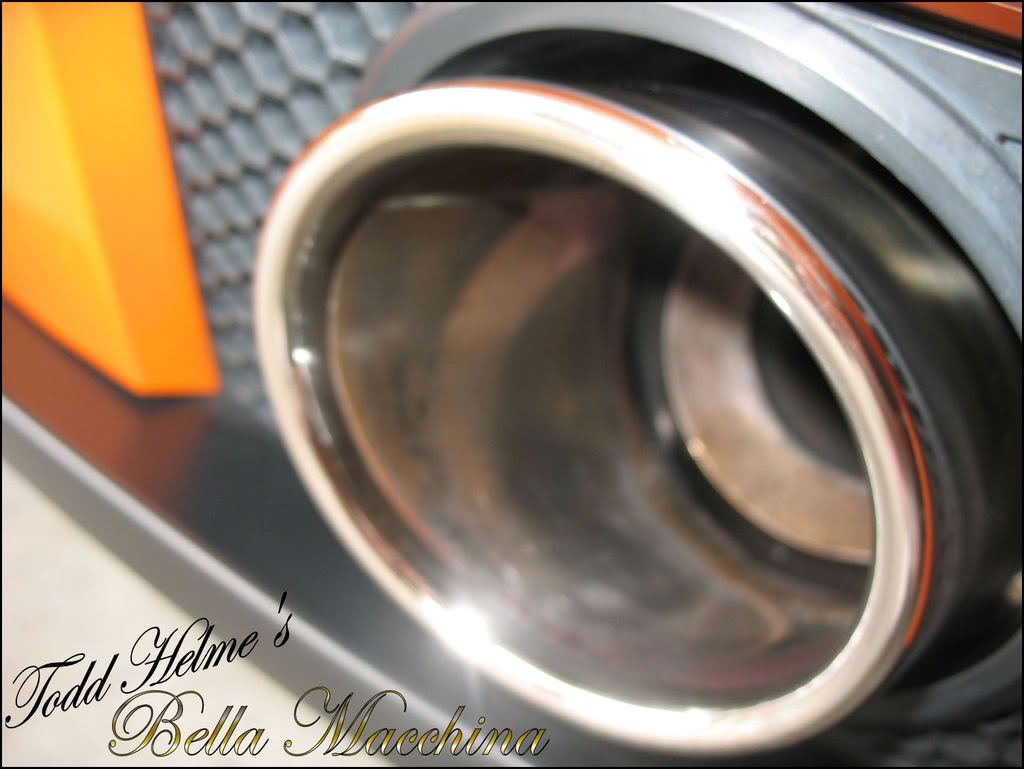
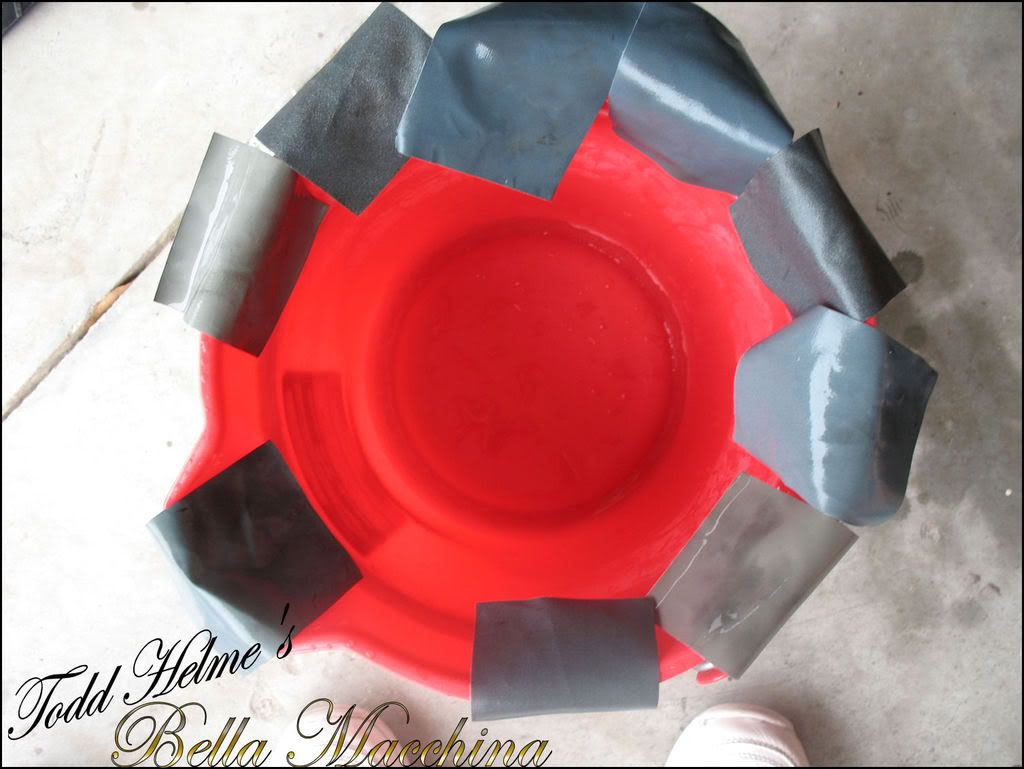
The unique grit of the Micro Abrasive paper increases the durability and break down of the grits, which meant the papers where still textured and generally showed no wear, even after refinishing both sides of the exhaust. I laid them out to dry so I could reuse them when necessary.
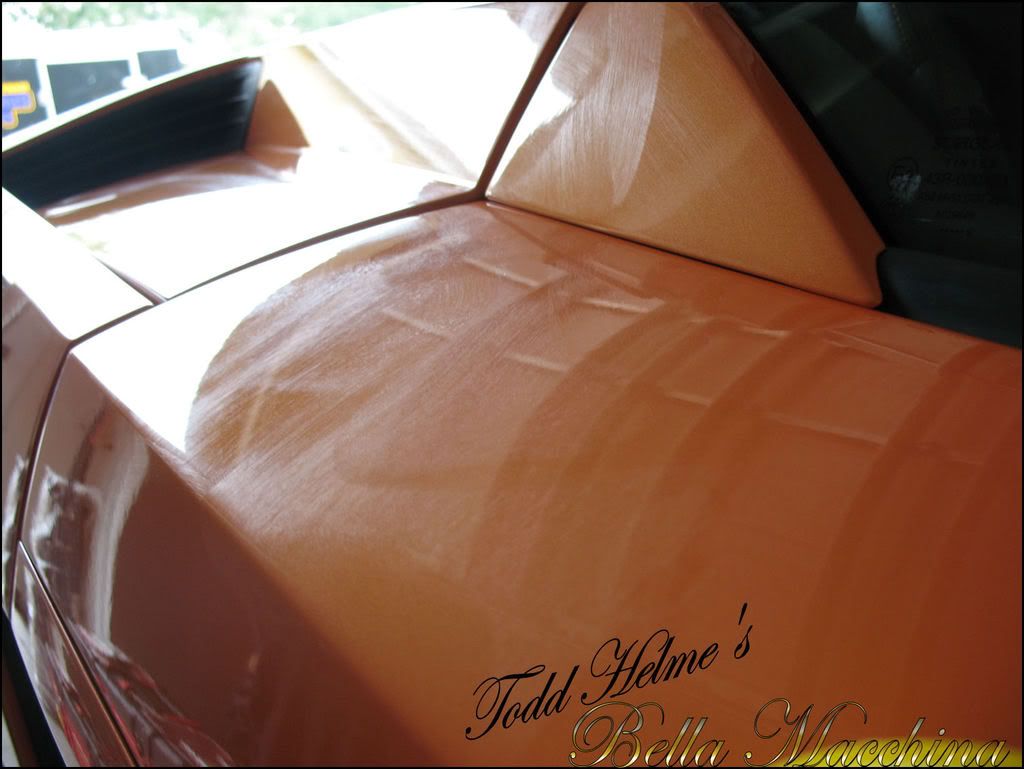
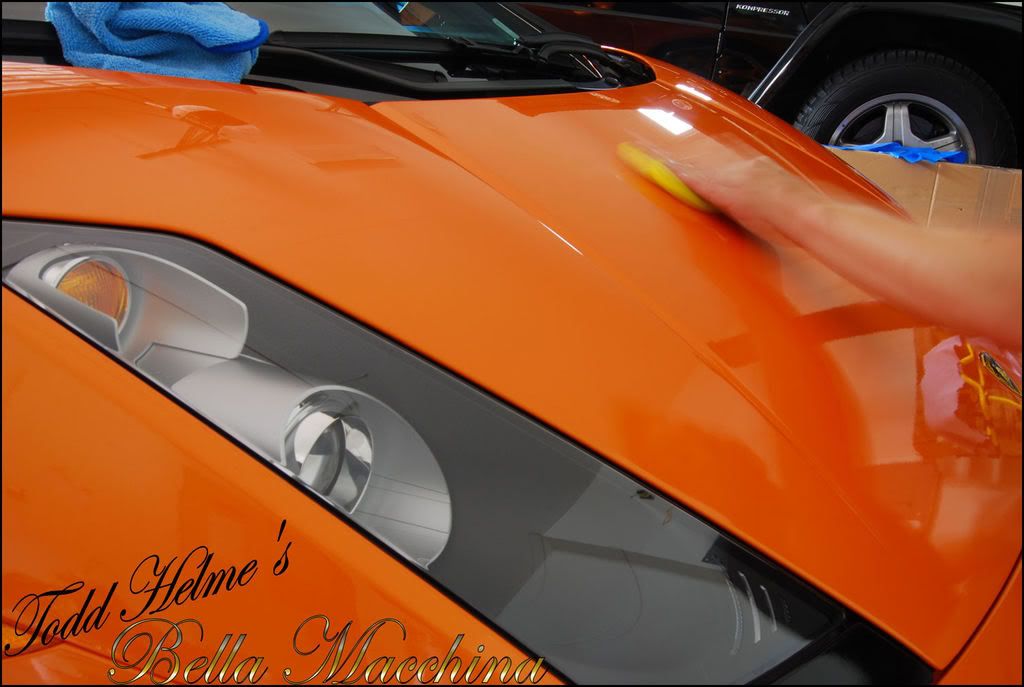
Now was time for the final application of wax. Dodo Juice Super Natural is an expensive, natural wax stuffed with a super high carnauba content and exotic offers. It competes directly against (much) higher priced waxes in terms of ingredient content and refinement and definitely produces an 8000 dollar glow.

Two separate coats (given one hour to harden) where applied to all painted areas as well as the clear-bra on the front and rear haunches.
As the individual coats of Super Natural where allowed to haze and harden I had tended to final details.
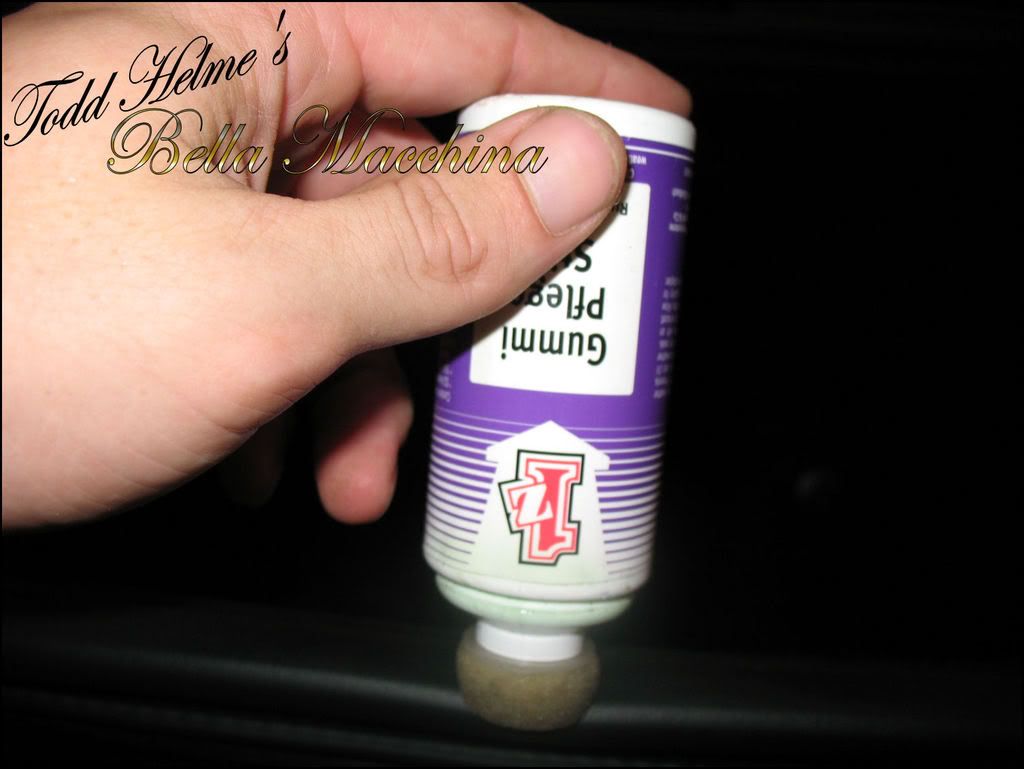
1Z Gummi Phledge was applied to all the soft rubber weather stripping.
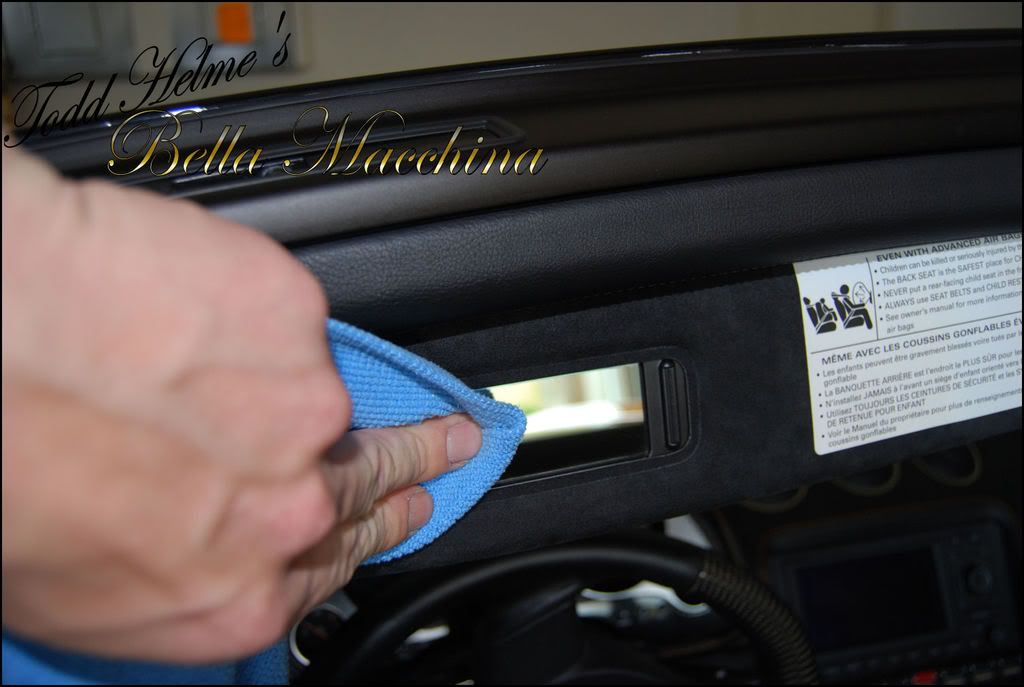
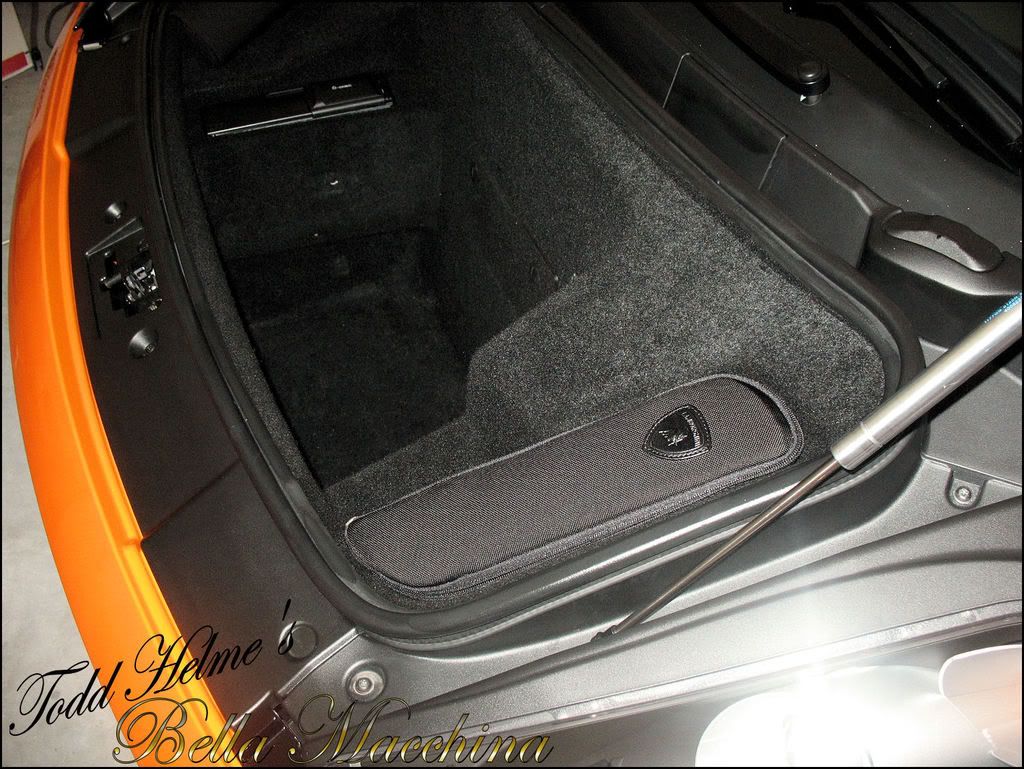
303 Areospace Protectant was applied to all plastic trim in the interior, door shuts, and under the trunk.
Leatherique Rejuvinator Oil had been hand applied on day one and left to set for the last several days, removing a lot of dirt from the pours of the leather and restoring the suppleness to the hide. The contaminated oil was wiped away with Leatherique Prestine Clean. The leather was then treated with 1Zs Leather Phledge to provide UV protection and help seal the soft, revitalized hides.
The leather looked factory new and had a nice, dark look and a soft feel.
I had noticed the day when previous when washing the polishing oils off the automobile that, while improved, the fabric soft top still was not beading water tightly. Two additional coats of RaggTopp where added throughout day four. The top was then lightly misted with de-ionzed water from a sprayer to check for adequate water beading.

The last coat of Super Natural was wiped off at 3:30 PM, making for a grand total of 48 labor hours (44 total hours) into the detail. Done over four days I was exhausted, but as the weather man had promised, the sun began to peak out just as I wiped off the rear fender.
Day Four.
Detail Complete. After Pictures.
Thank you for reading the write up so far and I hope you have enjoyed it. Before closing with a slew of after shots, I would like to post some before pictures from the beginning of the thread to help illustrate the difference.
Day One, 8:30 AM.

-
08-02-2011, 03:42 PM #8Just a regular guy
- Join Date
- Feb 2009
- Location
- Oviedo/Stuart Florida
- Posts
- 15,278
- Post Thanks / Like
Re: Lamborghini Gallardo -330 pics- 5 day detail

Day Four, 4:00 PM. After Pictures.


-
08-02-2011, 03:43 PM #9Just a regular guy
- Join Date
- Feb 2009
- Location
- Oviedo/Stuart Florida
- Posts
- 15,278
- Post Thanks / Like
Re: Lamborghini Gallardo -330 pics- 5 day detail

In closing this was a very challenging detail. Thank you to Eric The Hurk for coming through big, again! I hope you guys enjoyed this detail as it was very time consuming. The write up itself (between sorting through 400 pictures, resizing each one, adding a water mark, and the text) took almost 20 hours.
Questions and comments are welcome, and appreciated!
Todd
-
08-02-2011, 03:45 PM #10Just a regular guy
- Join Date
- Feb 2009
- Location
- Oviedo/Stuart Florida
- Posts
- 15,278
- Post Thanks / Like
Re: Lamborghini Gallardo -330 pics- 5 day detail
Professional Photographs
-
08-02-2011, 04:10 PM #11Detailing the Gulf Coast

- Join Date
- Dec 2010
- Location
- Pensacola, FL
- Posts
- 167
- Post Thanks / Like
Re: Lamborghini Gallardo -330 pics- 5 day detail
STELLAR!...as always
20hr for the write up? I`m scared to ask what the final tally was on the man hours....?
-
08-02-2011, 04:16 PM #12Just a regular guy
- Join Date
- Feb 2009
- Location
- Oviedo/Stuart Florida
- Posts
- 15,278
- Post Thanks / Like
Re: Lamborghini Gallardo -330 pics- 5 day detail
Thank you. Some of my write ups have now blossomed to over 40 hours. All I can do is shake my head at myself. (Namely the 458 wetsand and the Bugatti Veyron). Originally Posted by vitalcarcare

-
08-02-2011, 04:34 PM #13CCH Auto Appearance, LLC

- Join Date
- Jul 2003
- Location
- Lansing, MI USA
- Posts
- 8,783
- Post Thanks / Like
Re: Lamborghini Gallardo -330 pics- 5 day detail
Not that we didn`t all know it before, Todd, but I`ll say it anyway. You`re INSANE!
 Charlie
Automotive Appearance Specialist - Serving Greater Lansing, Michigan
http://www.cchautoappearance.com/
-
08-02-2011, 04:46 PM #14
- Join Date
- Jun 2009
- Location
- LI
- Posts
- 4,448
- Post Thanks / Like
Re: Lamborghini Gallardo -330 pics- 5 day detail
Loved it just as much this time as I did 2 years ago! Good Job!
-
08-02-2011, 04:55 PM #15

- Join Date
- Jun 2011
- Posts
- 424
- Post Thanks / Like
Re: Lamborghini Gallardo -330 pics- 5 day detail
Agreed. lol


 Reply With Quote
Thread Information
Users Browsing this Thread
There are currently 1 users browsing this thread. (0 members and 1 guests)
Similar Threads
-
2004 Lamborghini Gallardo Detail
By Thomas Dekany in forum Click & Brag -The Detailers ShowcaseReplies: 16Last Post: 10-29-2011, 09:58 AM -
Lamborghini Gallardo Spider Detail
By Prism in forum The Detailers ShowcaseReplies: 2Last Post: 07-05-2010, 05:49 AM -
`08 Lamborghini Gallardo Spyder detail
By 1 Clean WS6 in forum Click & Brag -The Detailers ShowcaseReplies: 28Last Post: 09-19-2009, 10:43 PM -
extreme detail : Lamborghini Gallardo
By extreme-detail in forum Click & Brag -The Detailers ShowcaseReplies: 12Last Post: 05-07-2008, 08:34 PM -
Silver Lamborghini Gallardo Detail (25 Pics)
By Rickrack in forum Click & Brag -The Detailers ShowcaseReplies: 17Last Post: 09-26-2007, 01:20 PM
Bookmarks