

Grab a snack and your favorite beverage... this is going to be a long one. `Thanks for your patience!
`
`
This was a special detail for me, not only because the car is mine but for quite a few reasons I will mention as this C-n-B moves along.
`
(I apologize for the pictures... this solid red was really hard to photograph. `Sometimes I had to washout the picture to capture defects... so the red paint is going to take on many different shades.)
`
`
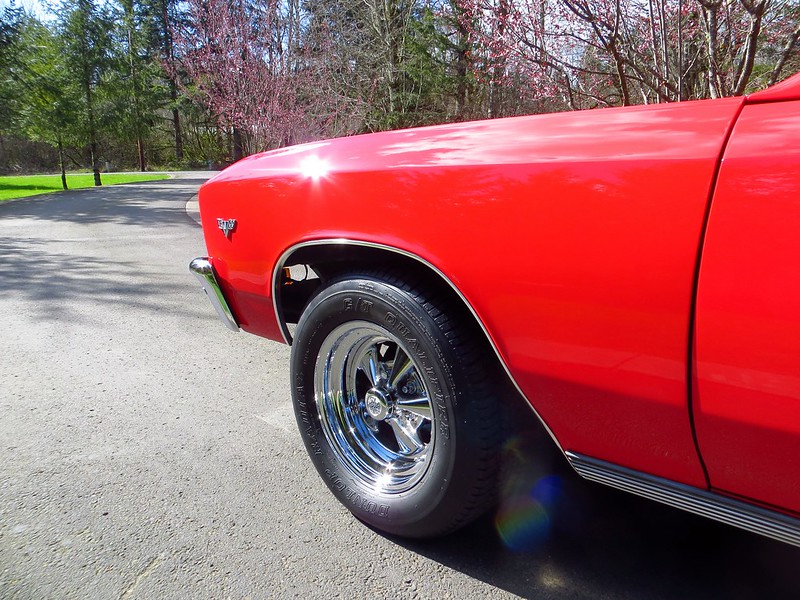
<span style="font-family:georgia, serif;">The Chevelle`s condition after sitting unused for almost 4 years...
IMG_7272 by GabeDellinger, on Flickr
`
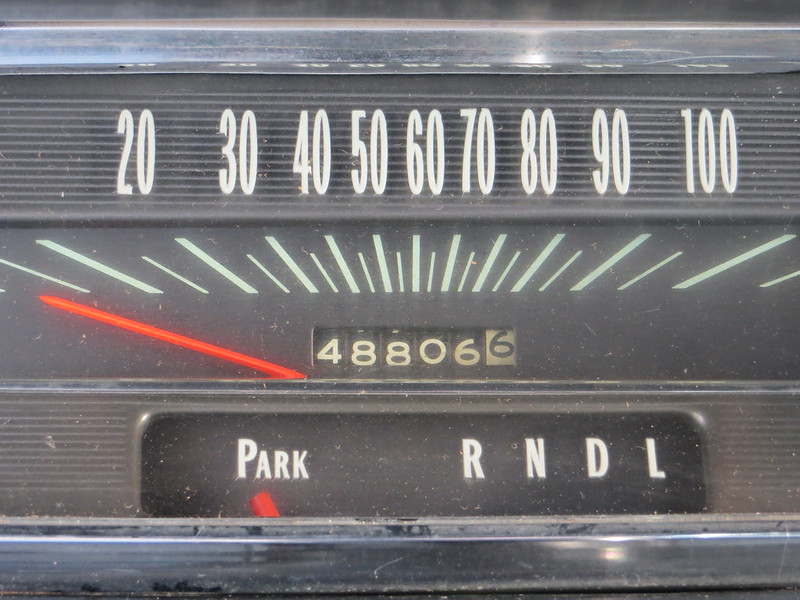
My dad purchased the car back in 1994 for $2,500 out of California. `Quite a bit to give, then, for a Malibu. `However, the car was low milage with 37,000 on the odometer. `It does have some interesting options... factory A/C, factory tinted glass, factory smog pump (removed but still have the unit and special headers) and some nasty, nasty, undercoating. `The odometer now reads...
`
IMG_7306 by GabeDellinger, on Flickr
`
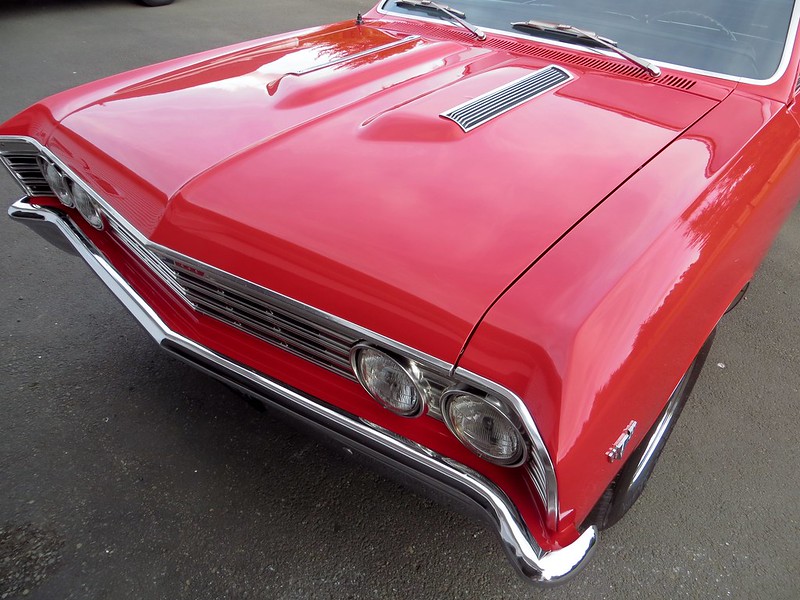
<span style="font-family:georgia, serif;">Original T-3 headlight...(3 of them are still OEM to the car.)
IMG_7520 by GabeDellinger, on Flickr
`
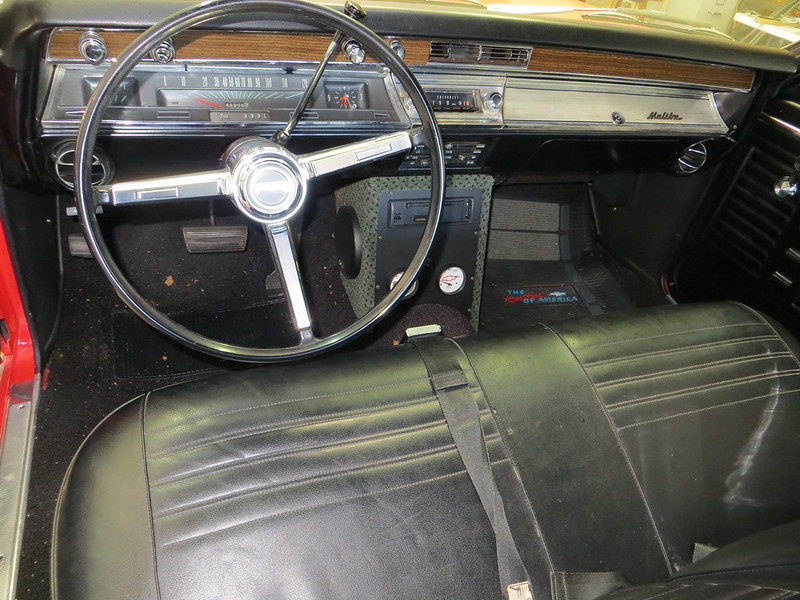
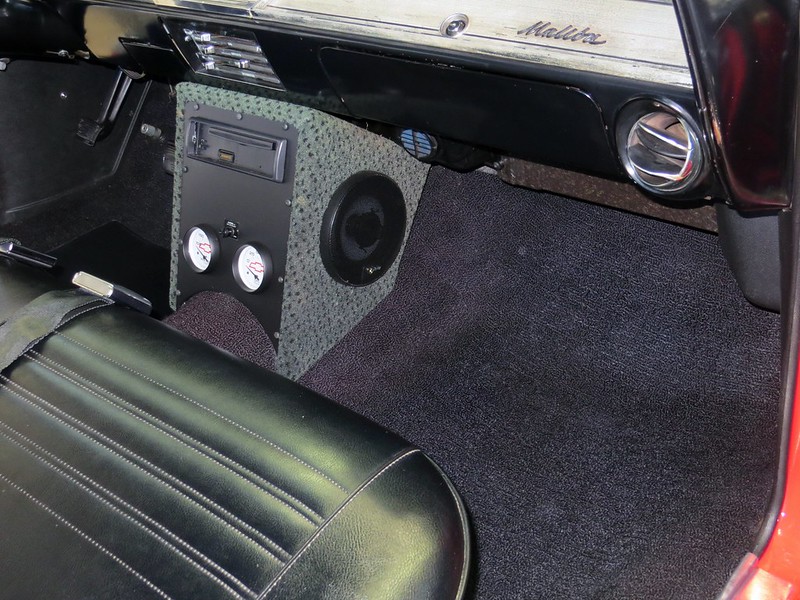
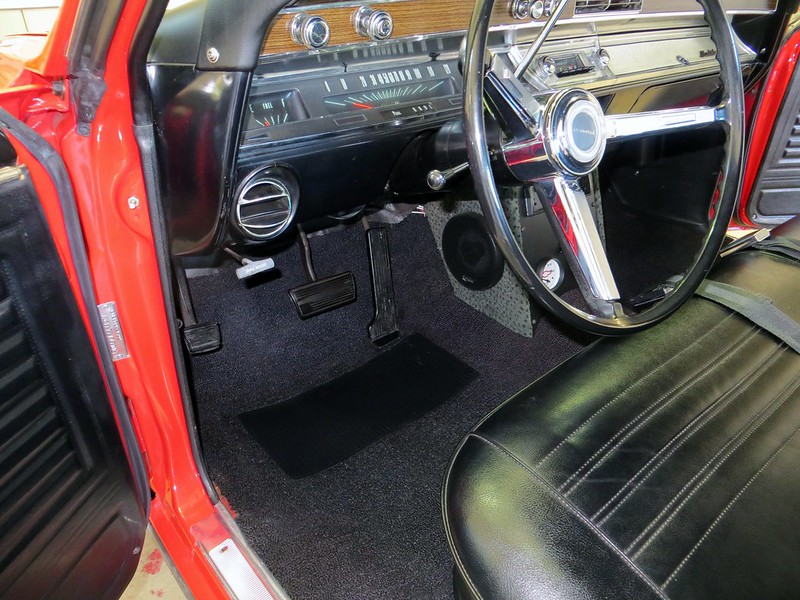
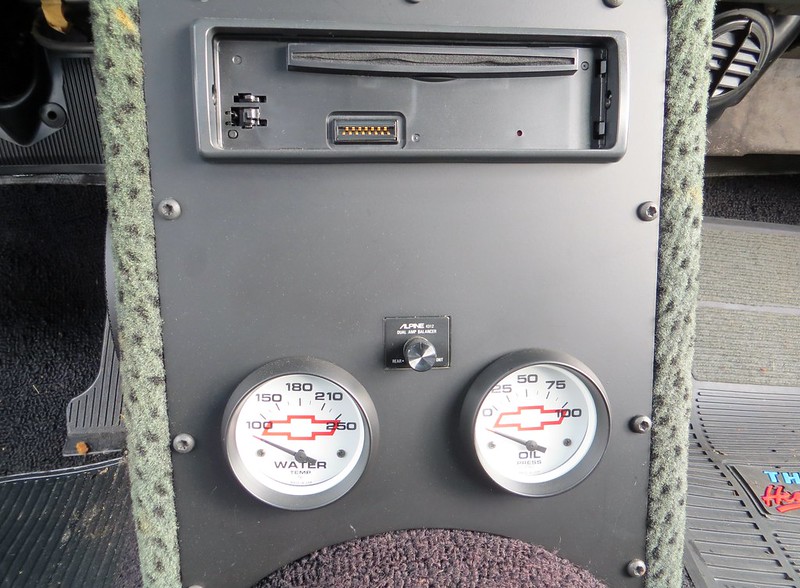
<span style="font-family:georgia, serif;">Here is a center console my dad made... the carpet surrounding the sides appears a feint green... it`s faded over time and used to be a dark grey.
IMG_7311 by GabeDellinger, on Flickr
`
The original color was `Granada Gold`. `I was a freshman in high school when my family took possession of it. `Boy, was I underwhelmed when I first saw the car.... especially when I was wanting a `69 Camaro SS/ 4-speed. `It had hubcaps, ugly gold paint, and a 283, 2 barrel 195hp version and a 2-speed Powerglide auto. `(We ended up putting new rings, bearings, aluminum intake, Carter AFB, and a very mild camshaft to spruce up the 283.)
`
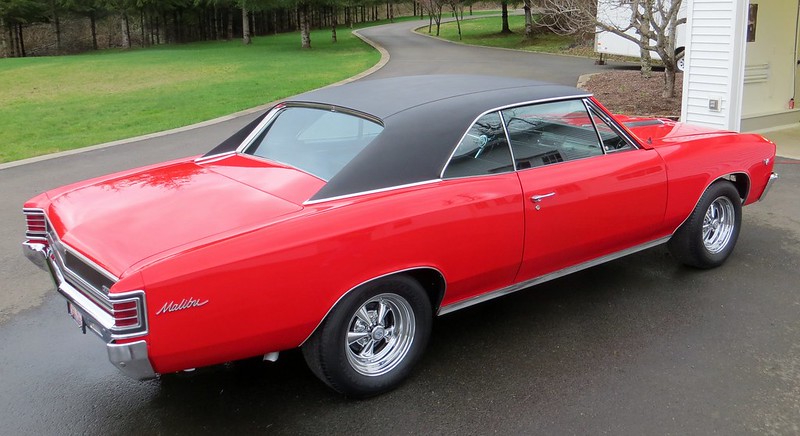
My dad and I spent a solid 4 years on the car. `Every weekend we worked on it. `I can`t say it was fun then... but now I`m a car nut. `The paint and bodywork took 18 months. `There was one quarter that had been hit but there were no rust problems or need for patch panels anywhere. `The floor pans were solid so there wasn`t anything too crazy regarding body work. `As you have probably already noted, we exchanged the Malibu trim for SS stuff. `We even located NOS OEM `67 Chevelle SS trim from a local Chevy parts dealer on Swan Island in Portland, OR. `The SS hood was an OEM piece but it looked like a heard of elephants walked on it. `There`s lots of body filler.
`
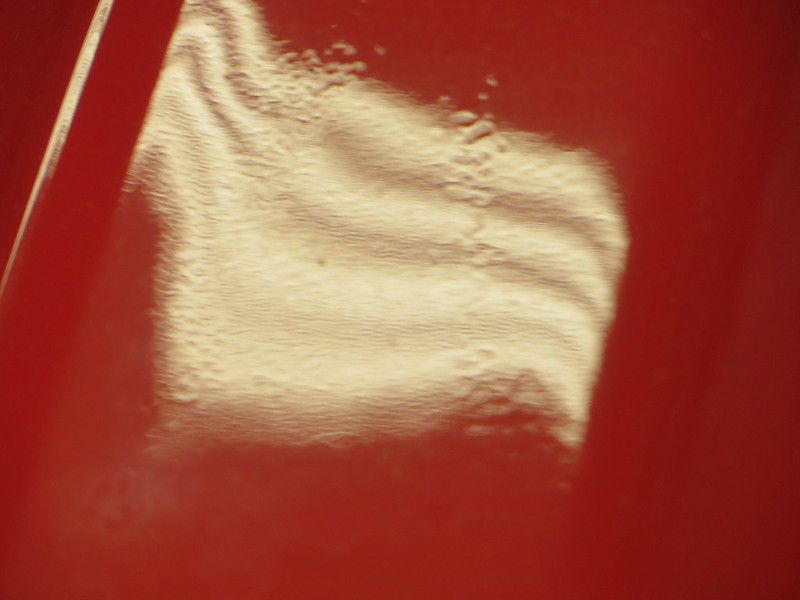
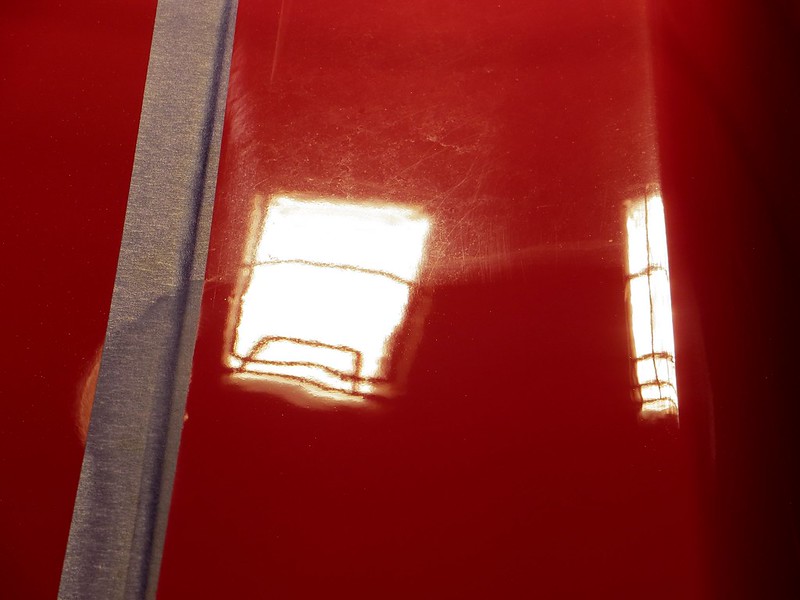
<span style="font-family:georgia, serif;">Hood... texture of paint showing shrinking/ sinking of body filler. `These appeared about 2 years after painting.
IMG_7336 by GabeDellinger, on Flickr
`
We built a makeshift down-draft paint booth in our attached garage with filters, fans, lights, etc... `My dad chose to spray Porsche Guard`s Red using the DuPont Chromabase paint system. `
`
By now, you are beginning to understand why the detail was special. `The car I`m presenting today was where I learned some fundamentals on bodywork, block sanding, wet sanding, and high-speed buffing. `It`s kind of neat to look back and see just `how horrible` some of my work was. `But that`s ok. `I love the car, love the time I spent working on it, and love the lessons it taught me. `Moreover, I`m highly impressed my father let me make some of my own mistakes... and you`ll see them I move forward through this project.
`
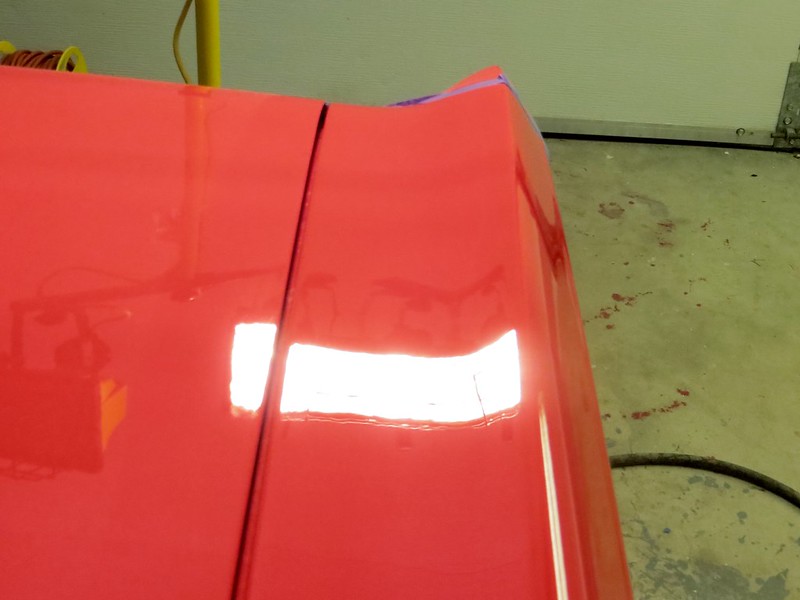
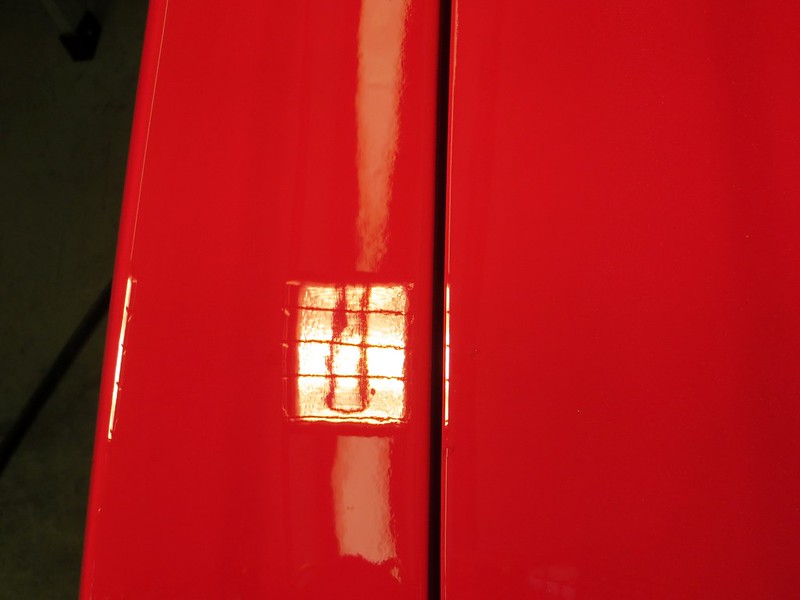
<span style="font-family:georgia, serif;">Here`s my first ever strike through circa 1998. `I laughed pretty hard when I was getting ready to correct the rear decklid and found it... what was I thinking buffing that edge! `
IMG_7630 by GabeDellinger, on Flickr
`
`
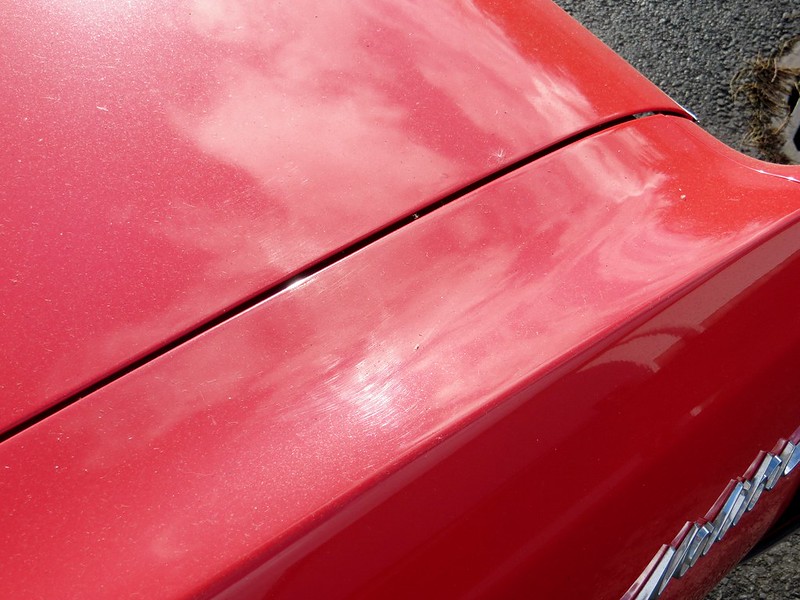
<span style="font-family:georgia, serif;">Sun inspection, prior to wash/ decon...
IMG_7265 by GabeDellinger, on Flickr
`
IMG_7271 by GabeDellinger, on Flickr
`
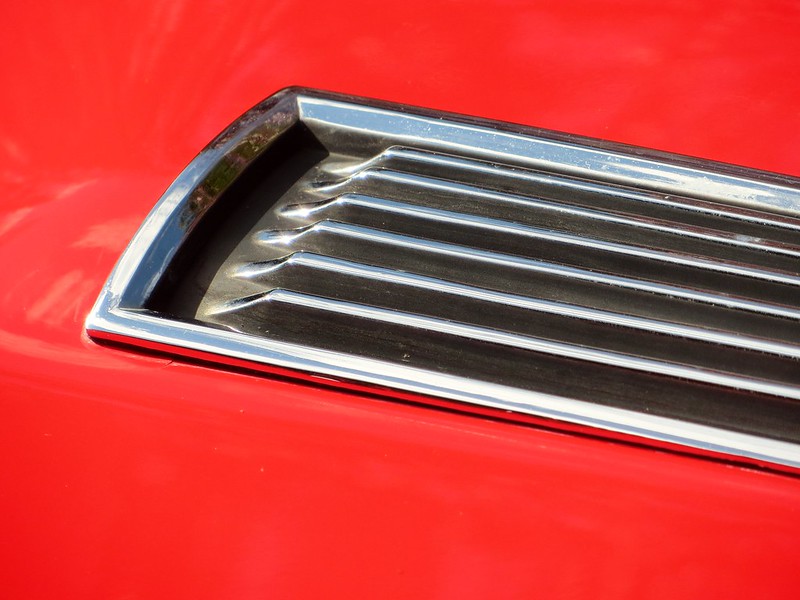
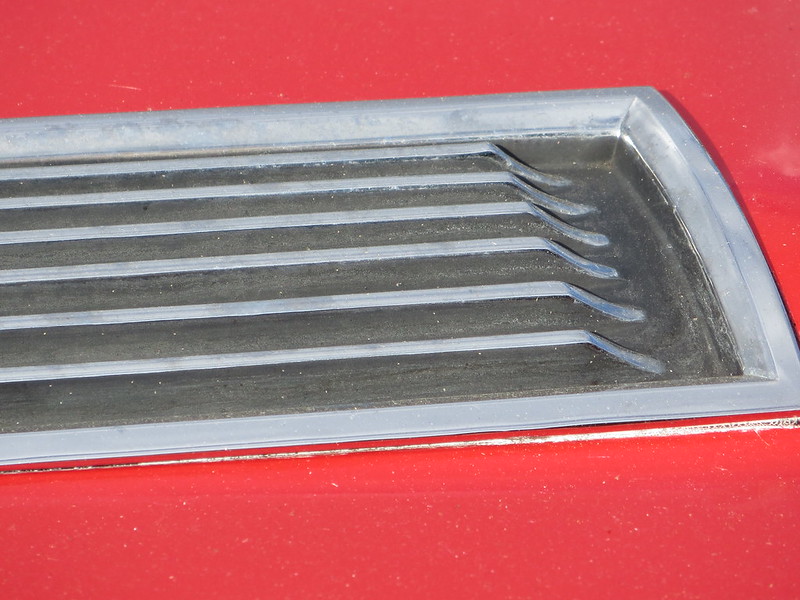
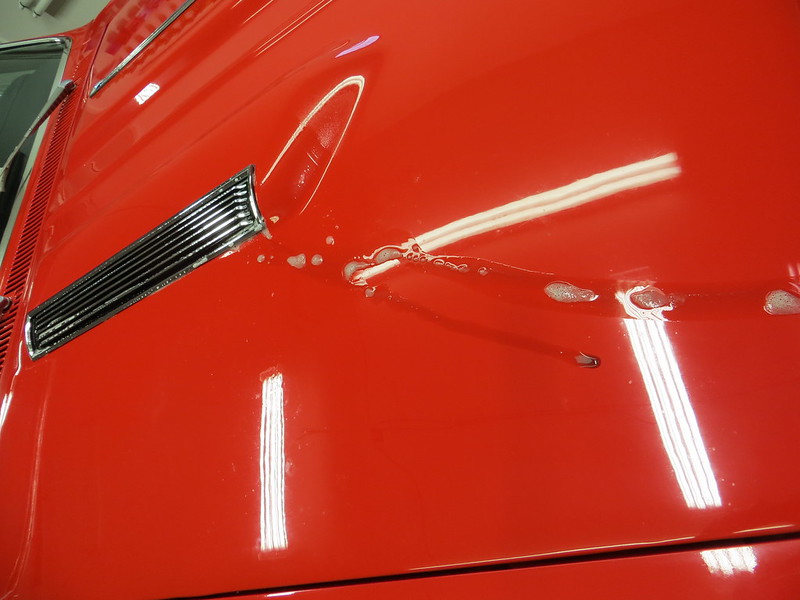
<span style="font-family:georgia, serif;">Hood louver inserts looking weathered... with some old wax residue
IMG_7301 by GabeDellinger, on Flickr
`
IMG_7302 by GabeDellinger, on Flickr
`
`
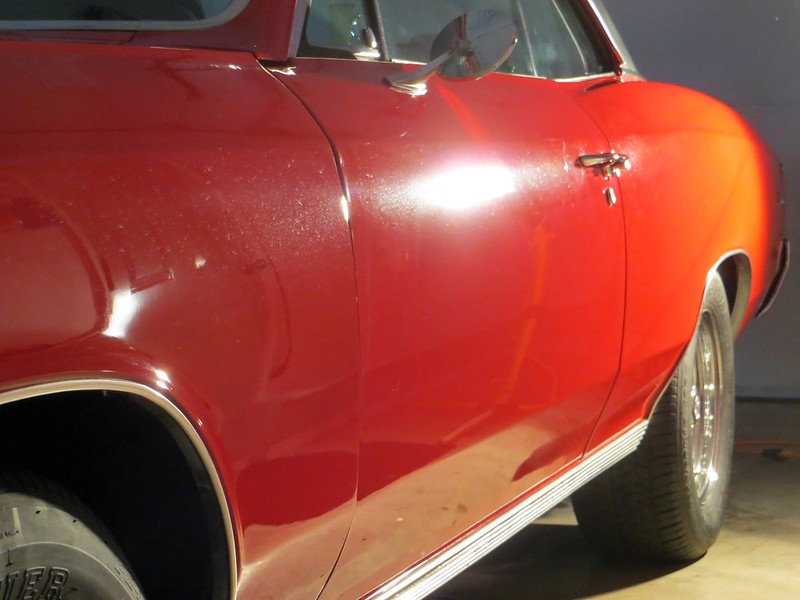
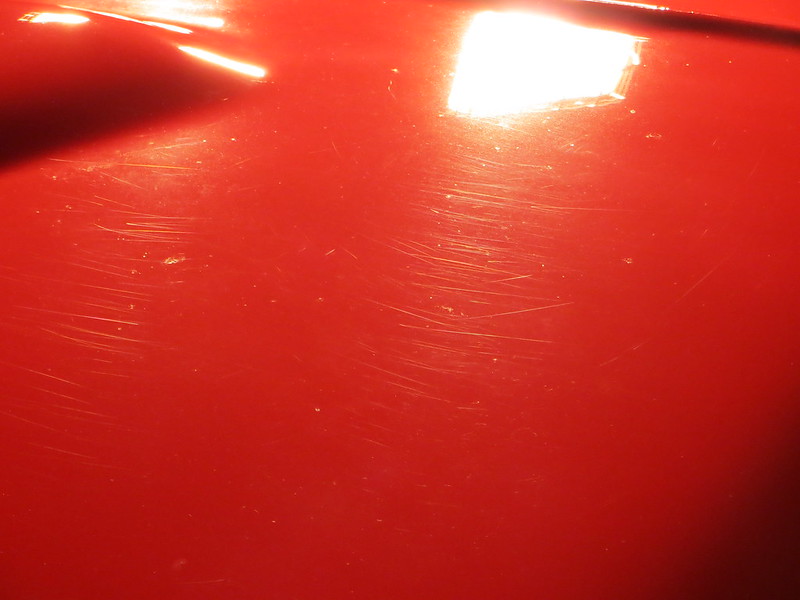
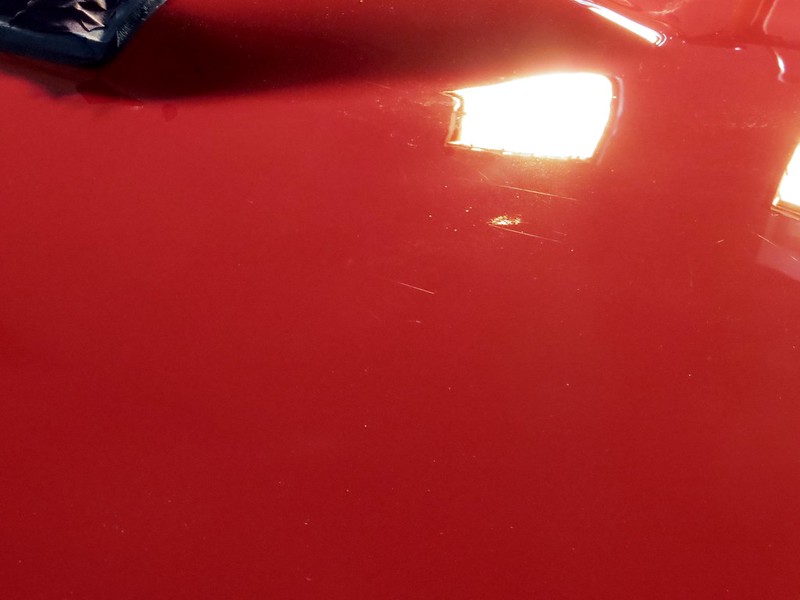
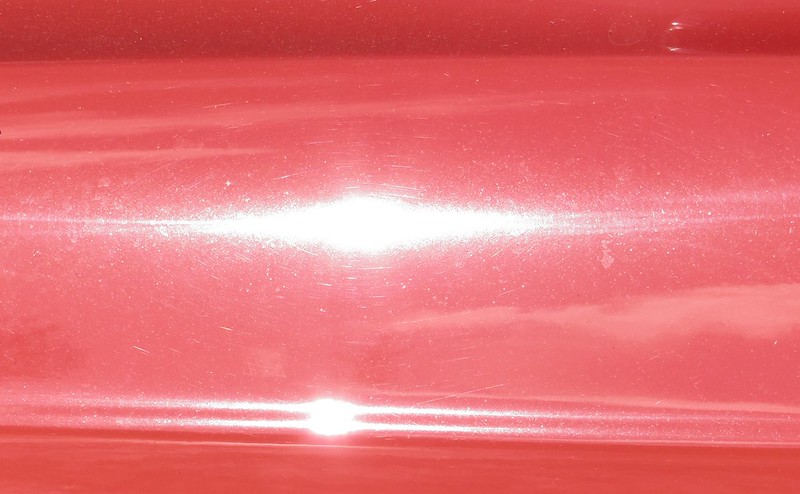
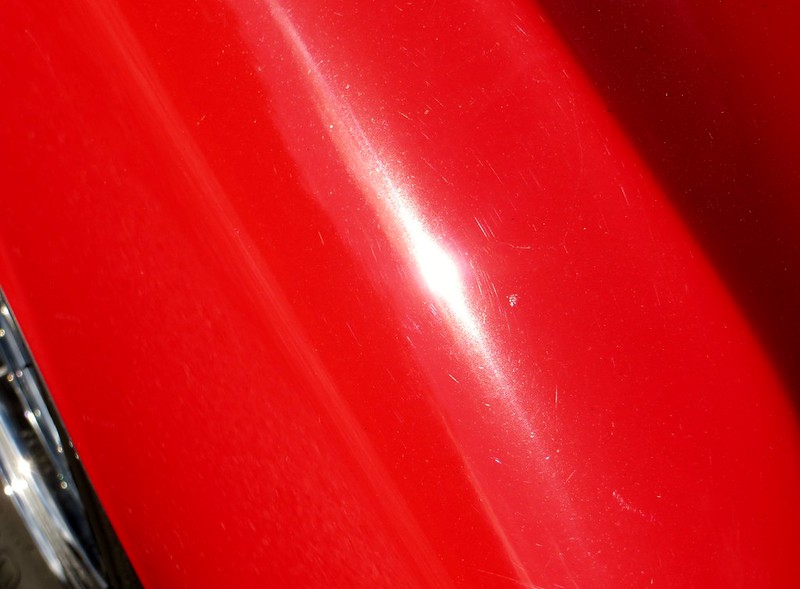
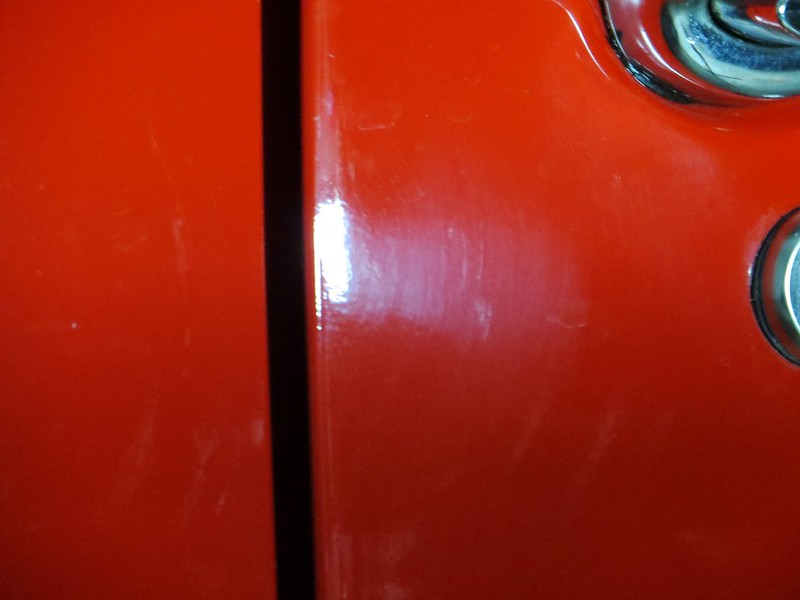
<span style="font-family:georgia, serif;">Driver`s side rear quarter showing sanding marks which were never removed in 1998
IMG_7276 by GabeDellinger, on Flickr
`
`
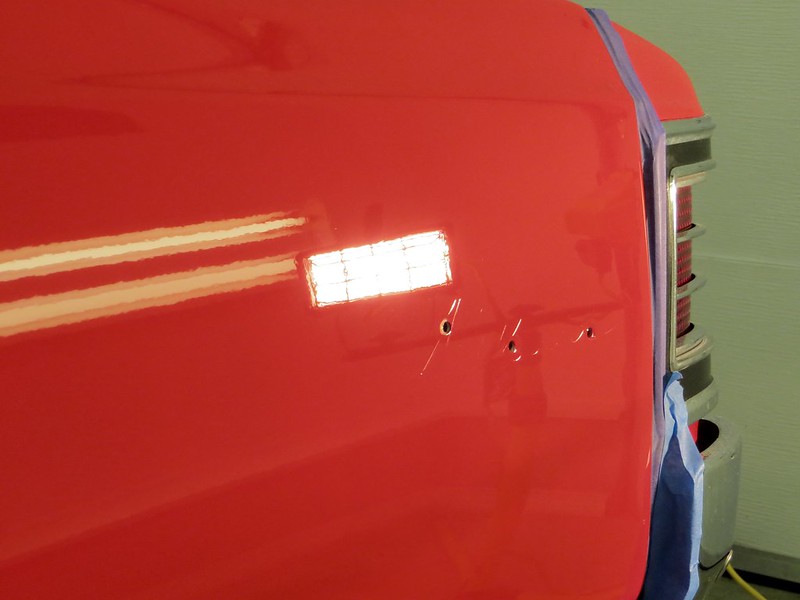
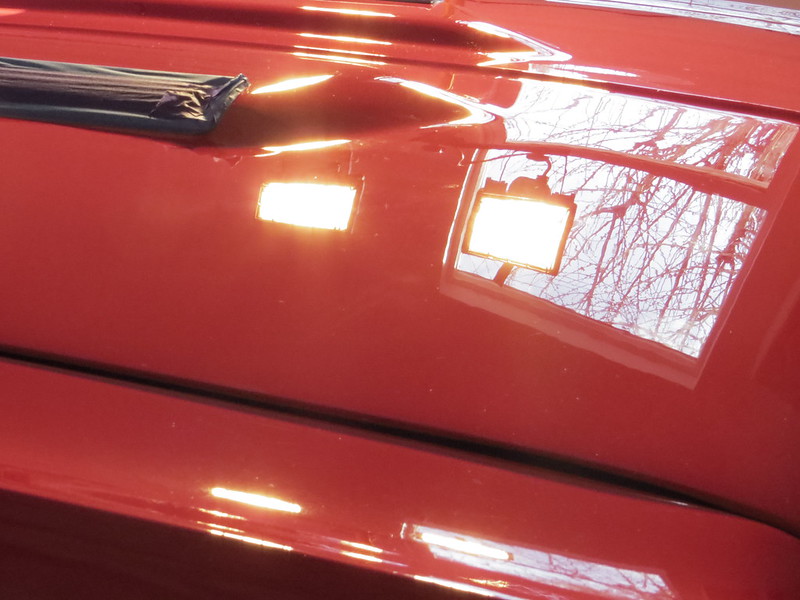
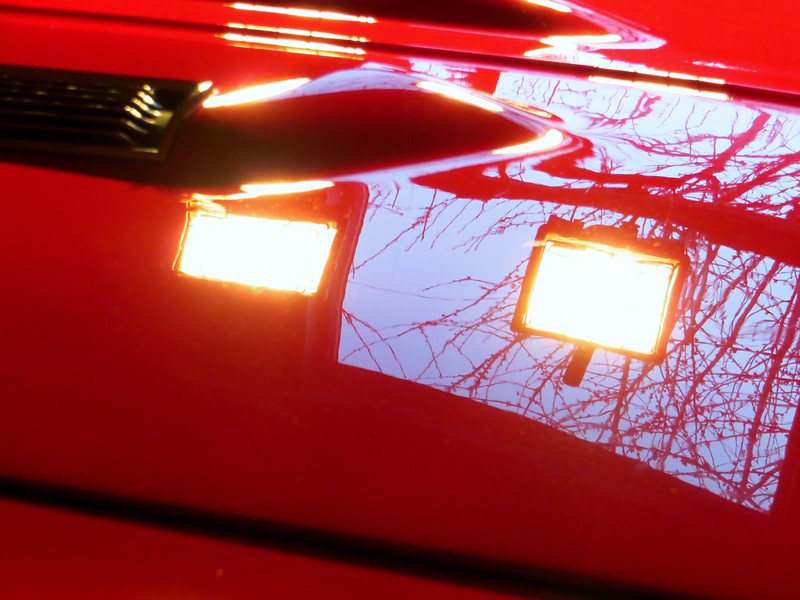
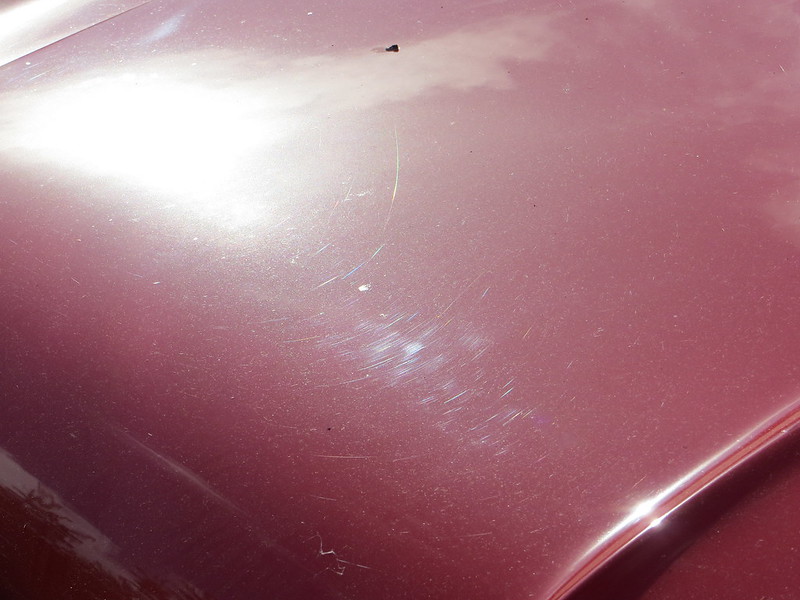
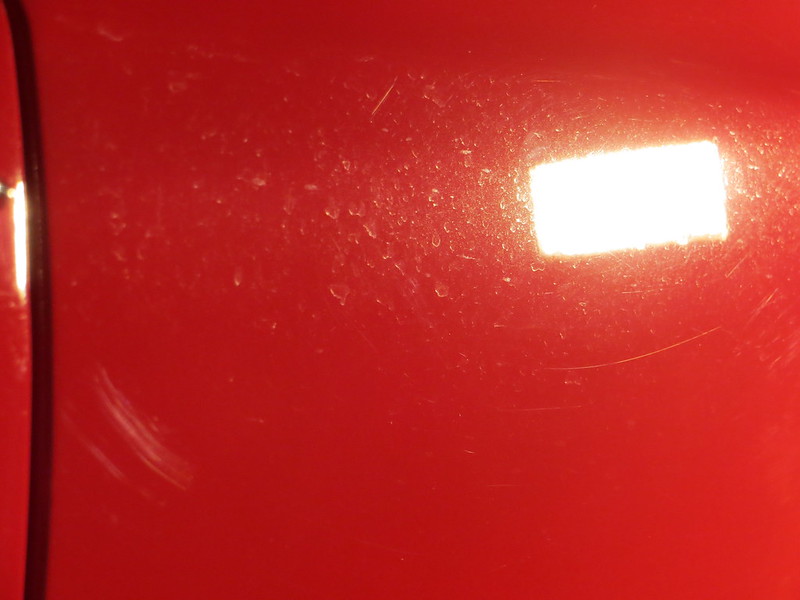
<span style="font-family:georgia, serif;">Hood showing damage from car cover`
IMG_7275 by GabeDellinger, on Flickr
`
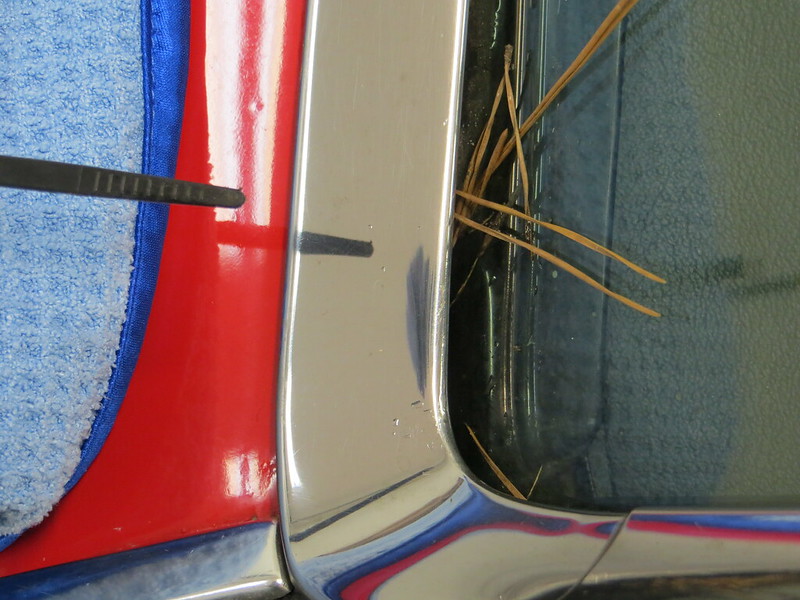
âA`cobweb`here... a cobweb there
IMG_7270 by GabeDellinger, on Flickr
`
IMG_7326 by GabeDellinger, on Flickr
`
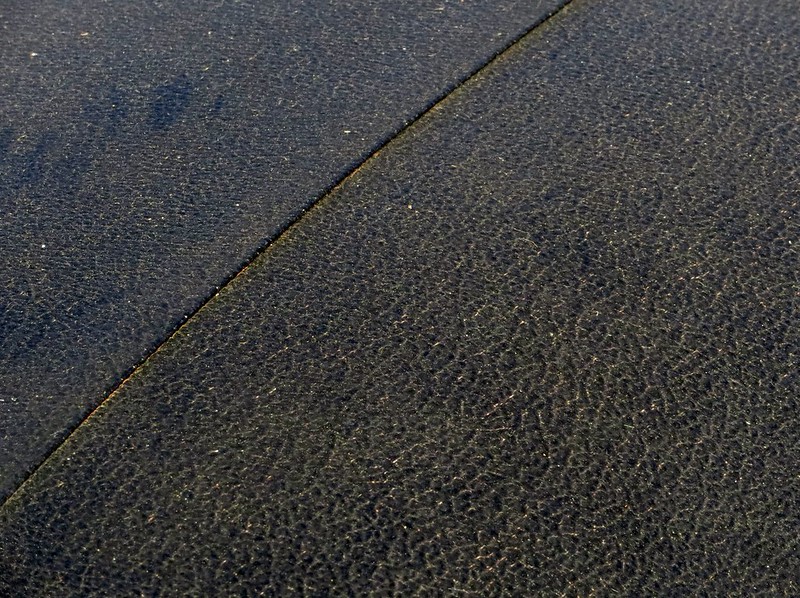
<span style="font-family:georgia, serif;">Condition of original vinyl top...
IMG_7286 by GabeDellinger, on Flickr
`
IMG_7287 by GabeDellinger, on Flickr
`
Wash/Decon-
`
Meg`s Rinse Free Express Wash (GDM)
Meg`s APC 10:1 & 5:1
Various brushes
Goof off
Meg`s Mirror Glaze Clay, medium
Meg`s Last Touch 1:1
`
<span style="font-family:georgia, serif;">I usually pre-spray the panel and then wipe...
IMG_7381 by GabeDellinger, on Flickr
`
IMG_7371 by GabeDellinger, on Flickr
`
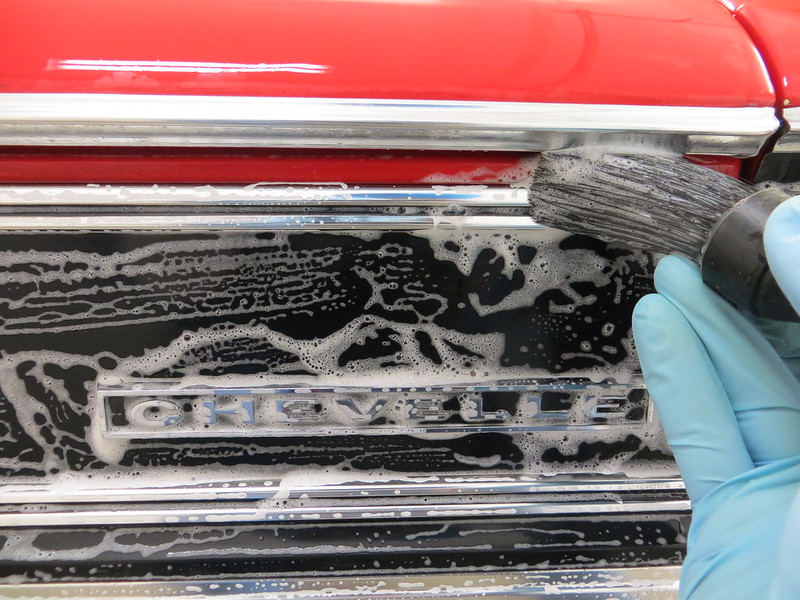
<span style="font-family:georgia, serif;">Quite a bit of brush work...
IMG_7375 by GabeDellinger, on Flickr
`
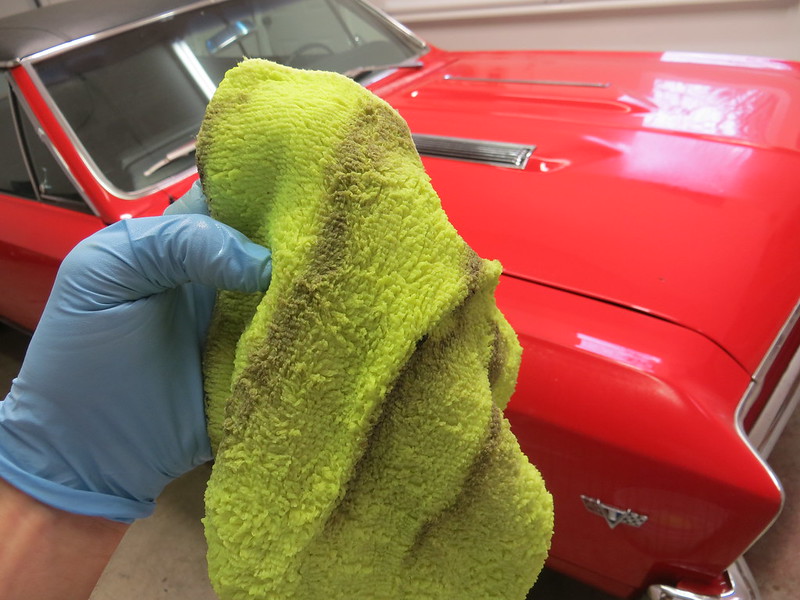
<span style="font-family:georgia, serif;">Dirty!
IMG_7380 by GabeDellinger, on Flickr
`
IMG_7392 by GabeDellinger, on Flickr
`
IMG_7399 by GabeDellinger, on Flickr
`
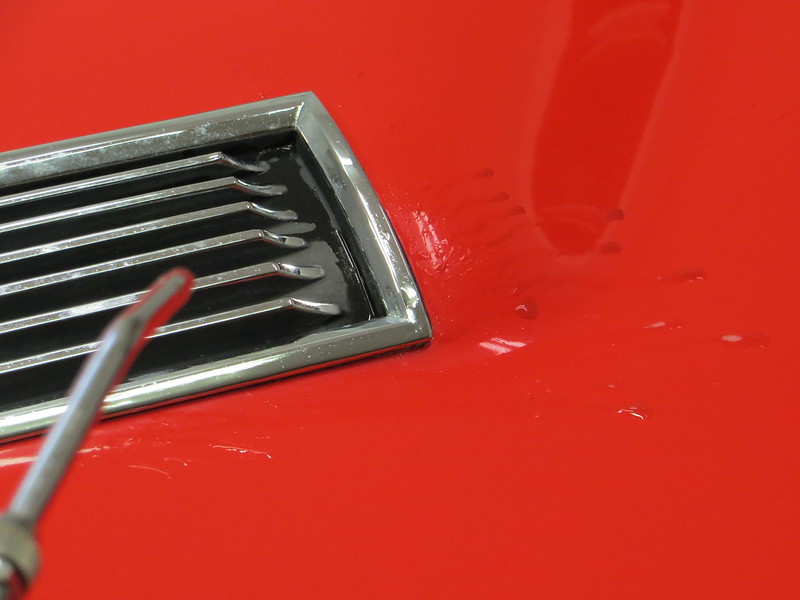
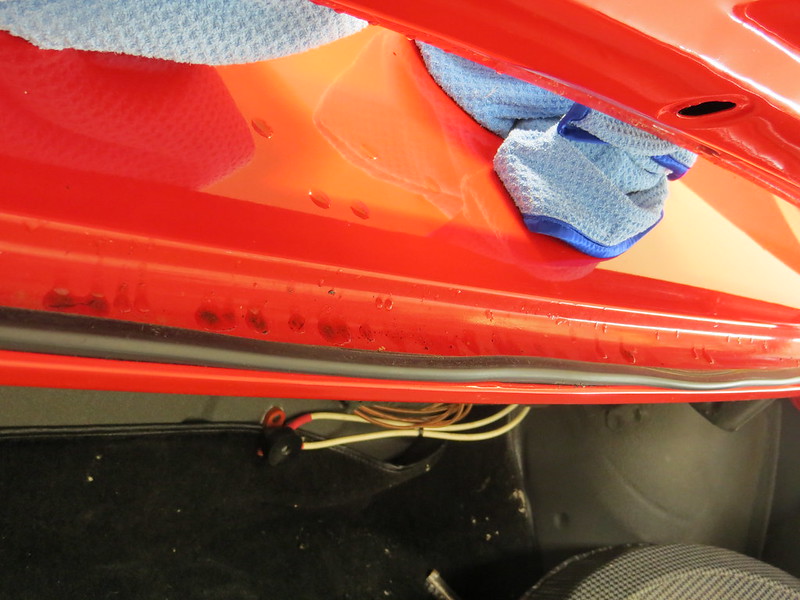
<span style="font-family:georgia, serif;">Quite a bit of `air` work... (I find it imperative to use compressed air to get all the water and soap out of trim/ crevices/ etc... all pictures showing places after being dried... amazing what`s left behind in trim areas on older classics. `Another reason I do rinseless washes exclusively on these types.)
IMG_7390 by GabeDellinger, on Flickr
`
IMG_7385 by GabeDellinger, on Flickr
`
IMG_7400 by GabeDellinger, on Flickr
`
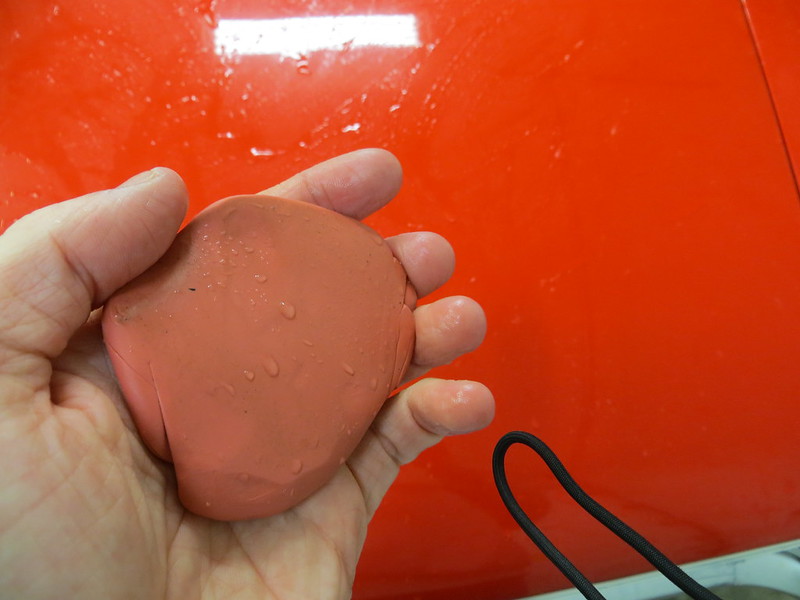
<span style="font-family:georgia, serif;">Clay didn`t pick up much... but then again, the car hasn`t been driven extensively
IMG_7433 by GabeDellinger, on Flickr
`
<span style="font-family:georgia, serif;">More goodies as I worked around the car, working wash, bush, air, and clay a panel at a time...
IMG_7424 by GabeDellinger, on Flickr
`
IMG_7423 by GabeDellinger, on Flickr
`
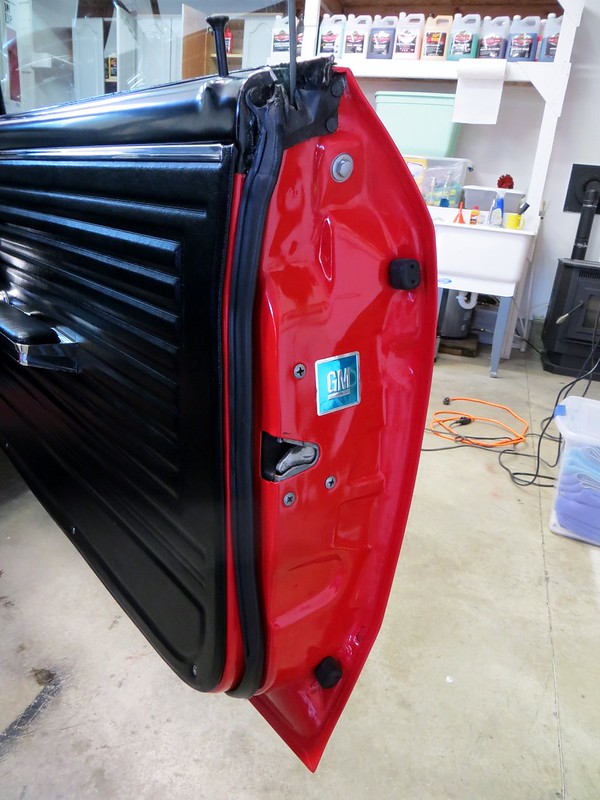
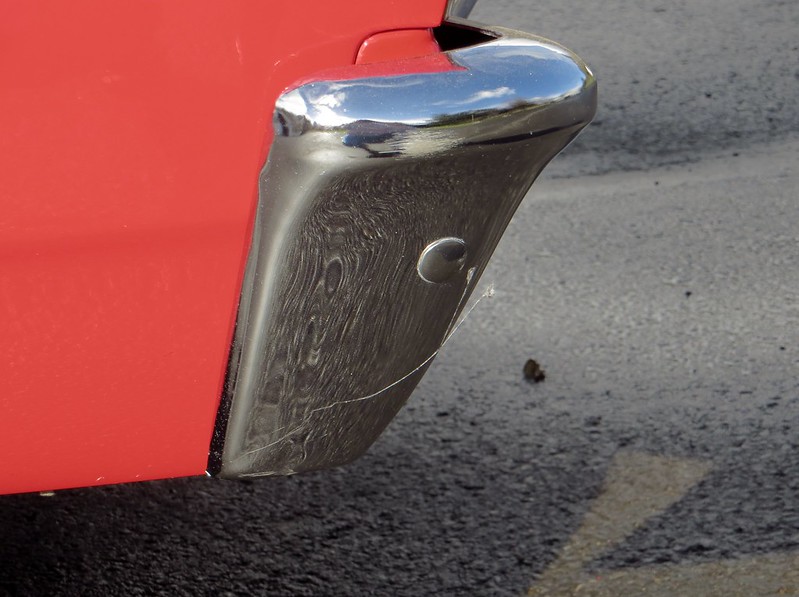
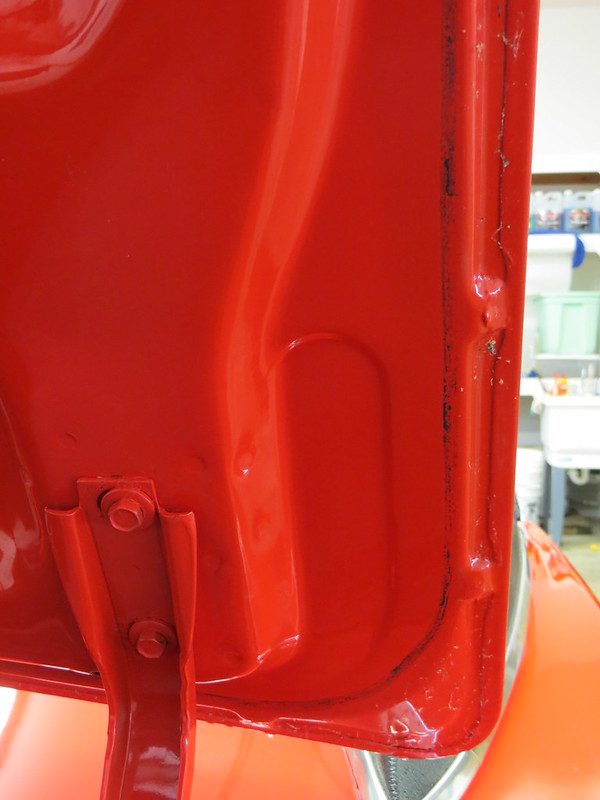
<span style="font-family:georgia, serif;">And bottom of the decklid and jambs received some attention... (black `ring` is weather stripping trasnfer)
IMG_7404 by GabeDellinger, on Flickr
`
IMG_7406 by GabeDellinger, on Flickr
`
<span style="font-family:georgia, serif;">Meg`s Rinse Free Wash... doing it`s thang
IMG_7409 by GabeDellinger, on Flickr
`
<span style="font-family:georgia, serif;">Called in some Goof Off and a foam pad...
IMG_7415 by GabeDellinger, on Flickr
`
<span style="font-family:georgia, serif;">All better
IMG_7421 by GabeDellinger, on Flickr
`
`
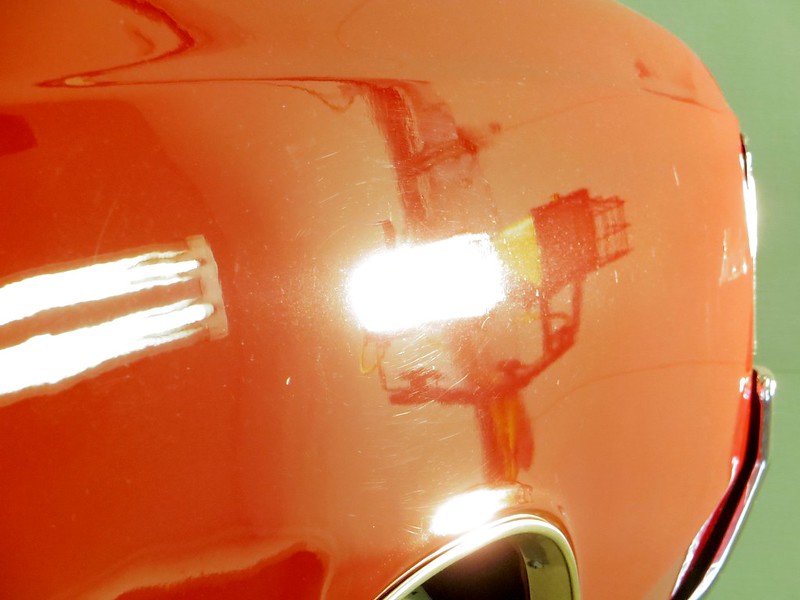
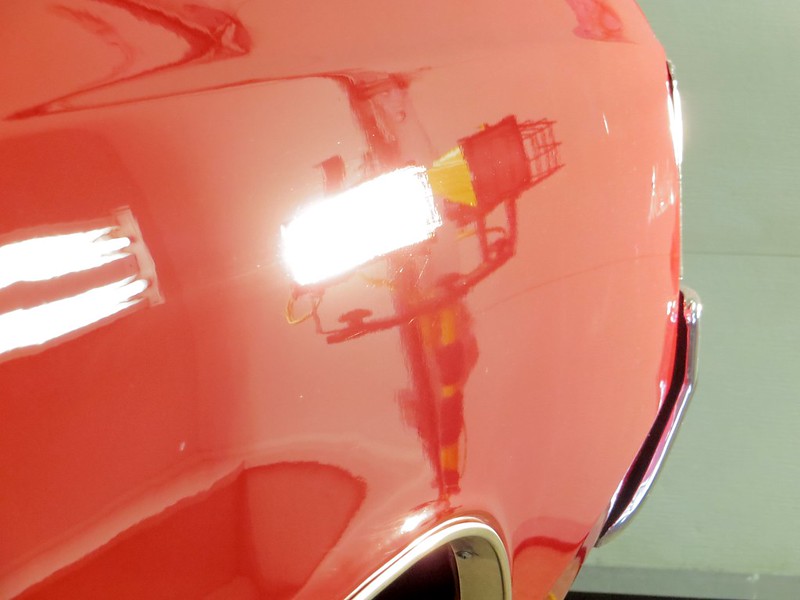
<span style="font-family:georgia, serif;">Inspection After Decon, under the lights
IMG_7437 by GabeDellinger, on Flickr
`
IMG_7461 by GabeDellinger, on Flickr
`
IMG_7500 by GabeDellinger, on Flickr
`
IMG_7496 by GabeDellinger, on Flickr
`
IMG_7503 by GabeDellinger, on Flickr
`
IMG_7509 by GabeDellinger, on Flickr
`
IMG_7511 by GabeDellinger, on Flickr
`
The correction process was pretty clumsy on my part... it took a while to find what the paint wanted. `I started with Rupes 21, D300, and Megs MF cutting pad. `It left a good finish but it was taking too long to cut. `The DuPont Chromabase was proving to be the hardest paint I`ve come across yet... but at the same time being a little finicky to finish down haze/mar free.
`
I ended up doing the following...
Makita Rotary/ 5/1" HD lambswool pad/ M100 @ 1500 (lowest speed my old Makita will go)
Rupes/Orange B&S 5.5"/ HD Uno
Rupes/White B&S 5.5"/ M205
Rupes/Black B&S 5.5"/ HD Polish
`
Smaller areas...
HF D/A / 3" Meg`s Burgundy/ M101
.........../ 3" White B&S/ M205
.........../ 3" Black B&S/ HD Polish
`
<span style="font-family:georgia, serif;">I like to be organized when starting off...
IMG_7560 by GabeDellinger, on Flickr
`
<span style="font-family:georgia, serif;">Good amount of build on the car...
IMG_7363 by GabeDellinger, on Flickr
`
<span style="font-family:georgia, serif;">Some 50/50s
IMG_7543 by GabeDellinger, on Flickr
`
IMG_7556 by GabeDellinger, on Flickr
`
<span style="font-family:georgia, serif;">Note to self... don`t use `cheap` tape
IMG_7563 by GabeDellinger, on Flickr
`
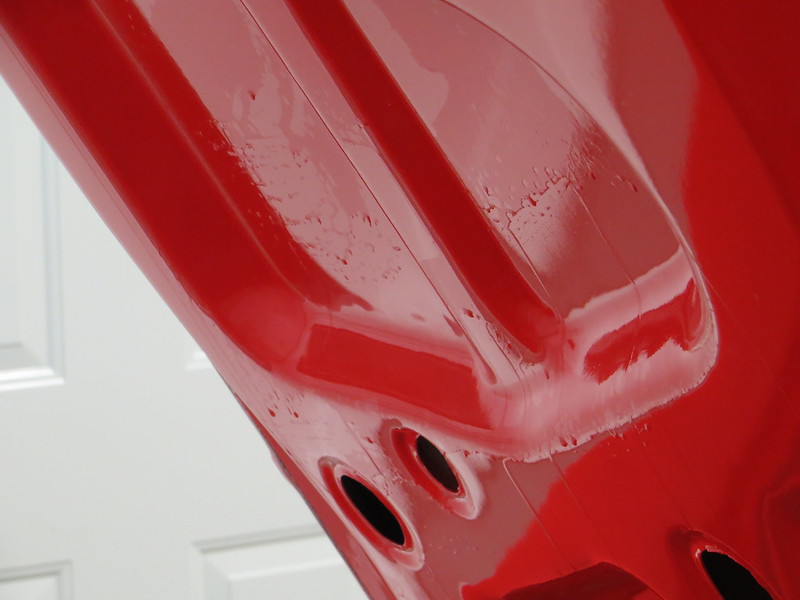
<span style="font-family:georgia, serif;">Extra care was taken with the DP-90... black 3" pad and DG501 for a very light clean up of area below deck lid. `The light sheen is how it should look.
IMG_7627 by GabeDellinger, on Flickr
`
<span style="font-family:georgia, serif;">A little chrome work... but truth be told, all the stainless and chrome needs to be removed and polished. `Happy with a green pad and DG 501 for now.
IMG_7638 by GabeDellinger, on Flickr
`
IMG_7516 by GabeDellinger, on Flickr
`
IMG_7518 by GabeDellinger, on Flickr
`
`
`
<u>To be continued... give me an hour or so...</u>
`
`
`
`
`
`
`
`
`
Results 1 to 15 of 30
-
03-24-2014, 06:46 PM #1


- Join Date
- Feb 2013
- Location
- WA
- Posts
- 410
- Post Thanks / Like

Former Pro, Now Enthusiast
-
03-24-2014, 07:33 PM #2
- Join Date
- Feb 2013
- Location
- WA
- Posts
- 410
- Post Thanks / Like
<span style="font-family:georgia, serif;">Some larger panel shots...
IMG_7507 by GabeDellinger, on Flickr
`

IMG_7505 by GabeDellinger, on Flickr
`
IMG_7599 by GabeDellinger, on Flickr
`
`
<span style="font-family:georgia, serif;">Driver`s rear quarter after rotary/wool/m100... 1 pass per section. `Still some stuff there but it cleaned up nicely after with Orange/HD Uno
IMG_7600 by GabeDellinger, on Flickr
`
<span style="font-family:georgia, serif;">Driver`s rear quarter finished...`

IMG_7613 by GabeDellinger, on Flickr
`
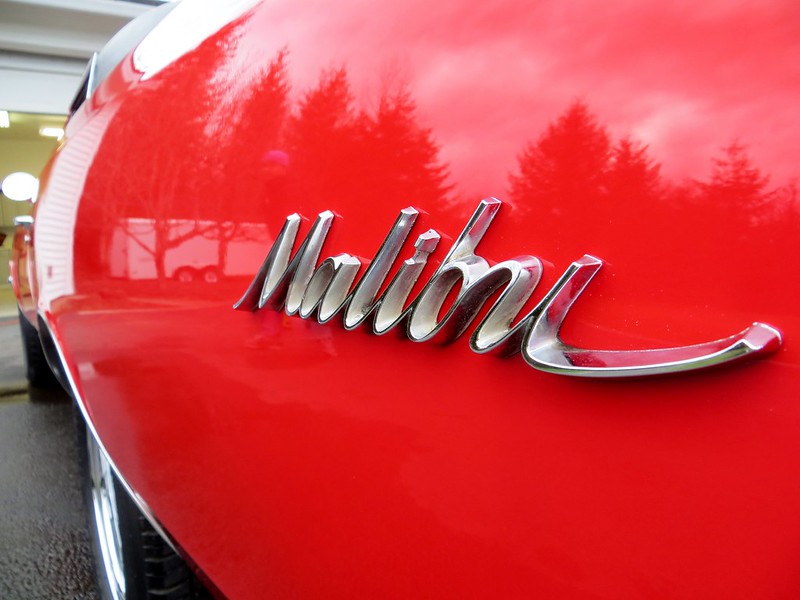
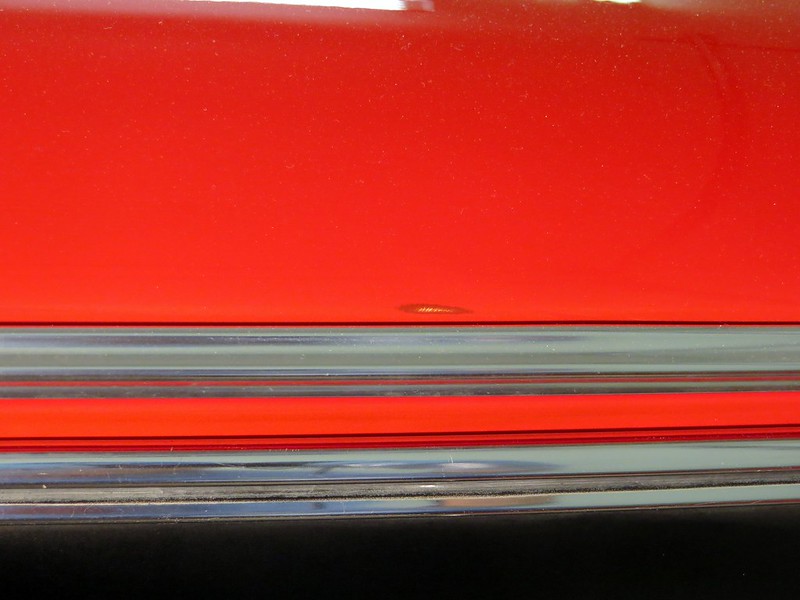
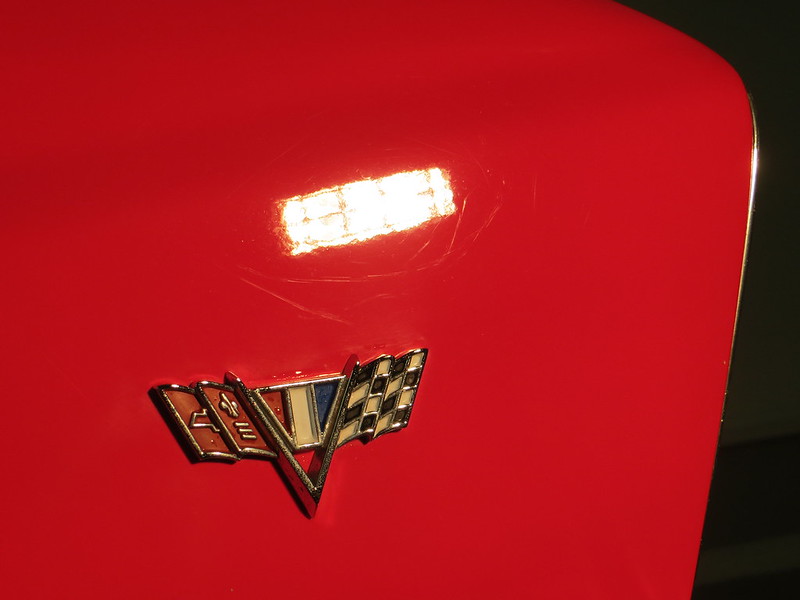
I think Dad and I were a little too hasty with the emblem application after paint. `Should have waited for it to fully cure... you can see the `Malibu` impression here...

IMG_7611 by GabeDellinger, on Flickr
`
<span style="font-family:georgia, serif;">After...
`
IMG_7615 by GabeDellinger, on Flickr
<span style="font-family:georgia, serif;">No more sanding marks on the top of this quarter...
IMG_7618 by GabeDellinger, on Flickr
`
IMG_7621 by GabeDellinger, on Flickr
`
<span style="font-family:georgia, serif;">However, it still needs more wetsanding, lol. `(Focused on texture, not reflection... Thank you Zach McGovern for the help on photography!)

IMG_7609 by GabeDellinger, on Flickr
`
<span style="font-family:georgia, serif;">Driver`s side process completed...

IMG_7614 by GabeDellinger, on Flickr
`
`
`
`
`
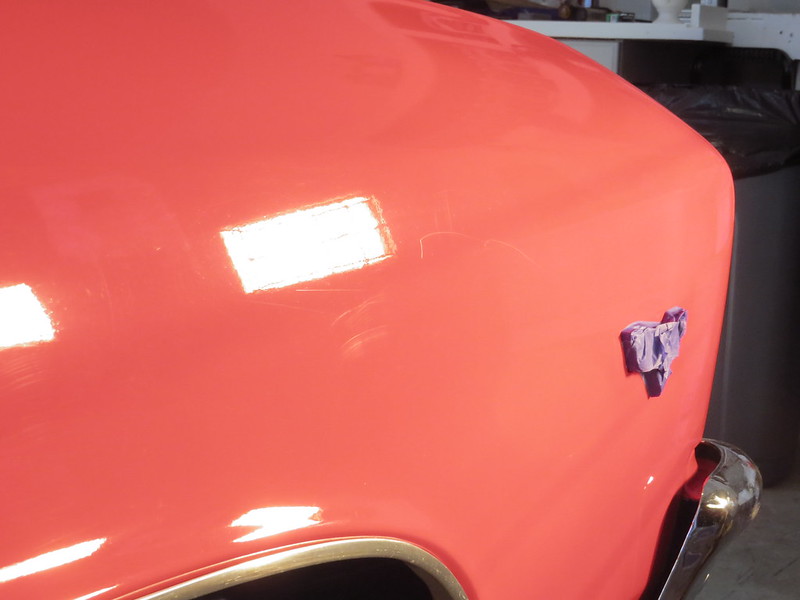
<span style="font-family:georgia, serif;">And onto the hood...

IMG_7512 by GabeDellinger, on Flickr
`
IMG_7511 by GabeDellinger, on Flickr
`
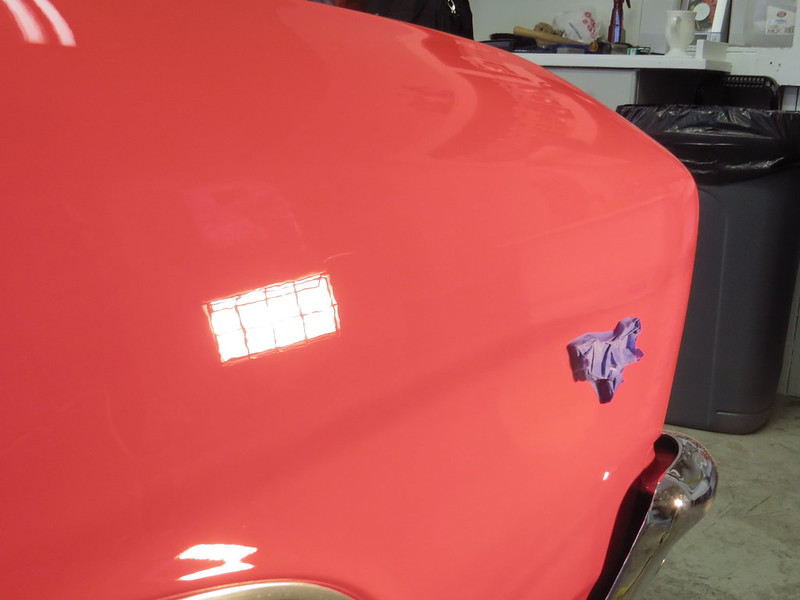
<span style="font-family:georgia, serif;">Getting there... (after rotary/wool/M100)
IMG_7567 by GabeDellinger, on Flickr
`
IMG_7569 by GabeDellinger, on Flickr
`
<span style="font-family:georgia, serif;">Fixed
IMG_7765 by GabeDellinger, on Flickr
`
`
<span style="font-family:georgia, serif;">Passenger side was pretty much just like the Driver`s. `No sense in further beating you up with similar photos... but will post the highlights.
IMG_7557 by GabeDellinger, on Flickr
`
IMG_7558 by GabeDellinger, on Flickr
`

IMG_7546 by GabeDellinger, on Flickr
`
`
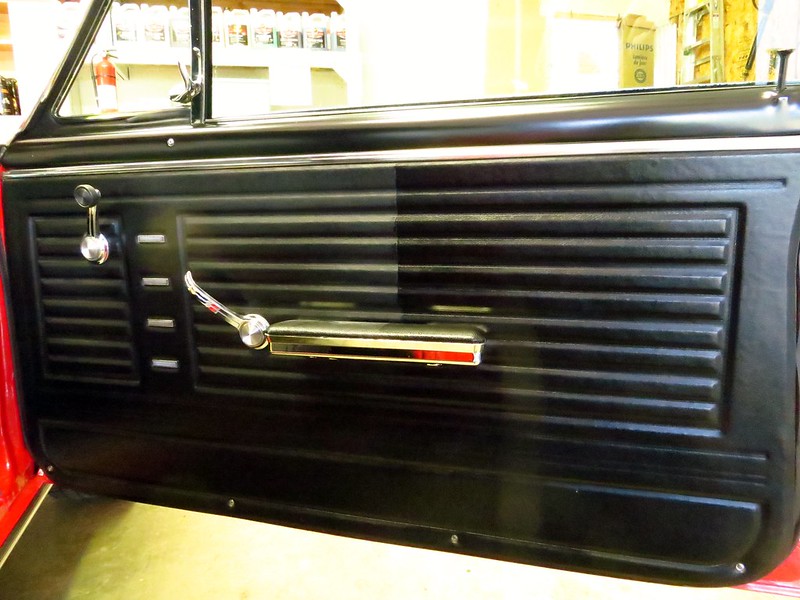
<span style="font-family:georgia, serif;">Door jambs polished with D151
IMG_7741 by GabeDellinger, on Flickr
`

IMG_7740 by GabeDellinger, on Flickr
`
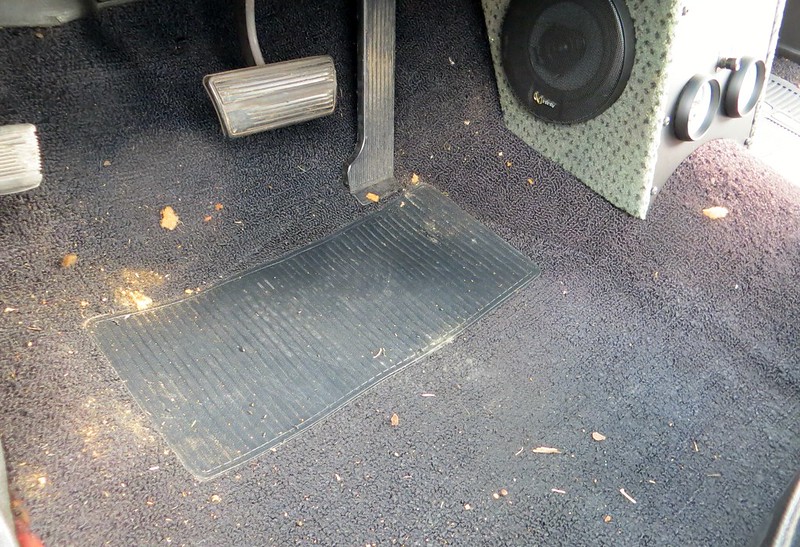
<span style="font-family:georgia, serif;">Interior work was pretty normal. `Did not elect to use steam or hot-water extraction as the aftermarket carpet bled horrendously on test spot. `Some evidence of mice noted by their `trails` of you know what.
IMG_7350 by GabeDellinger, on Flickr
`
IMG_7310 by GabeDellinger, on Flickr
`
Interior work:
Brush/vacuum
Meg`s APC 10:1
Various brushes
CG V.R.P to dress vinyl `(not real happy with it... but it`s what I had and I`d rather use it on my stuff that put it on someone elses.)
Meg`s Detailer Window cleaner
`
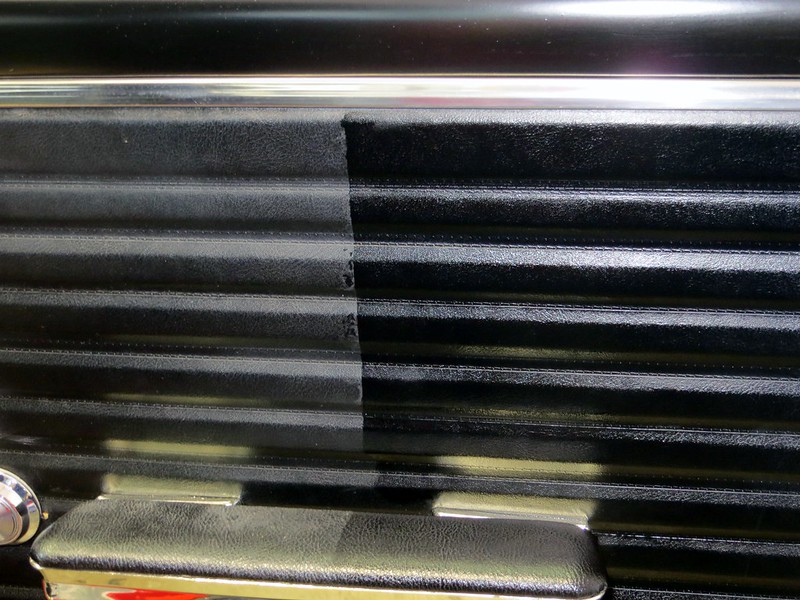
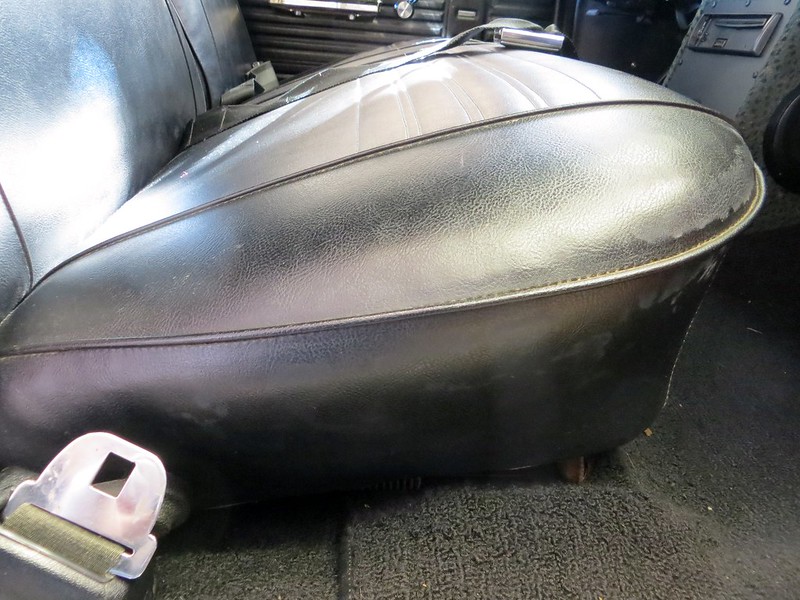
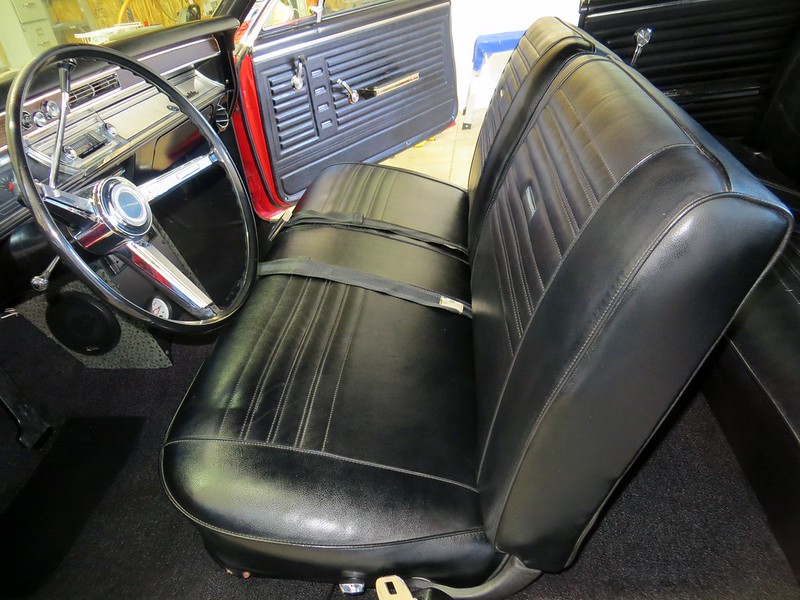
<span style="font-family:georgia, serif;">Stock vinyl interior in need of some love
IMG_7727 by GabeDellinger, on Flickr
`
IMG_7729 by GabeDellinger, on Flickr
`
IMG_7731 by GabeDellinger, on Flickr
`
IMG_7733 by GabeDellinger, on Flickr
`
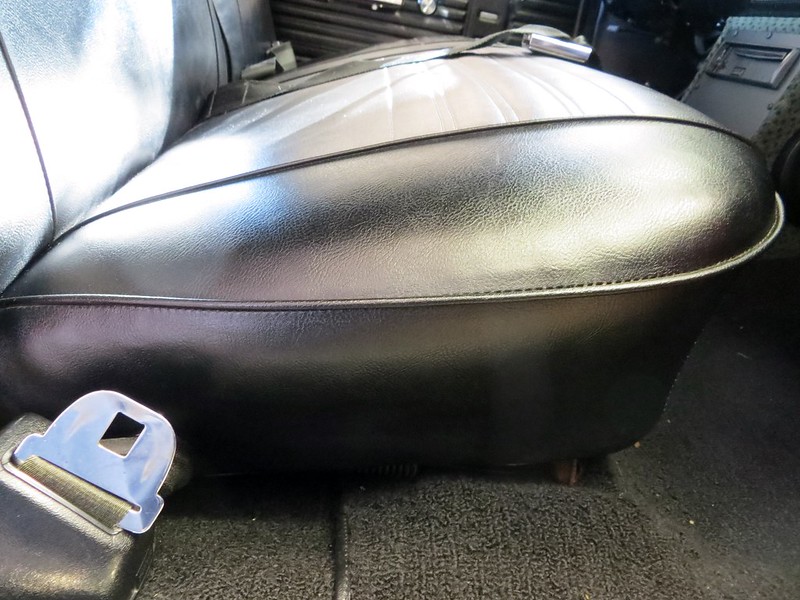
<span style="font-family:georgia, serif;">After
IMG_7752 by GabeDellinger, on Flickr
`
IMG_7754 by GabeDellinger, on Flickr
`
IMG_7755 by GabeDellinger, on Flickr
`

IMG_7745 by GabeDellinger, on Flickr
`
`
`
`
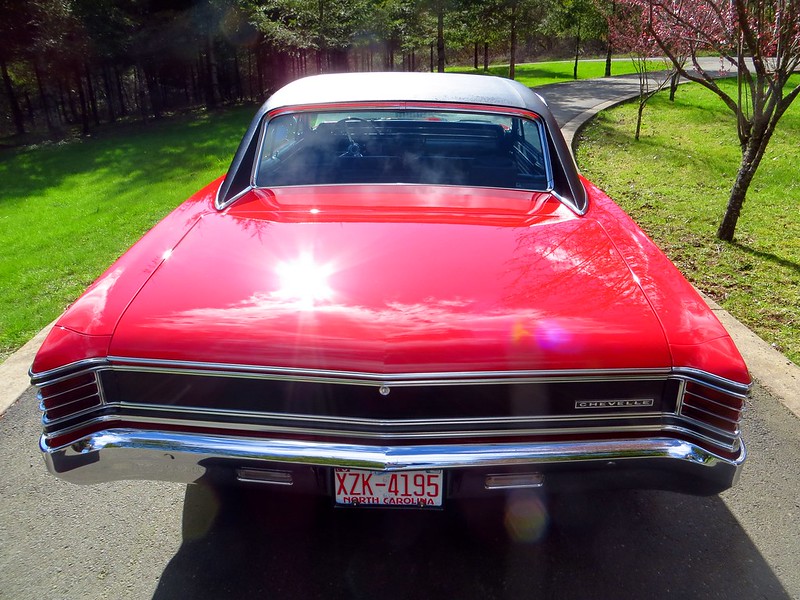
<span style="font-family:georgia, serif;">Final Shots wearing HD Poxy (1 coat) `AND we even had SUN around here... how about that!
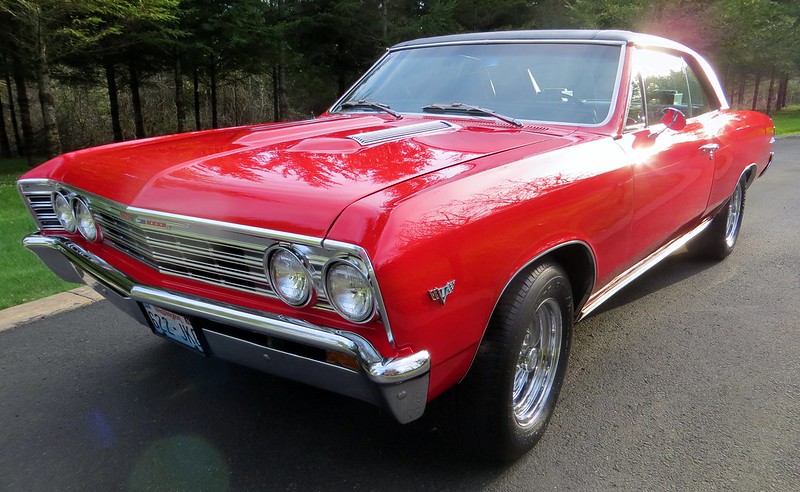
IMG_7687 by GabeDellinger, on Flickr
`
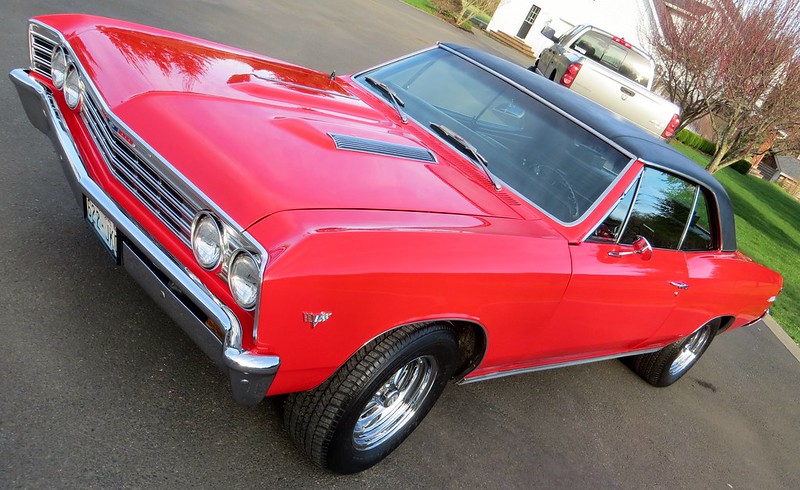
IMG_7683 by GabeDellinger, on Flickr
`

IMG_7682 by GabeDellinger, on Flickr
`
IMG_7678 by GabeDellinger, on Flickr
`
<span style="font-family:georgia, serif;">I easily have 5 hours or more in this hood... hard work pays off!
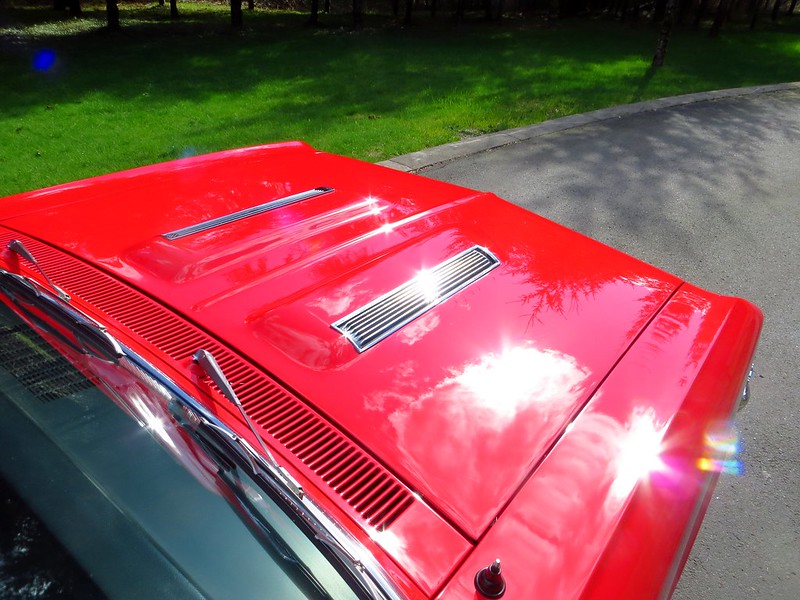
IMG_7719 by GabeDellinger, on Flickr
`
IMG_7696 by GabeDellinger, on Flickr
`
IMG_7716 by GabeDellinger, on Flickr
`
IMG_7713 by GabeDellinger, on Flickr
`

IMG_7718 by GabeDellinger, on Flickr
`

IMG_7721 by GabeDellinger, on Flickr
`
<span style="font-family:georgia, serif;">The hood louvers look better! `(The pot metal is showing it`s age though... and nothing can really be done about that unfortunately)
IMG_7723 by GabeDellinger, on Flickr
`
IMG_7655 by GabeDellinger, on Flickr
`
`
Well, you have made it this far! `Congratulations! `
`
In all seriousness, I appreciate viewers reading and commenting. `
`
Just some footnotes:
The car has been sprayed TWICE. `It was keyed on the 95th day after painting (I know this because I cried my eyes out and it was the day I had just waxed the car for the first time since curing.)
`
At the start of the detail I had some `towel issues`... well, long story short... I had replaced the brushes on one my polishers... and the armateur was bad (didn`t realize it at the time) so it kept throwing fragments of graphite from the brushes all over the back decklid of the Chevelle where I was doing my test spots. `I kept scratching the paint on wipe off and couldn`t figure it out. `I finally did when I kept feeling little bits of stuff hit my arm every now and then. `SO... learned that the hard way. `Threw away a bunch of towels/pads... sucks but it is what it is.
`
Take care,
-Gabe
`
Former Pro, Now Enthusiast
-
03-24-2014, 07:54 PM #3
- Join Date
- Mar 2005
- Posts
- 445
- Post Thanks / Like
Gabe,
Speechless. What a meticulous job you have done. That was one of the Best I have seen. Enjoy the labor of your Love!
Steve
-
03-24-2014, 09:33 PM #4CCH Auto Appearance, LLC


- Join Date
- Jul 2003
- Location
- Lansing, MI USA
- Posts
- 8,783
- Post Thanks / Like
Such an awesome car! Excellent work, Gabe.
Charlie
Automotive Appearance Specialist - Serving Greater Lansing, Michigan
http://www.cchautoappearance.com/
-
03-25-2014, 12:28 AM #5
- Join Date
- Feb 2013
- Location
- WA
- Posts
- 410
- Post Thanks / Like
 Originally Posted by fdresq4
`
Steve, very gracious comments. `Thank you!
`
Originally Posted by C. Charles Hahn
`
Mr. Hahn, thank you for reading and the very nice comments!
`
Best,
`
-GabeFormer Pro, Now Enthusiast
-
03-25-2014, 04:45 AM #6
- Join Date
- Aug 2013
- Posts
- 130
- Post Thanks / Like
That was Epic - everything about it - the detail, your love for the car, the narration - everydamn thing.
`
I know I`m repeating what Steve said above, but this one left me speechless.
-
03-25-2014, 05:54 AM #7loves rubbing paint

- Join Date
- Aug 2008
- Location
- SW Ohio
- Posts
- 619
- Post Thanks / Like
Looks great!! Did you dad know it could look so good? Did it look that good after the initial build?
Fergy-
Your only as good as your last detail
-
03-25-2014, 10:44 AM #8

- Join Date
- Apr 2007
- Location
- punta gorda, fl.
- Posts
- 883
- Post Thanks / Like
absolutely an outstanding job, if your dad were to sell it now he`d probably get $1000 more for it..`
-
03-25-2014, 11:52 AM #9
- Join Date
- Feb 2013
- Location
- WA
- Posts
- 410
- Post Thanks / Like
Originally Posted by Guru17
Thank you, Guru. `I am glad you enjoyed the read! `
`
Originally Posted by mrclrider
mrclrider- `You know, that is an interesting question... looking back... I was 18 and really didn`t understand what paint should look like or could look like. `I remember it looking `awesome`, lol. `After I finished the job I outlined above, I need to order a new hood and spray it. `Then wetsand the entire car and pull off the stainless/ chrome for polishing. `
`
I`m sure my father expected it to look great but I don`t know if he was very much into `finishing` the paint. `Especially after it was keyed 3 months after painting. `And we had to sand both sides back down to respray. ` When you spend that kind of time and then it is keyed... well, it kind of takes the wind and enthusiasm out of your sails, if you know what I mean. `Not an excuse but... I think he just wanted it done, you know?
`
Originally Posted by blucpe
Blucpe, thanks for the comment. `LOL, I hope he would get a little more than an $1,000 more... but I can appreciate the humor!Former Pro, Now Enthusiast
-
03-25-2014, 01:00 PM #10Keeper of the beautiful

- Join Date
- Oct 2013
- Location
- Atlanta
- Posts
- 1,526
- Post Thanks / Like
Excellent results Gabe.
`
If you`re not happy with your CG dressing, try out Carpro DLux.`
Detailed Designs Auto Spa
Professional Car Detailing Atlanta
Authorized Modesta Installer
Authorized CQuartz Finest Installer
Paint Protection Film and Clear Bra Installation
-
03-25-2014, 06:58 PM #11

- Join Date
- Jan 2014
- Posts
- 82
- Post Thanks / Like
that thing was rough, amazing turnaround
-
03-25-2014, 07:20 PM #12

- Join Date
- Mar 2009
- Posts
- 811
- Post Thanks / Like
UnF`ing Real! Awesome turnaround! Very nice documentation.
-
03-25-2014, 07:52 PM #13

- Join Date
- Mar 2001
- Location
- suburban Boston
- Posts
- 6,433
- Post Thanks / Like
Sun-sational !` You`ve added thou$$ands to the value of this classic!
Cars: bringing people together
-
03-25-2014, 08:29 PM #14
- Join Date
- Feb 2013
- Location
- WA
- Posts
- 410
- Post Thanks / Like
Originally Posted by Jean-Claude
Jean-Claude... you helped more than you know on this one. `Thanks buddy!
CarPro DLux will be in my next order from Corey.
`
`
Originally Posted by zx2ner25
Thank you! `Indeed... it wasn`t crazy bad but it was definitely neglected. `My camera and I couldn`t really capture everything... it was a hard car/color to photograph. `The paint just absorbed light... I had to really zoom on most shots, which made it hard to tell when posting the pictures...`where I was at` on the car. `I really need a wide angle lens and DSLR. `But that`s gonna have to wait until I have money to allocate... and I get better photography wise.
`
`
Originally Posted by maxepr1
Max, I appreciate the `enthusiasm`... and the nicety of your comment! `Thank you for reading and replying.
`
Originally Posted by tom p.
Tom, I`m very grateful for your words. ` `Speaking of value... we had the car appraised in `98 for insurance purposes... the appraiser was MAD we changed the trim, color, and that we added the stereo. `(The paint will never go back but we didn`t cut in any holes in the rear dash for the speakers... so all that can come out and you would never know it was there.) `The appraiser valued it at $17.5K in `98. `Haven`t had it appraised since, don`t really intend to... I imagine... on a good day...if I were to put it up for sale (but I won`t)... it might fetch $25- 30K. `It`s not a show winner by any means.Former Pro, Now Enthusiast
-
03-25-2014, 09:18 PM #15Keeper of the beautiful
- Join Date
- Oct 2013
- Location
- Atlanta
- Posts
- 1,526
- Post Thanks / Like
Originally Posted by Dellinger
`
You did the work bro. You figured it out, made something your own and something to be truly proud of. Kudos.Detailed Designs Auto Spa
Professional Car Detailing Atlanta
Authorized Modesta Installer
Authorized CQuartz Finest Installer
Paint Protection Film and Clear Bra Installation


 Reply With Quote
Thread Information
Users Browsing this Thread
There are currently 1 users browsing this thread. (0 members and 1 guests)
Similar Threads
-
`67 Chevelle SS Convertible, extensive exterior detail - Rasky`s Auto Detailing
By RaskyR1 in forum Click & Brag -The Detailers ShowcaseReplies: 28Last Post: 07-15-2012, 03:49 PM -
Resto-mod 572 1967 Chevelle ala Picus.
By imported_Picus in forum Click & Brag -The Detailers ShowcaseReplies: 34Last Post: 02-24-2009, 10:28 AM -
1967 Corvette Stingray Convertible Exterior Detail (43 PICS)
By Autogeek in forum Click & Brag -The Detailers ShowcaseReplies: 18Last Post: 11-20-2008, 08:34 AM -
1967 Corvette Stingray Convertible Exterior Detail (43 PICS)
By Autogeek in forum The Detailers ShowcaseReplies: 13Last Post: 11-18-2008, 11:32 AM -
1967 Chevelle*Lots of pics*
By LandonZ in forum Click & Brag -The Detailers ShowcaseReplies: 18Last Post: 10-06-2007, 12:38 AM
Posting Permissions
All times are GMT -5. The time now is 04:20 AM.
 Copyright ©, 2002-2015, Autopia Forum - All Rights Reserved
4.2.2
Sponsored by Autopia-CarCare.com
Bookmarks